
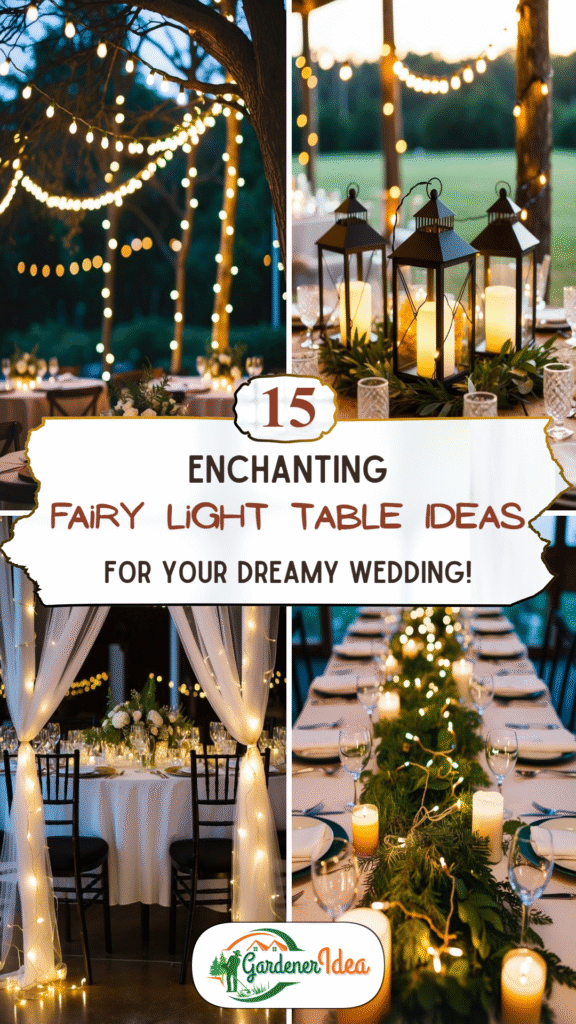
Fairy lights can turn a wedding reception into a soft, glowing space that guests remember for years. This list gathers table setup ideas you can pull from for your own big day. Bookmark it now so you have it handy while planning.
Fairy lights give couples an easy way to personalize their reception without a big budget. Warm white bulbs create a soft, romantic glow, while colored strands can match a bolder theme. With a bit of planning, a few strands of lights can turn plain tables into a setup guests talk about long after the reception ends.
1) Drape Fairy Lights Along the Dining Table
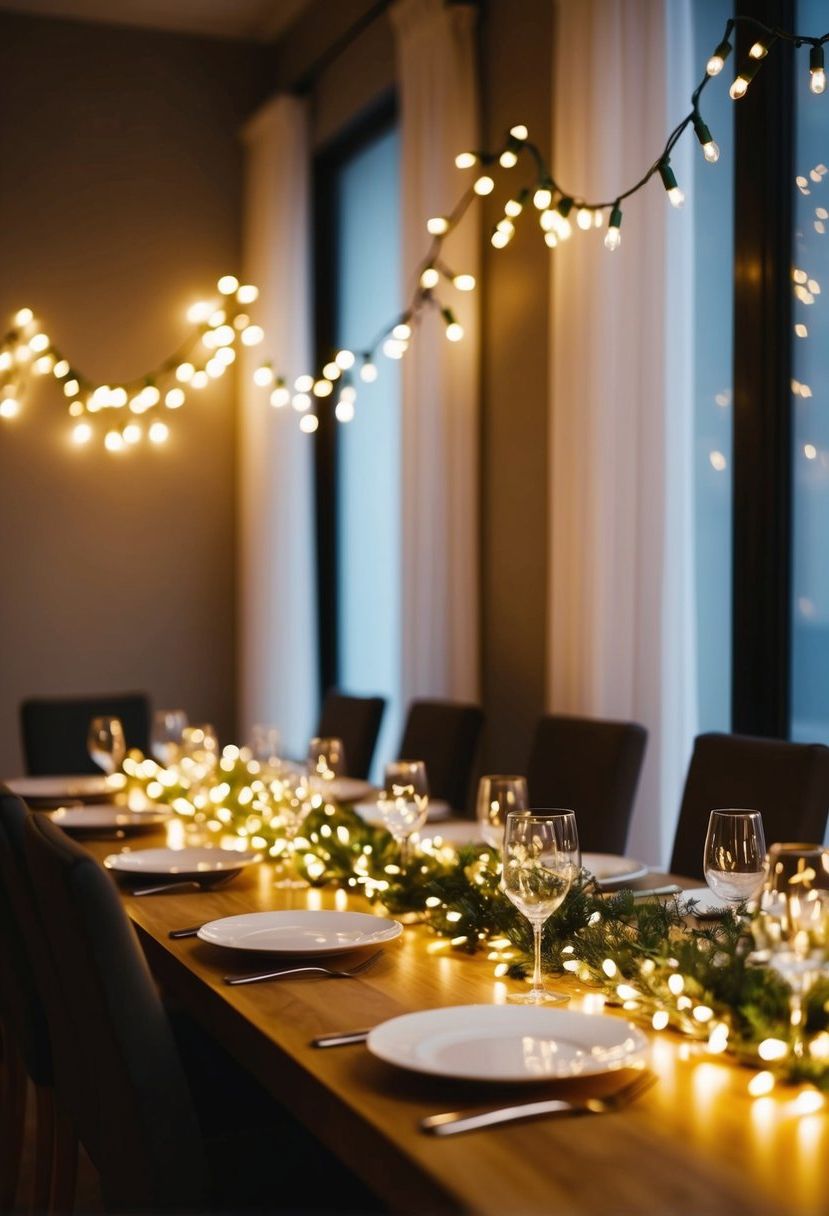
A strand of fairy lights running the length of your dining table adds an instant cozy feel to the reception. Attach the lights along the edges or down the center using small clips or tape so they stay in place through dinner.
Let the strand dip slightly between anchor points instead of pulling it taut, since a gentle sag gives a softer look than a straight line. Adding candles or a few stems of fresh flowers alongside the lights rounds out the display.
2) Pair Fairy Lights With Greenery for a Table Runner
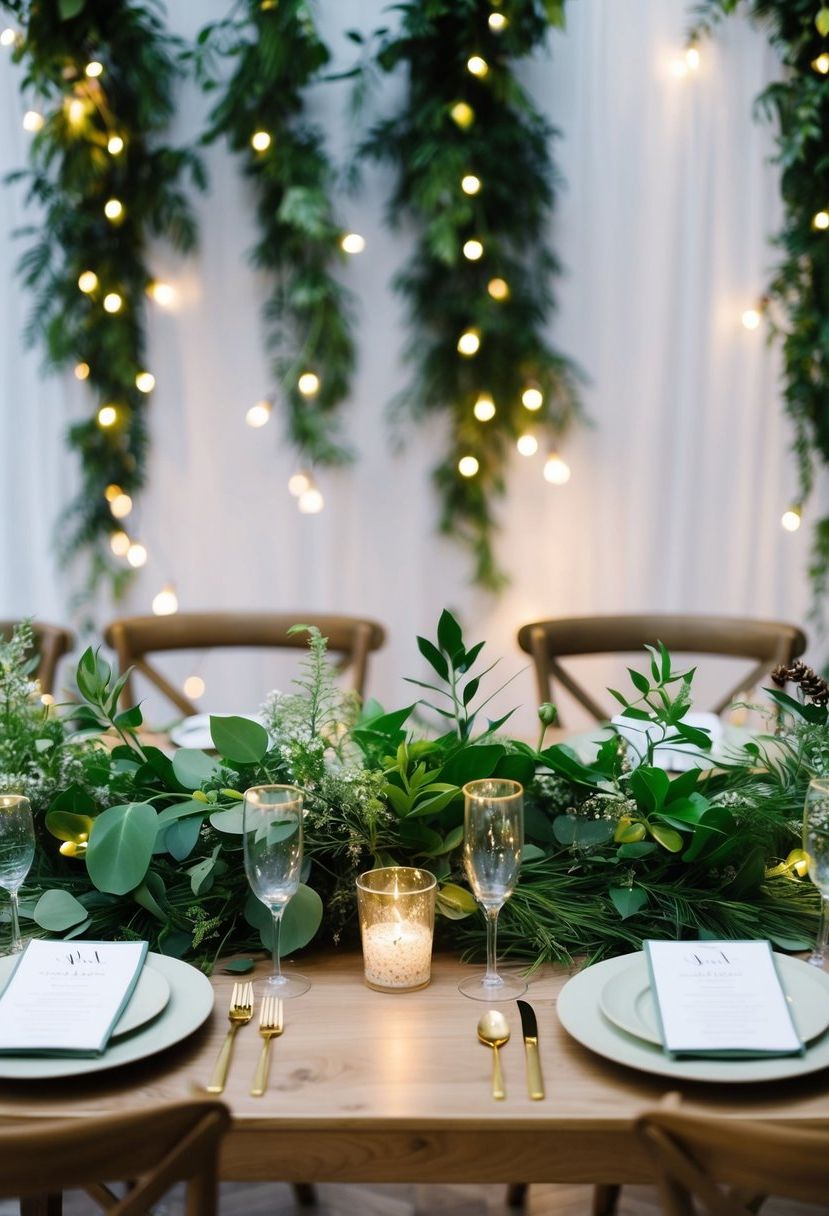
Start with a plain table runner as your base layer. Ferns, ivy, or eucalyptus laid along the runner bring texture and a fresh, natural look to the table.
Thread a string of fairy lights through the greenery so the glow peeks out between the leaves. Ivy works especially well here since its trailing vines hide the wire easily, and the combination of light and foliage gives the table a garden-party feel.
3) Wrap String Lights Around Lanterns
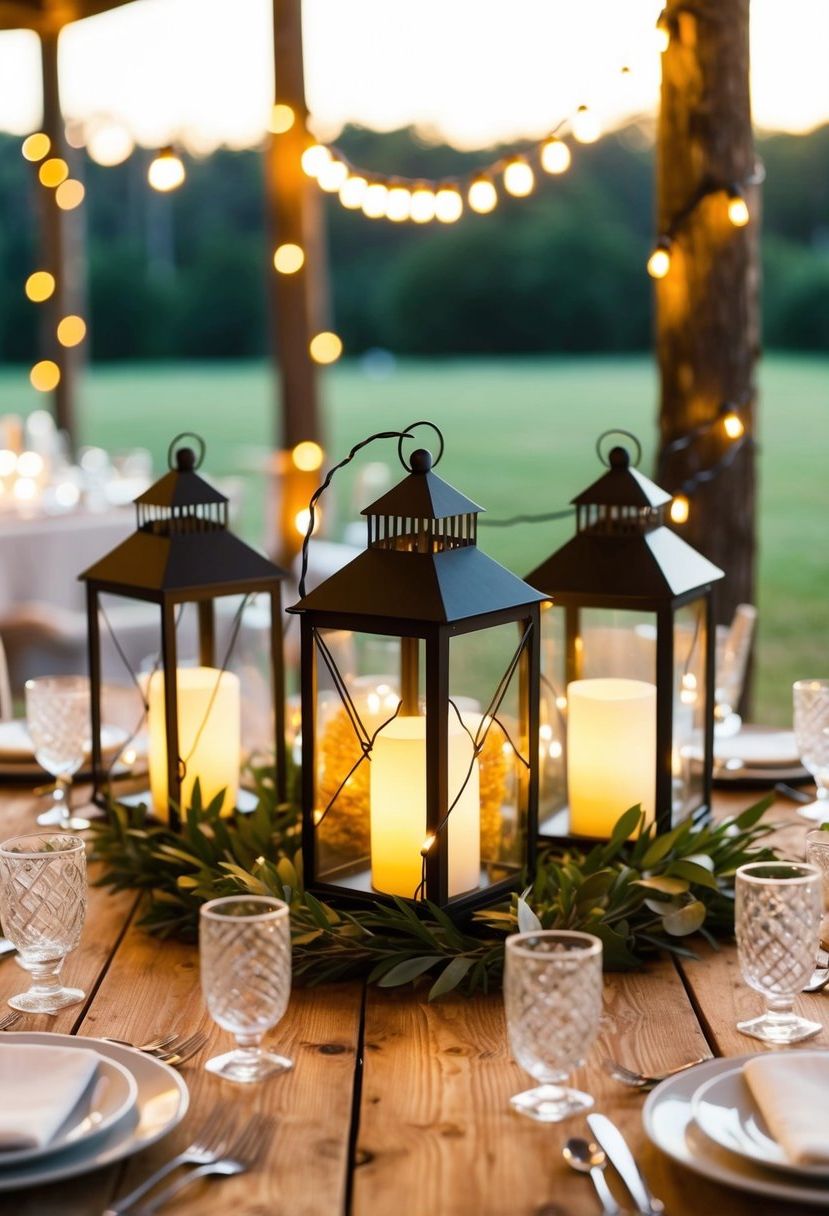
Wrapping string lights around a lantern is one of the quickest centerpiece ideas on this list. Battery-operated lights work best here since there’s no cord to hide.
Choose lanterns in a finish that matches your theme, whether that’s aged metal for a rustic look or clear glass for something more modern. Set one lantern at the center of each table so every guest gets a clear view of the glow.
4) Fill Glass Jars With Fairy Lights
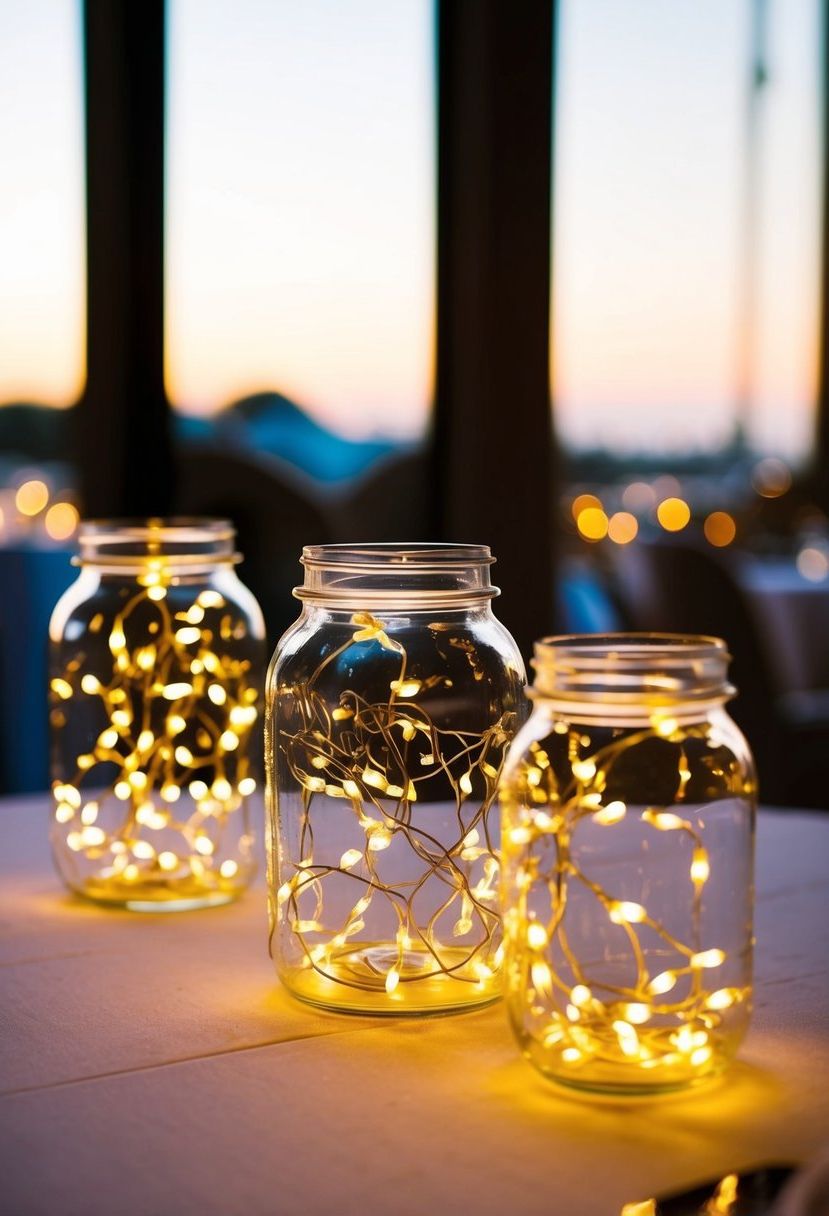
Mason jars or other glass containers turn into instant lanterns once you tuck a battery-powered fairy light strand inside. The glass diffuses the bulbs into a soft, even glow instead of a harsh point of light.
Mixing jar heights and widths across the table keeps the display from looking flat. A coat of frosted spray paint or a scattering of glitter on the glass adds texture, and these jars double easily as aisle or walkway markers beyond the tabletop.
5) Place Fairy Lights Inside Terrariums
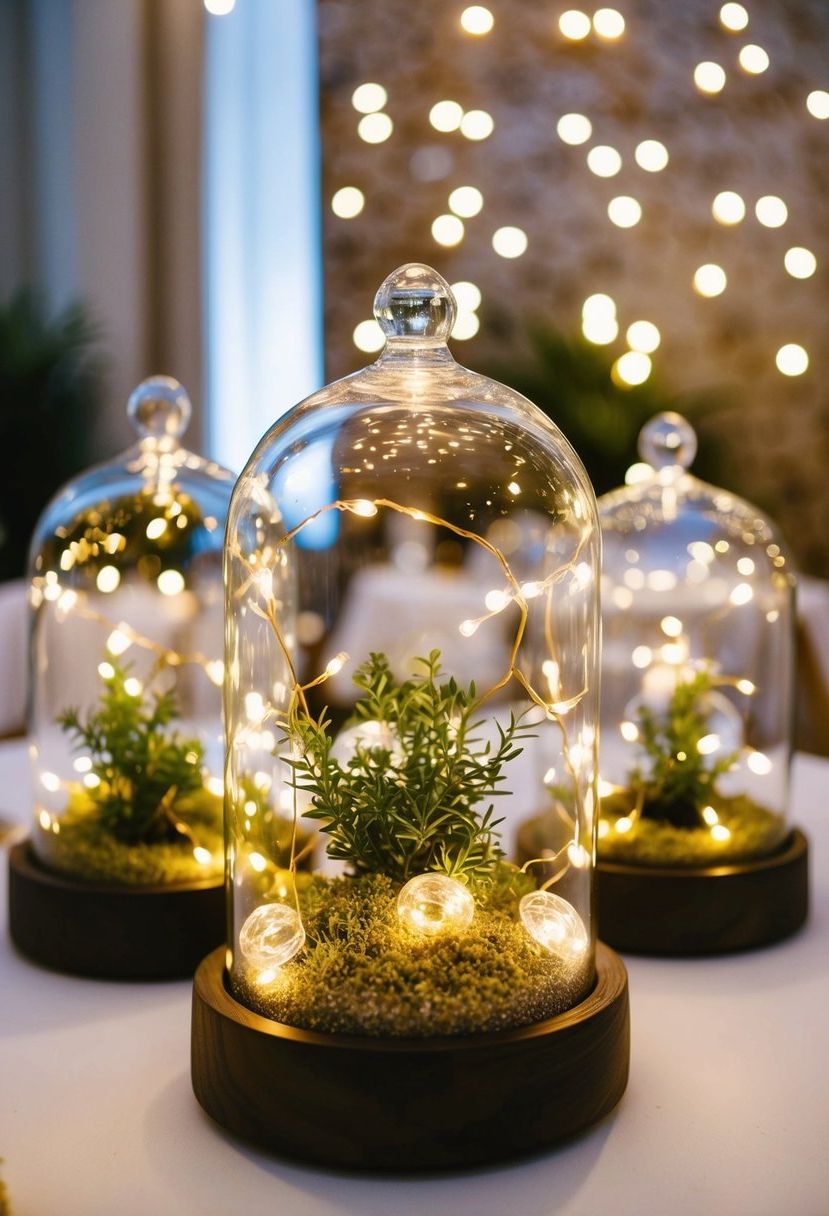
A terrarium with a small fairy light strand tucked among the plants gives off a soft glow that highlights the greenery inside rather than competing with it.
Tuck a battery-powered strand between the succulents or moss so the bulbs sit low and don’t overpower the plants. Clear bulbs keep the look natural, while colored ones can tie the terrarium into a broader theme.
Terrariums also make great take-home favors, so guests get to keep a small piece of the decor.
6) Drape Fairy Lights Overhead
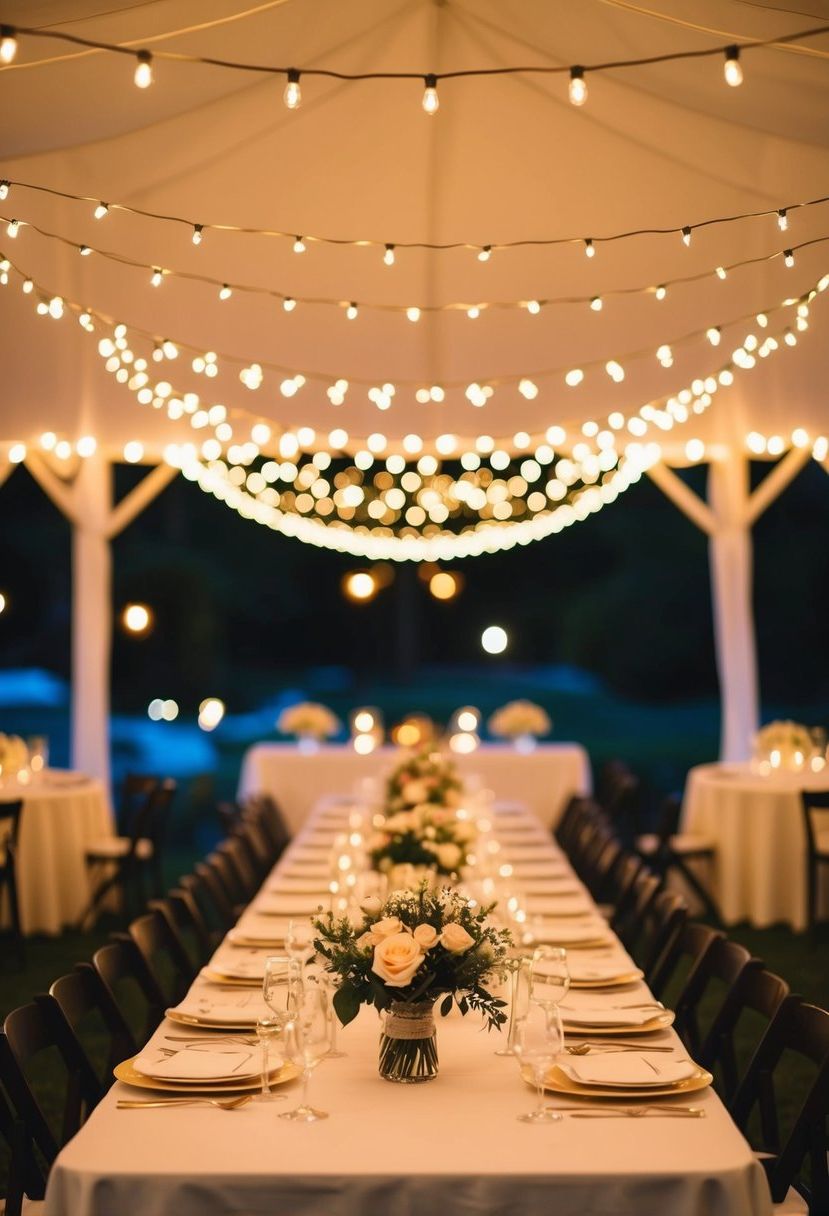
Stringing fairy lights above the reception space turns a plain ceiling or tree canopy into a glowing backdrop. Loop the strands from ceiling beams, tent poles, or overhanging branches to build a canopy of light above the tables.
Warm white bulbs give the space a soft, romantic tone, while a denser cluster of strands reads as more dramatic. Either way, this overhead layer adds depth that tabletop lighting alone can’t achieve.
7) Combine Fairy Lights With Floral Arrangements
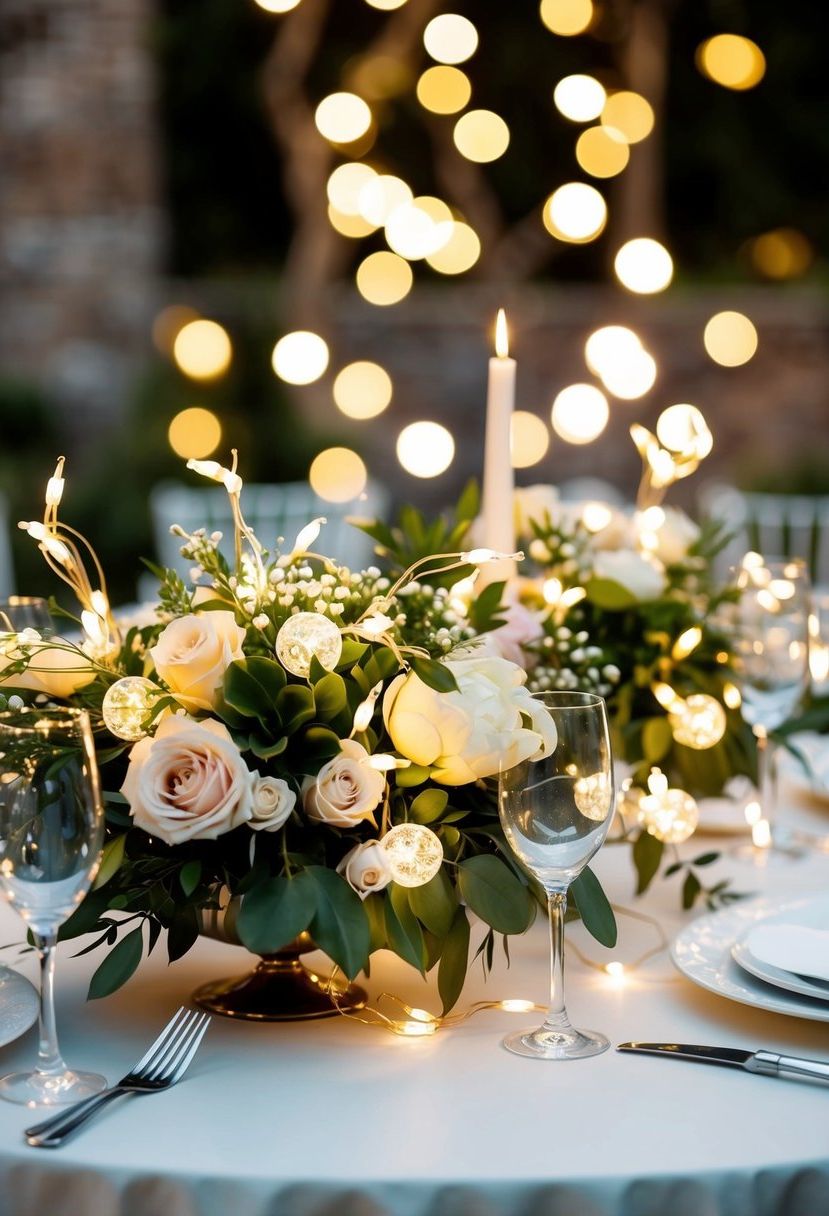
Threading fairy lights through a floral centerpiece adds a glow that a bouquet alone can’t provide. Wind the strand around branches, stems, or greenery so the light peeks through the blooms rather than sitting on top of them.
This pairing reads best once the reception lighting dims, since the bulbs pull focus and make the flower colors pop. Roses, peonies, and eucalyptus all hold up well against a woven light strand.
8) Build a Fairy Light Photo Backdrop
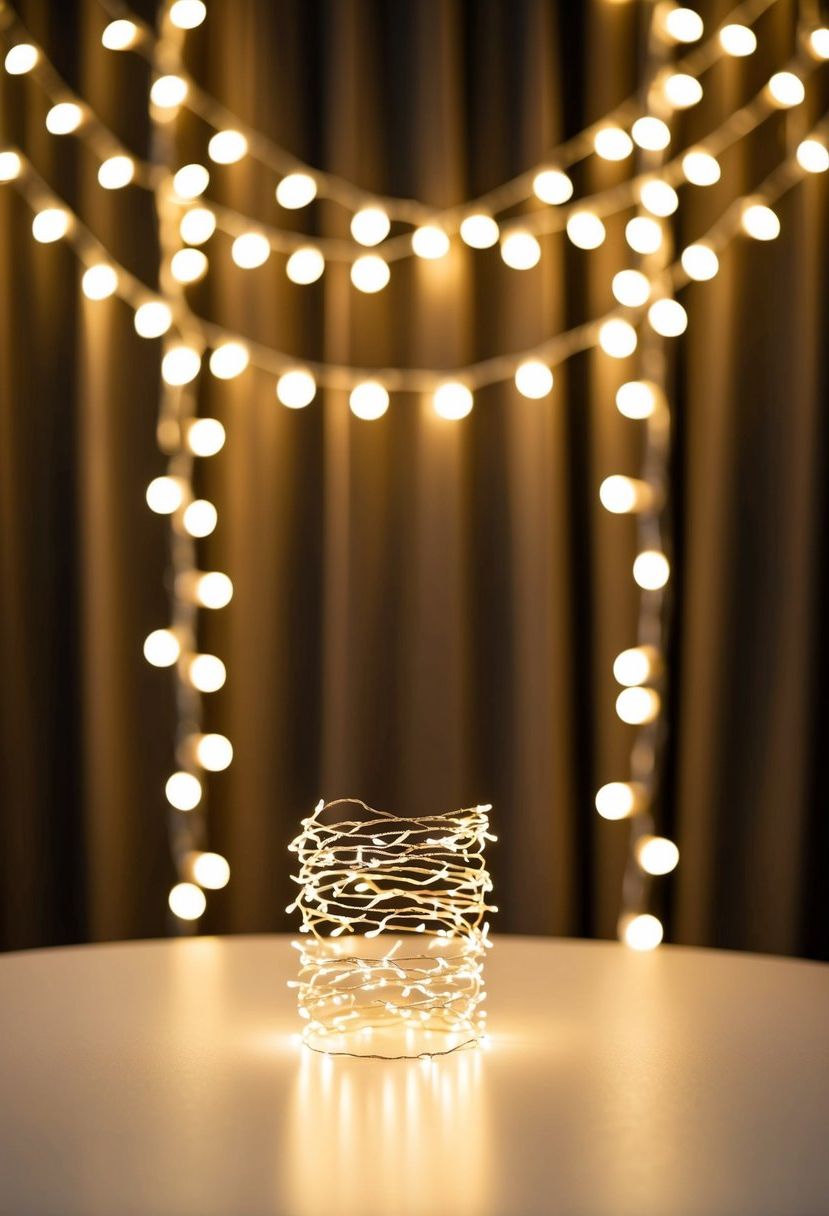
A wall of fairy lights gives guests an instant photo spot without extra props. Hang the strands behind the sweetheart table or near the dance floor so the backdrop stays close to the action.
Layering several rows of lights close together creates a denser, more dramatic backdrop than a single strand. This setup flatters most skin tones in photos since the warm glow softens harsh shadows, and guests tend to gather here throughout the night.
9) Weave Tulle and Fairy Lights Together
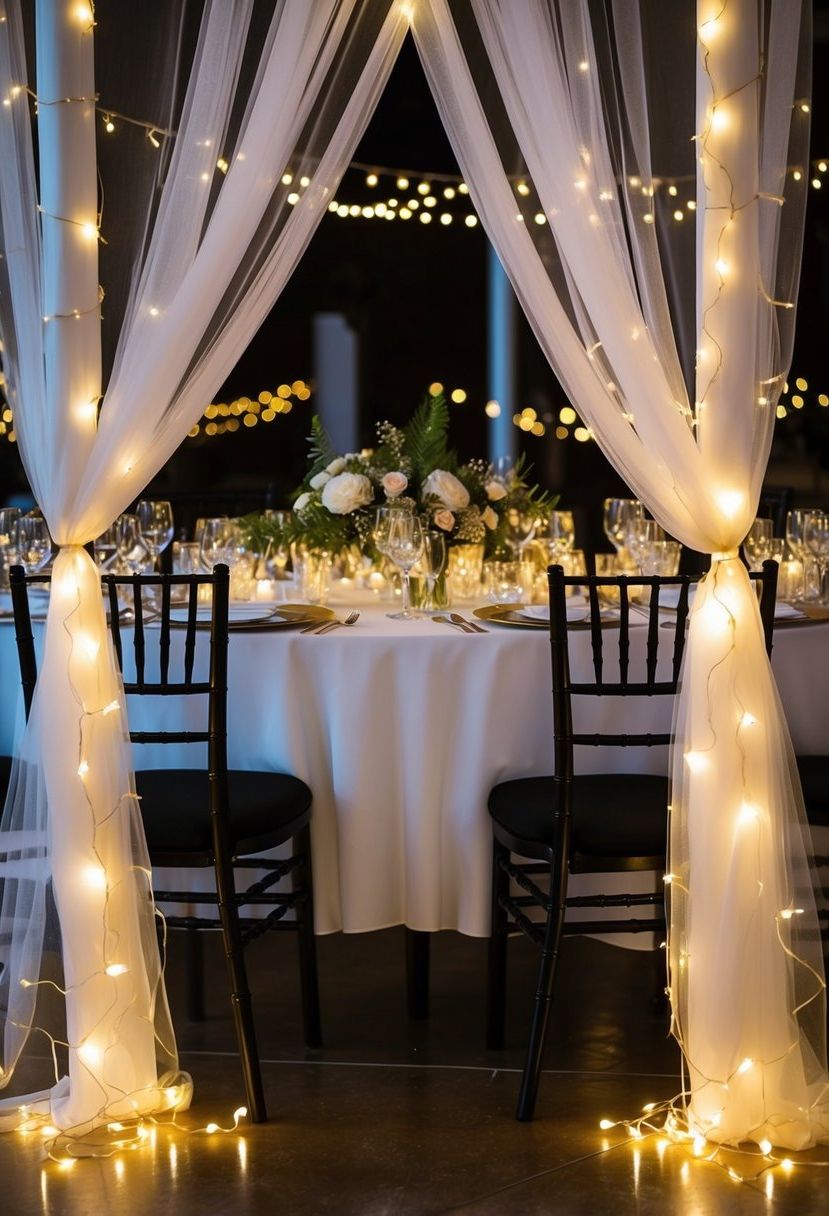
Combining sheer tulle with fairy lights gives the table a soft, layered texture. Lay the tulle down the table first as your base.
Weave the lights through the folds of the tulle so the fabric catches and diffuses the glow. The fabric works best in white, blush, or champagne tones, since darker tulle can mute the light too much.
10) Hang Fairy Lights in Geometric Holders
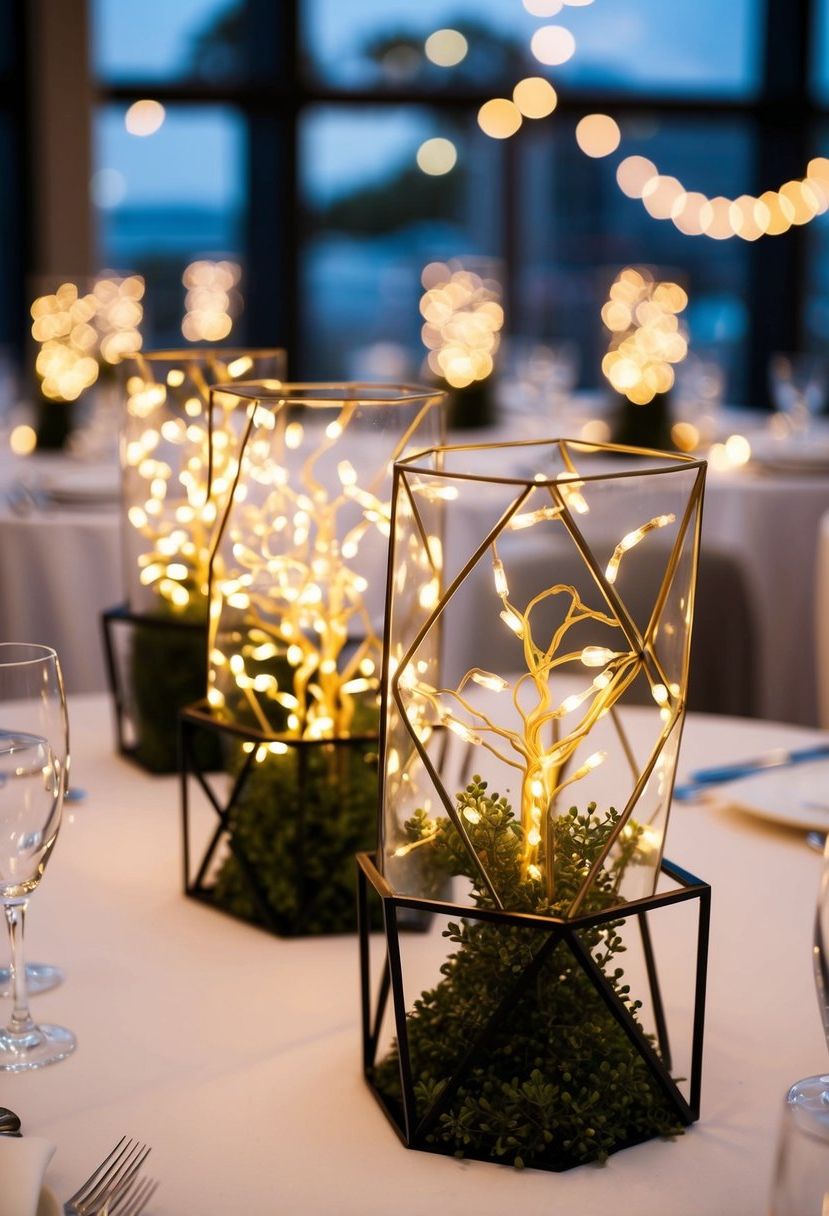
Geometric shapes like hexagons or diamonds give fairy lights a modern frame instead of leaving them bare. Brass or black metal holders read especially well against a minimalist tablescape.
Fit the light strand inside each holder, then hang them at varying heights above the tables. Staggering the heights keeps the ceiling display from looking too uniform, which adds visual interest without extra decor.
11) Outline Table Edges With Fairy Lights
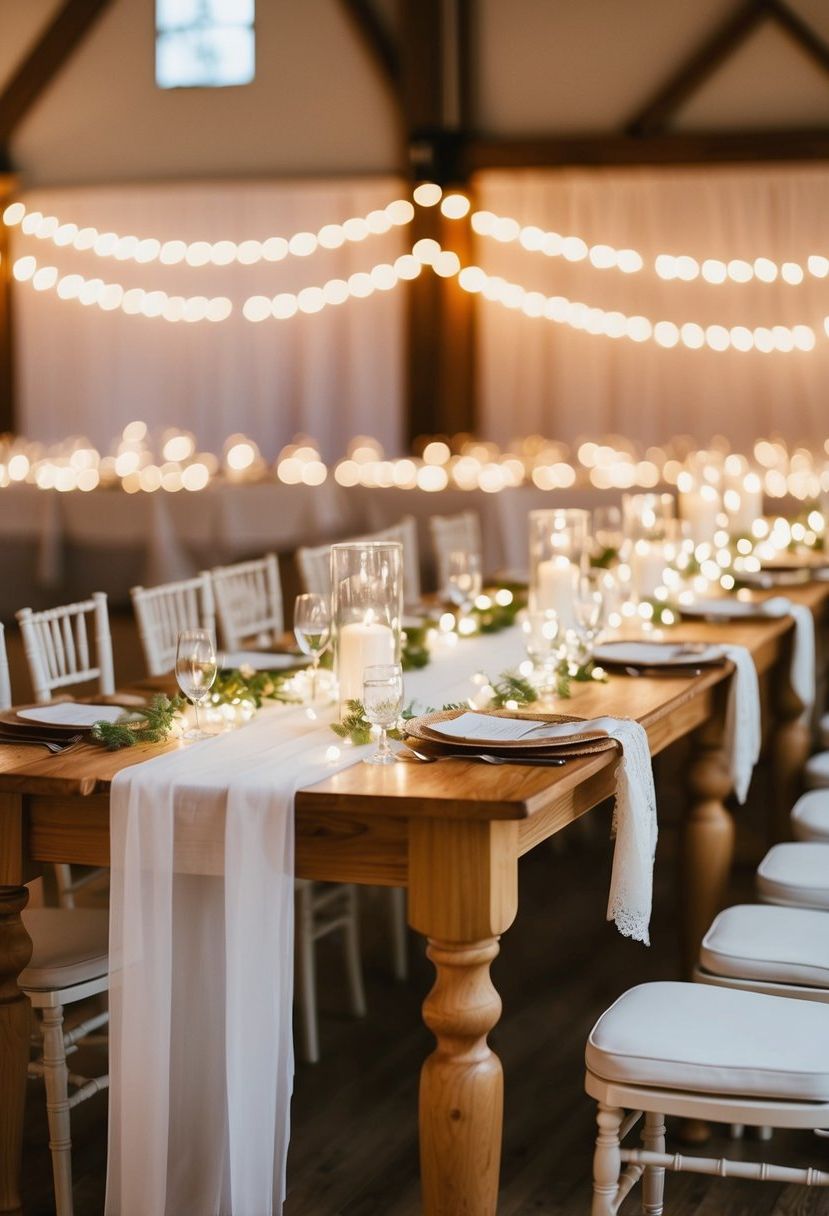
Running a fairy light strand along the border of each table adds a subtle glow without overwhelming the centerpiece. It’s a low-key detail that still reads clearly once the room lights dim.
Small binder clips or command clips keep the strand secured to the tablecloth so it doesn’t slip during dinner service. This outline technique pairs well with a simple centerpiece, since the table doesn’t need much else to look finished.
12) Fill Decorative Bottles With Fairy Lights
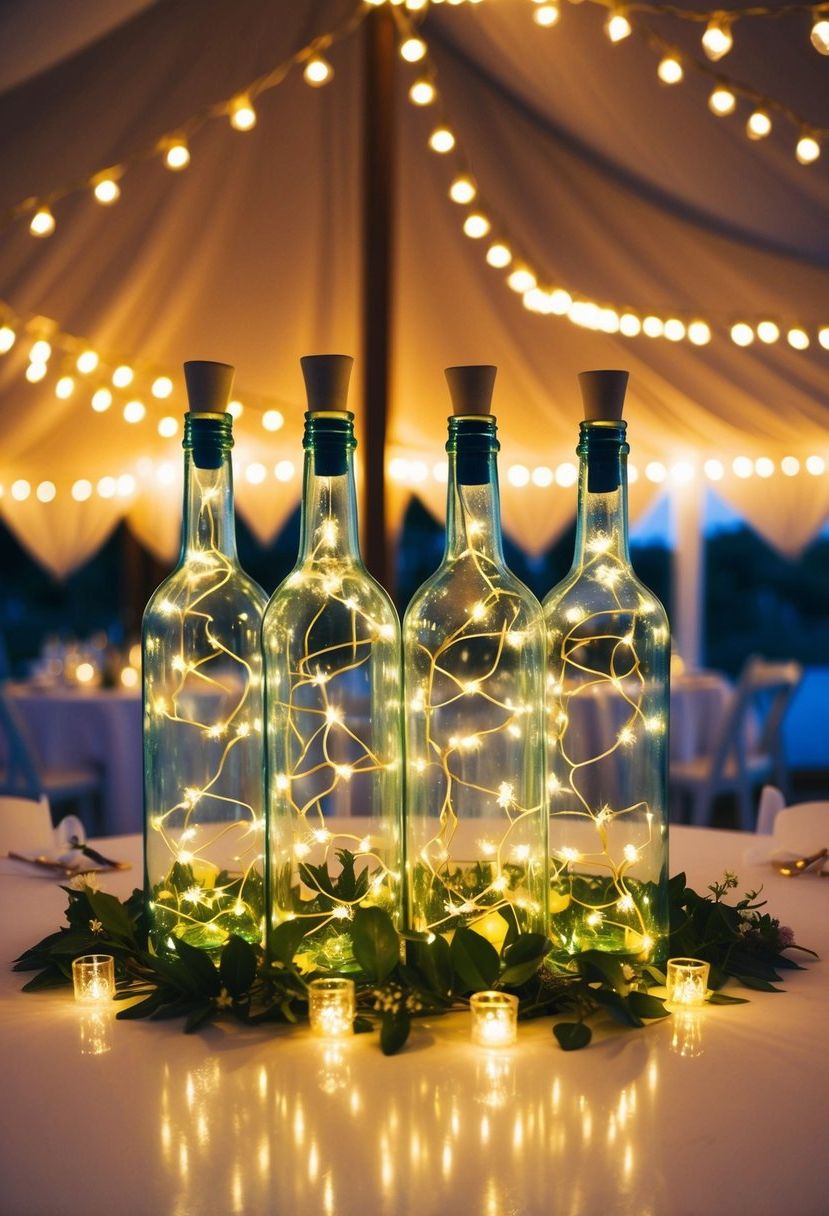
Vintage glass bottles packed with fairy lights bring a playful glow to a reception table. Mixing bottle shapes, from tall wine bottles to short apothecary jars, keeps the arrangement visually varied.
Slide battery-operated fairy lights through the bottle opening, since these don’t require a hidden outlet or cord.
Cluster three or four bottles at the center of the table, or space single bottles evenly along its length for a runway effect down each row.
13) Wrap Tree Limbs in Fairy Lights
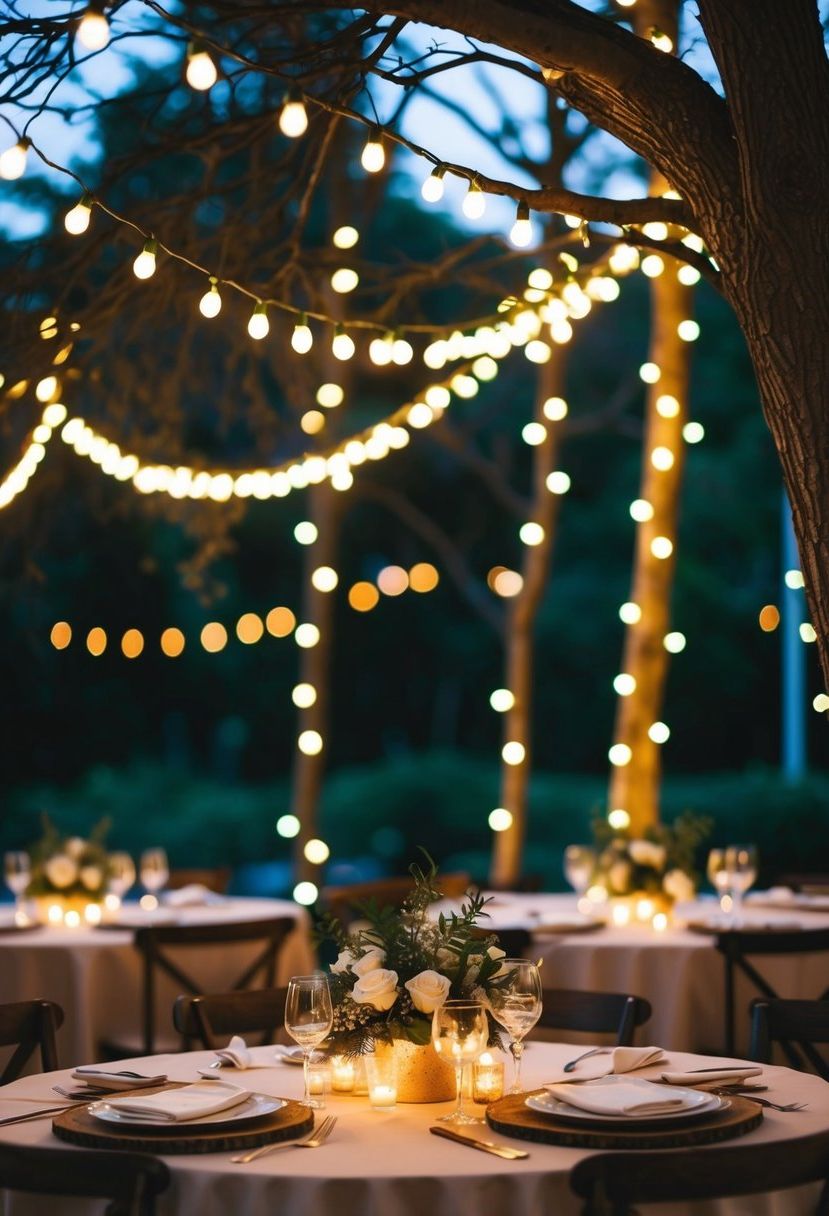
Wrapping strands of lights around tree branches suits an outdoor or barn-style reception especially well. The light catches the bark and leaves, giving the whole setting a rustic, natural glow.
Wind the strand tightly around thick branches for a structured look, or let extra lengths hang loose for a looser, willow-like drape. Both approaches work well at dusk, when the branches start to silhouette against the sky.
14) Light the Path to the Reception With Fairy Lights
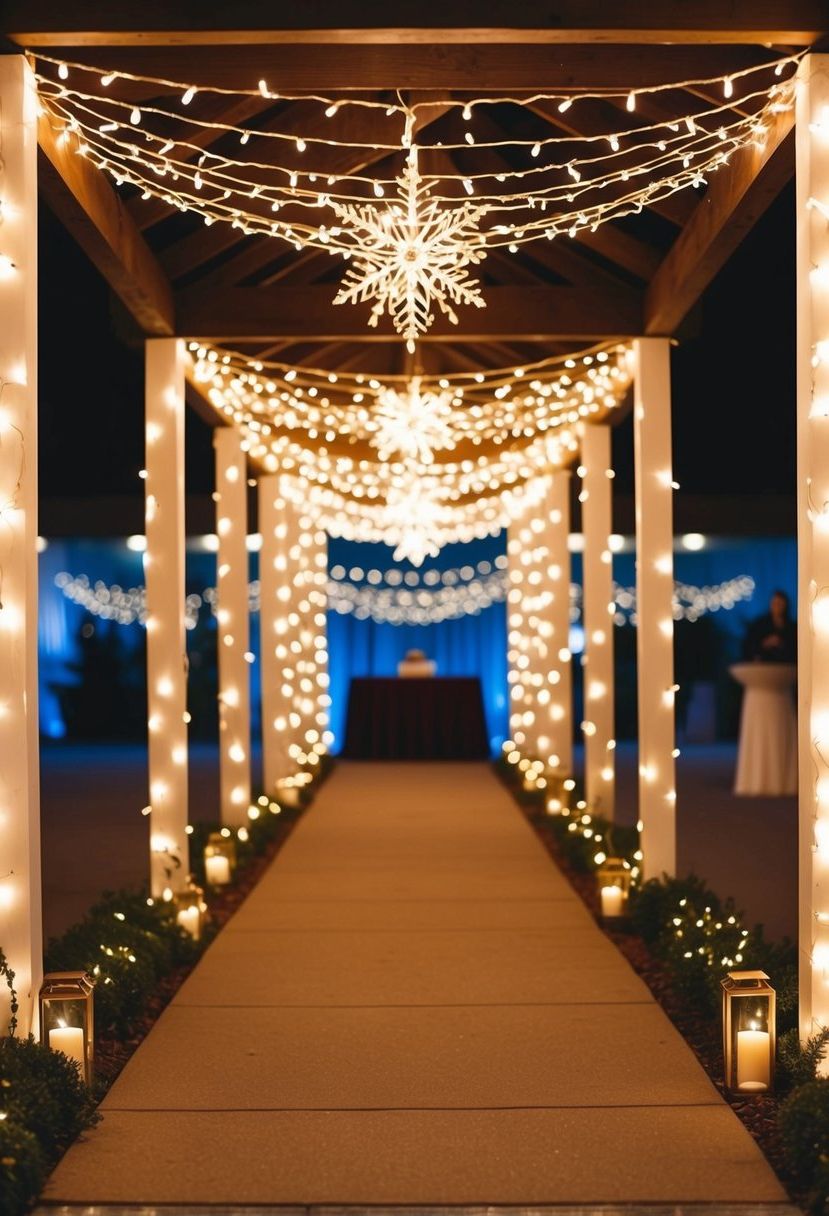
Making a sparkling path to your party area is easy with fairy lights. You can drape them from the trees or lay them on the ground.
This helps your friends find their way while making everything feel nice. As they walk, the gentle glow will make them feel happy and ready to enjoy the party.
15) Pair Fairy Lights With Candles for Dancing Glow
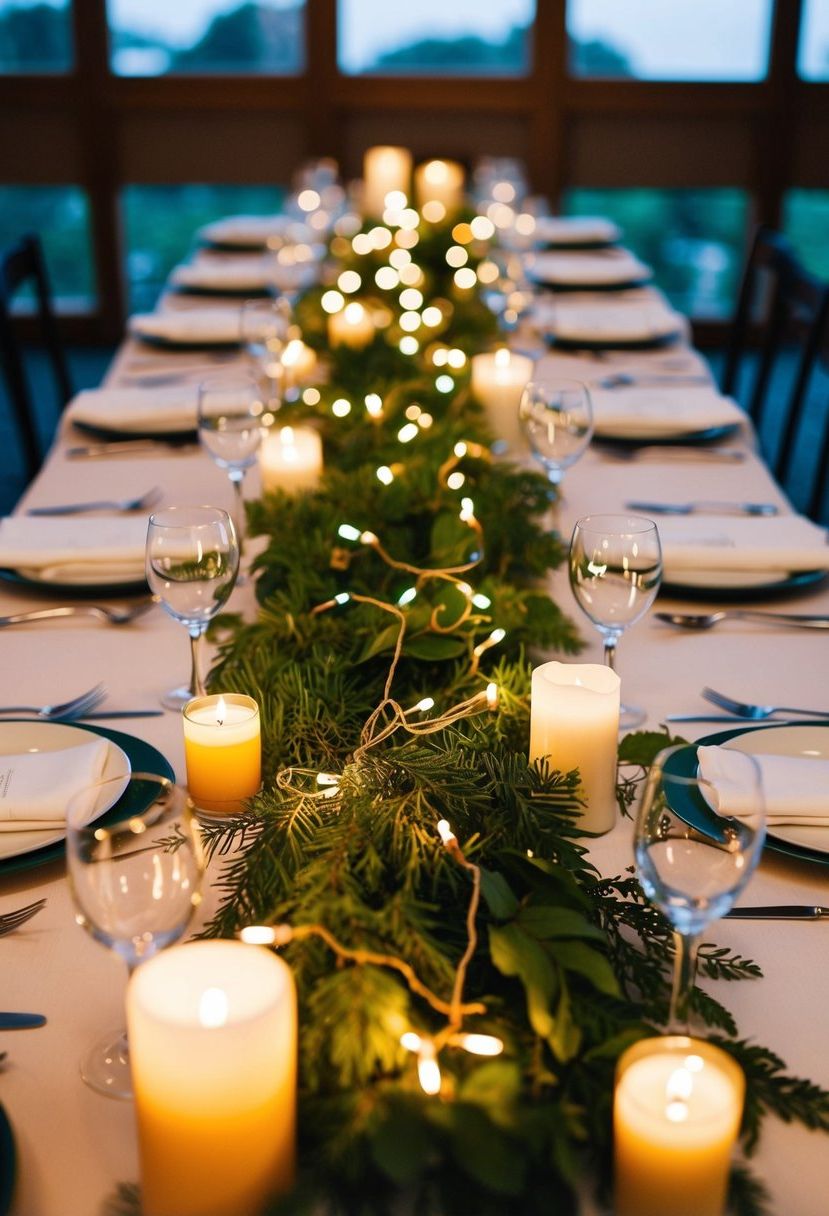
Putting candles with your fairy lights makes everything feel warm and friendly. The little dancing flames look really nice next to the gentle light from the fairy lights.
You can put candles in lanterns or on tables. This mix adds warmth and makes everything feel special. It makes your wedding look magical and nice for everyone.