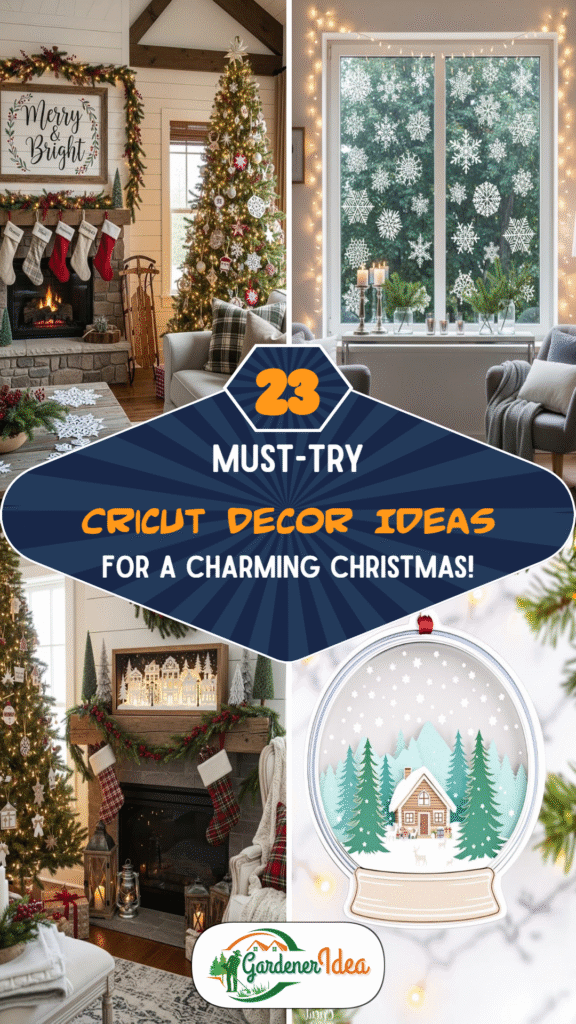
These 23 Cricut projects can change how your home looks this holiday season. From ornaments to personalized gifts, there is a craft here for every skill level. Bookmark this list now so you have it ready when you need craft inspiration.
Whether you have used a Cricut for years or just unboxed your first machine, these projects turn plain paper and vinyl into festive decor. Each one uses basic supplies you likely already have on hand.
A shiny paper nutcracker or a glowing nativity scene might sound like advanced crafting, but neither one requires artistic training. A Cricut machine, a handful of craft supplies, and some patience are all you really need.
Grab your machine and let’s work through these projects one at a time, starting with the first idea below.
1. Layered paper nutcracker centerpiece with shiny foil accents
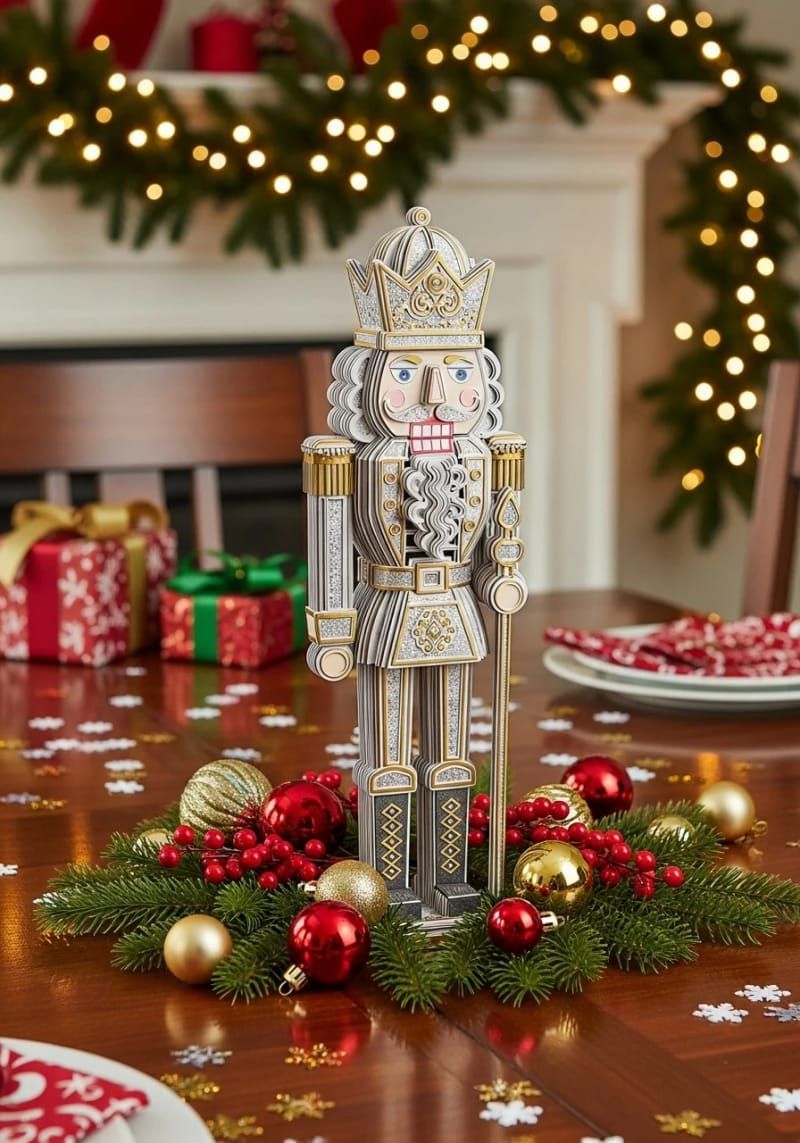
A tall paper nutcracker makes a striking centerpiece for any holiday table. Cut the body from colorful cardstock, then use metallic foil for the hat and shoes so it catches the light from nearby string lights or candles.
The build process is straightforward: cut each layer with your Cricut, stack the pieces, and glue them together. First-timers can usually finish the whole project in an afternoon.
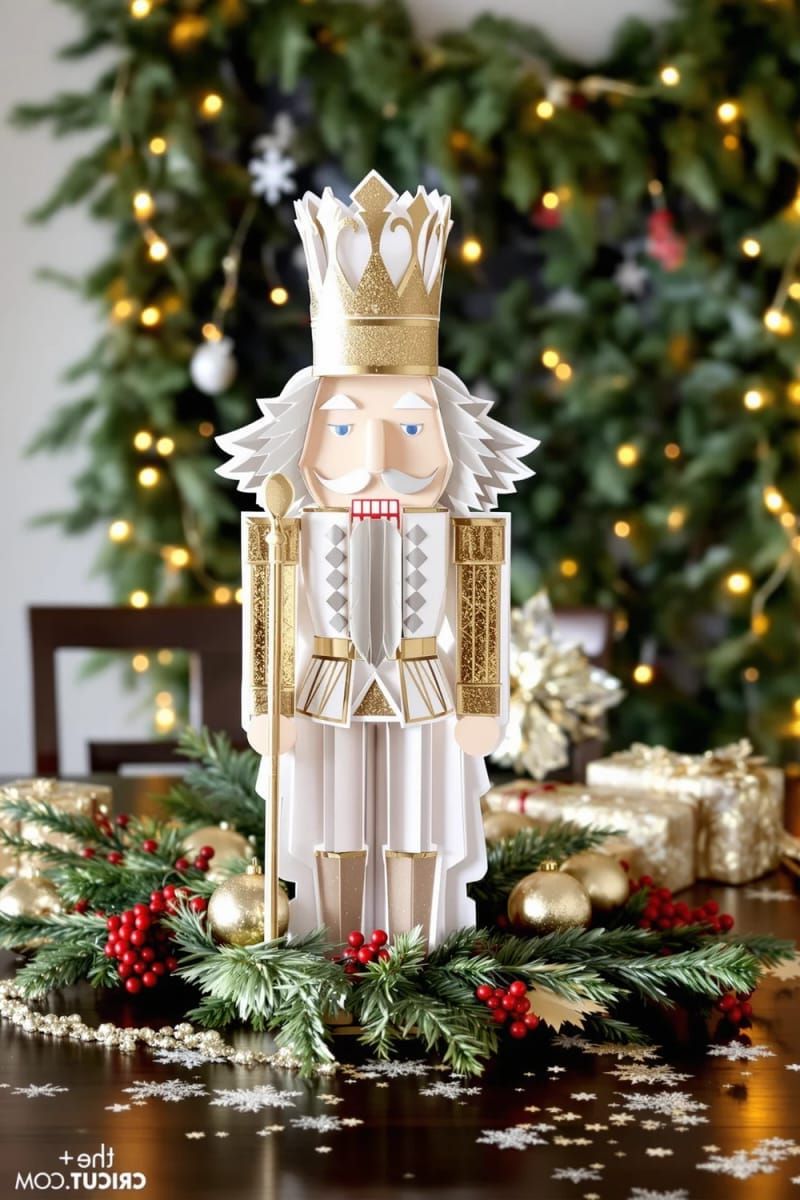
Small pieces of foil can wrinkle, and some of the tinier cutouts take a steady hand to place. Expect a few rough edges on your first try, since that’s normal for a layered paper build like this one.
Set the finished nutcracker at the center of your table and surround it with pinecones or mini ornaments for extra depth. A single paper figure like this can anchor an entire holiday tablescape.
2. Layered nativity shadow box with warm LED lighting
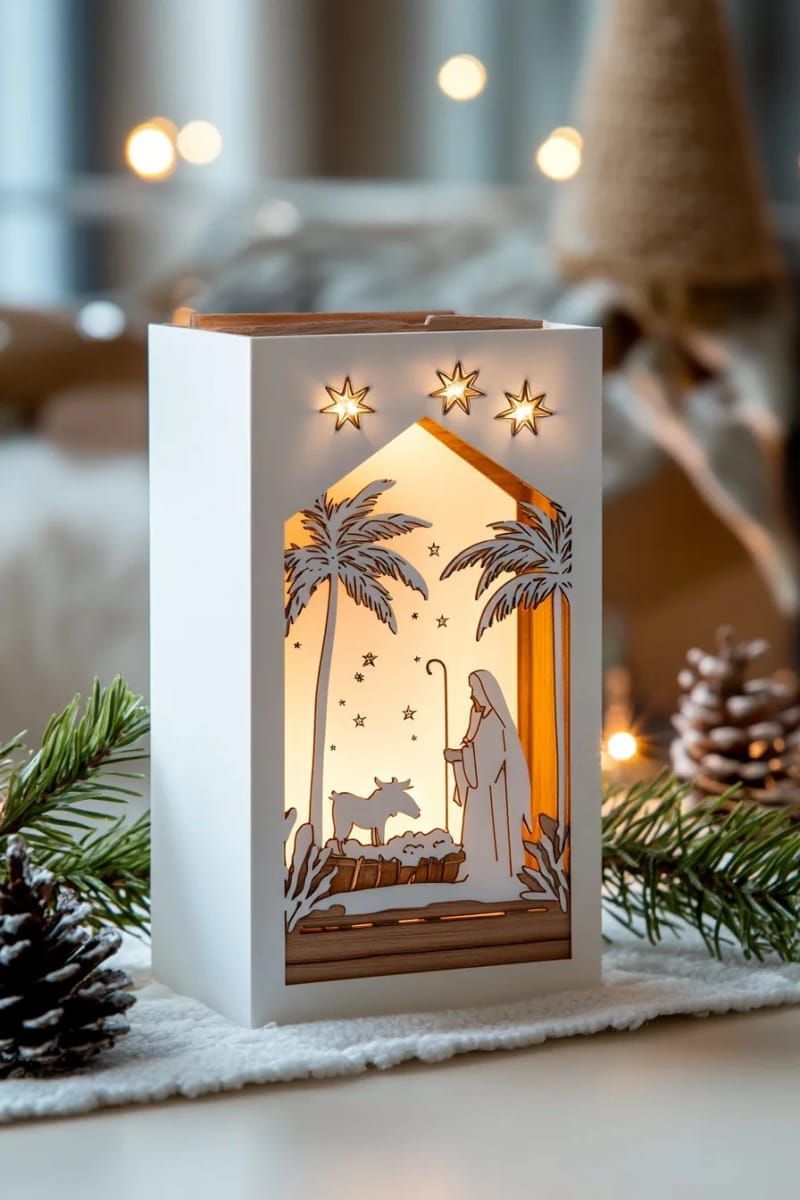
A nativity shadow box lit from within by small LED lights makes a striking focal point for a mantel or shelf. Since your Cricut machine handles all the intricate cutting, you skip the risk of paper cuts from tiny detail work.
Layer several shades of cardstock behind the main scene to build a sense of depth, then tuck a string of warm-white lights behind the layers. The result looks like a scene lifted straight from a storybook.

Go slowly when assembling the layers, since fine details need careful placement to line up correctly. Double-sided tape and battery-powered string lights make the whole process much easier to manage.
Warm LED light filtering through layered paper gives the scene real depth after dark. A plain shelf becomes a lit display piece with just a few hours of cutting and gluing.

On a cold winter evening, a handmade reindeer luminary can cast a soft glow across your living room without a single open flame.
Frosted vellum paired with a battery-operated candle lets your Cricut-cut reindeer silhouettes glow gently from within. This Scandinavian-inspired design suits minimalist holiday decor as easily as a traditional one.
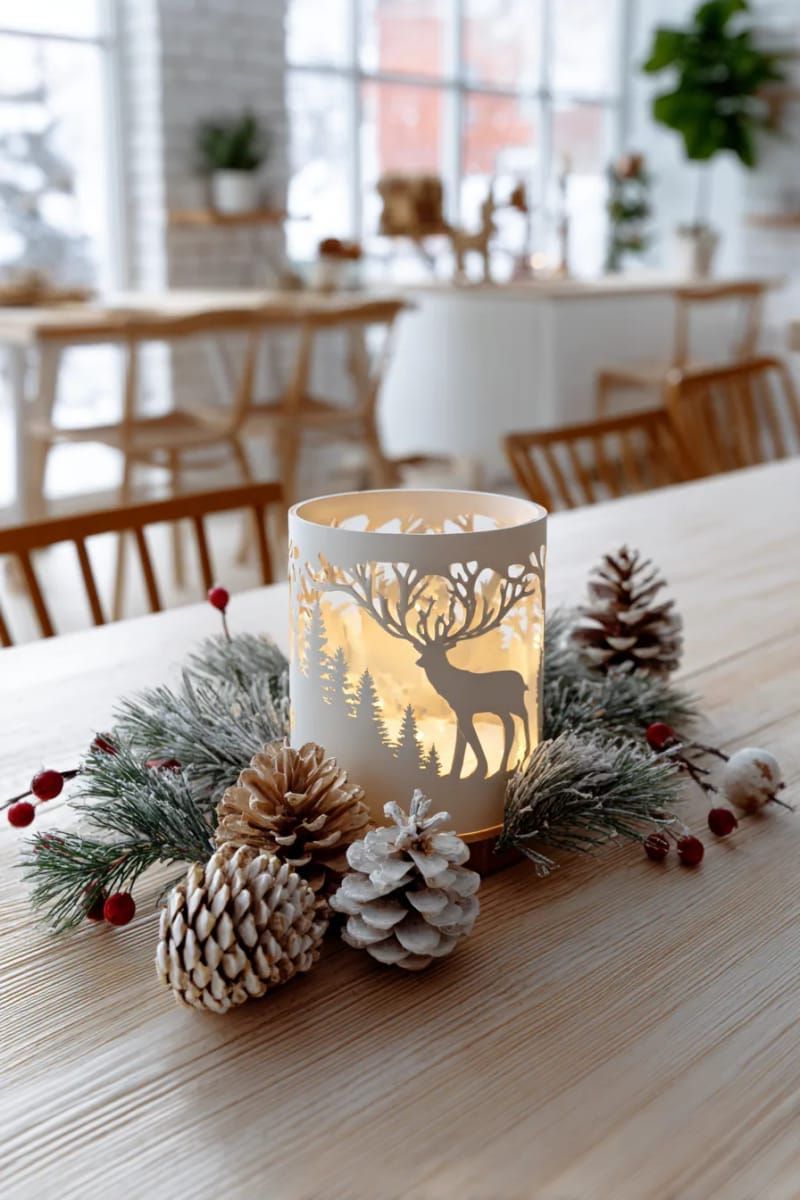
To assemble it, cut reindeer and pine tree shapes from cardstock, adhere them to the frosted vellum, then wrap the sheet around a flameless candle. You get a soft, snowy glow with none of the fire risk of a real flame.
Choose a thicker weight of vellum whenever possible, since thin sheets tend to look flimsy once the candlelight shines through them.
4. Modern Christmas village window clings with gold foil rooftops
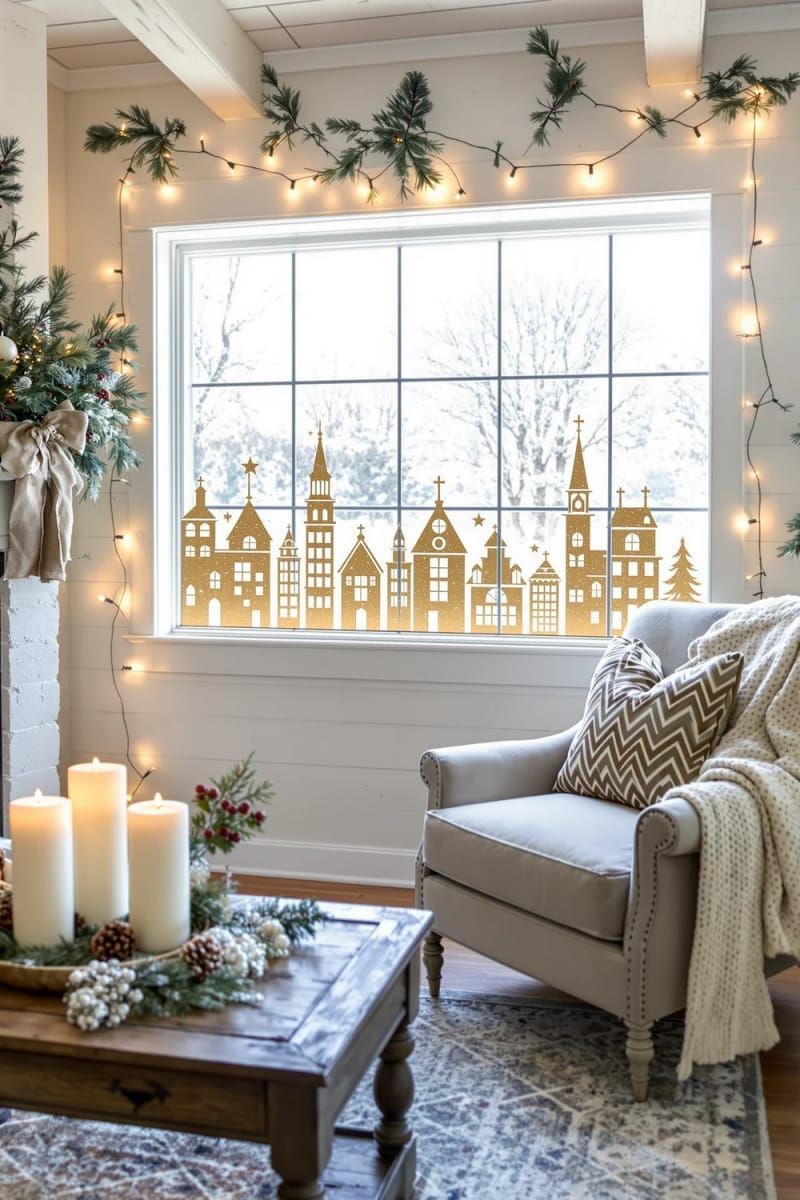
A window lined with simple black village silhouettes and gold foil rooftops turns an ordinary pane of glass into a holiday scene. The contrast between matte black cardstock and shiny foil gives the whole design a polished look.
This project comes together fast because the shapes are simple. Cut clean building outlines with your Cricut, then apply foil accents to the rooftops to finish each piece in minutes.
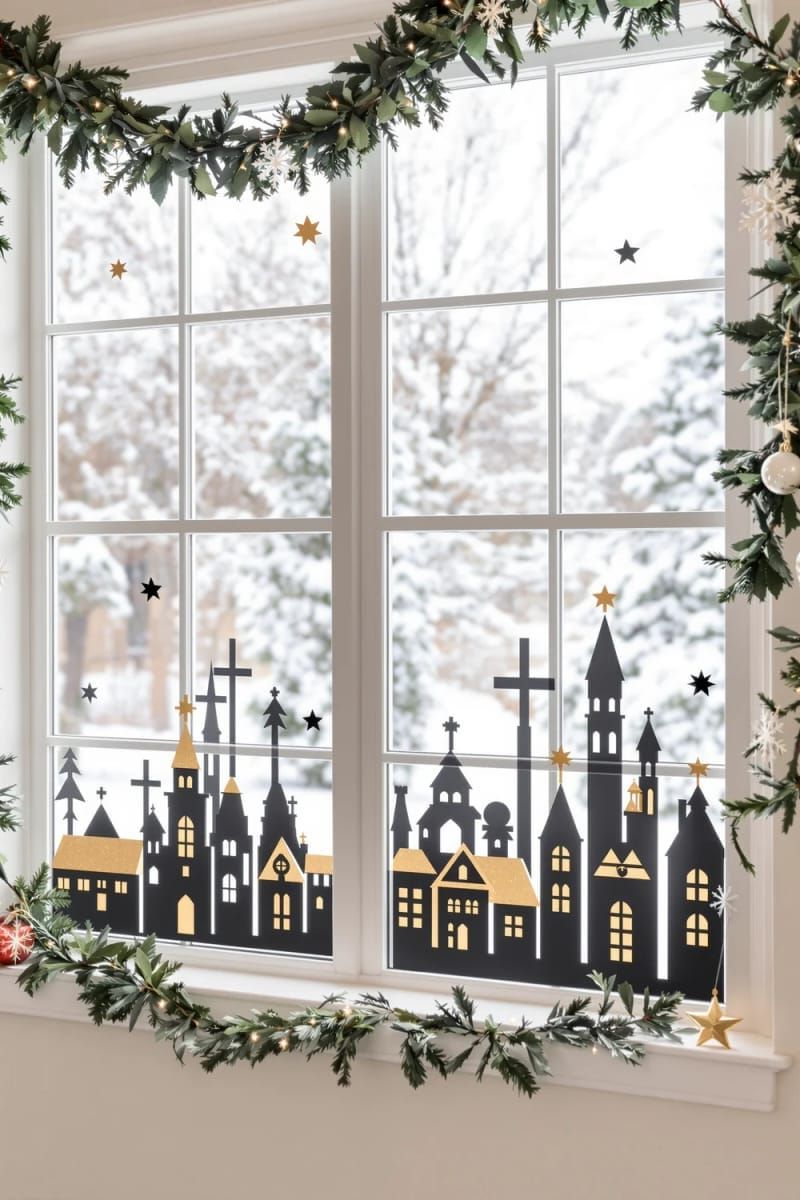
Once the sun goes down, string lights behind the window reflect off the gold foil for a warm glow. Fingerprints show up easily on foil, so wipe it clean with a soft cloth as you work.
For a modern update to your holiday window display, this project delivers a polished look without a long time commitment.

5. Red and green cardstock wreath with mini ribbon bows
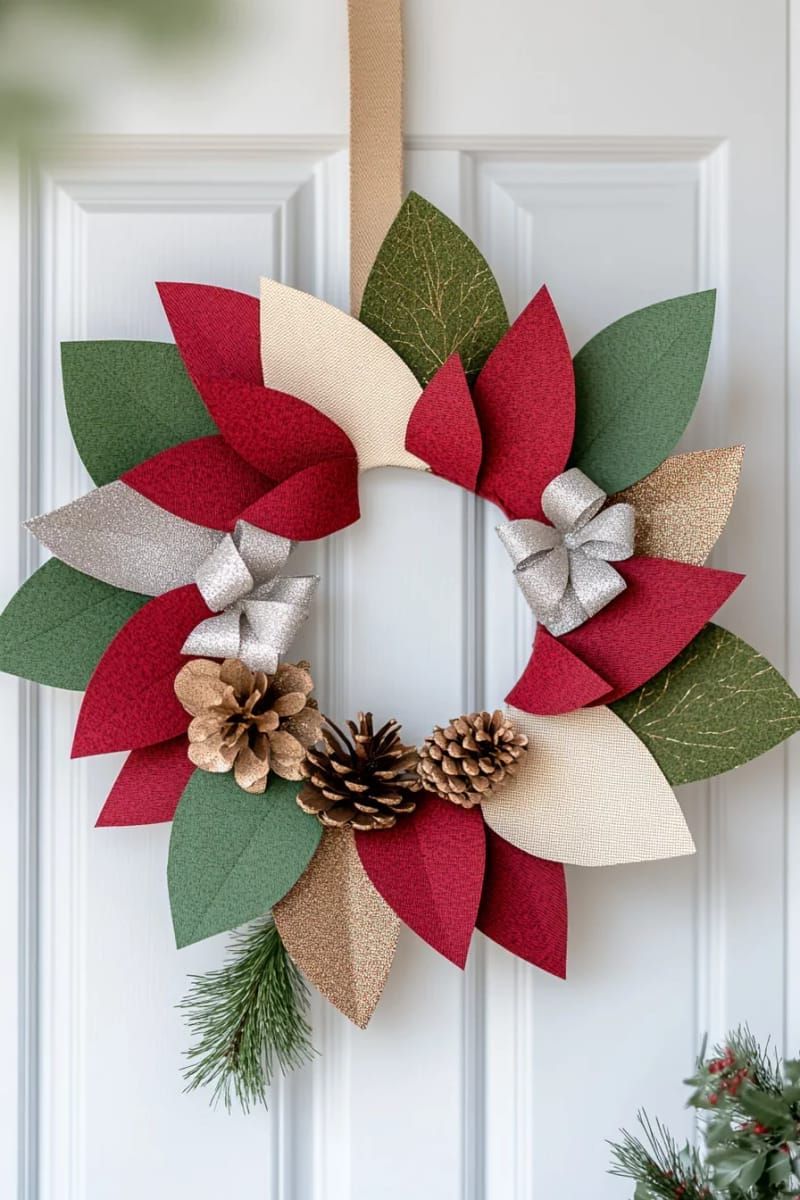
Skip the store-bought wreath and build your own from layered red and green cardstock using your Cricut. It costs little, takes an afternoon, and gives you full control over the color palette.
Small ribbon bows tucked between the layers add texture and make the finished piece look far more polished than the materials suggest.

Start by cutting cardstock strips or shapes in several shades of red and green, then arrange them into a circular wreath form. Secure each layer with double-sided tape or craft glue, and finish by tucking ribbon bows into a few open spots around the ring.
The finished wreath is lightweight enough to hang on a door, window, or wall with a small hook or piece of tape.
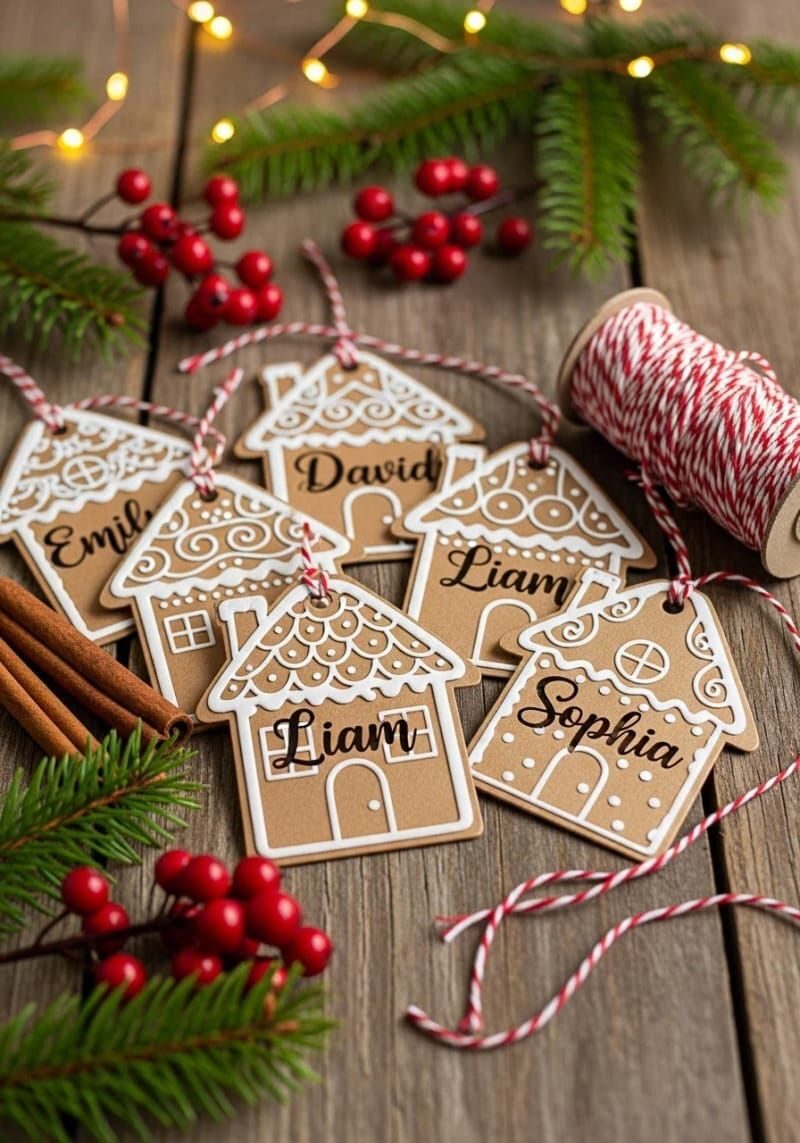
White vinyl piped to look like icing turns a plain gift tag into a mini gingerbread house, adding a handmade touch to wrapped presents.
Each tag can carry a different design, since swapping vinyl colors or shapes changes the look instantly. Your Cricut cuts crisp, consistent edges, so the icing details read as clean lines rather than smudged marks.
Start with a basic house outline, then layer on vinyl windows, a door, and swirled icing details. Vinyl peels up cleanly, so mistakes are easy to fix without ruining the tag.
Small vinyl pieces are easier to place with tweezers than fingers. Once assembled, these tags double as tiny keepsakes that recipients may want to keep long after the gift is unwrapped.
7. 3D snowflake and pom-pom Christmas tree ornaments
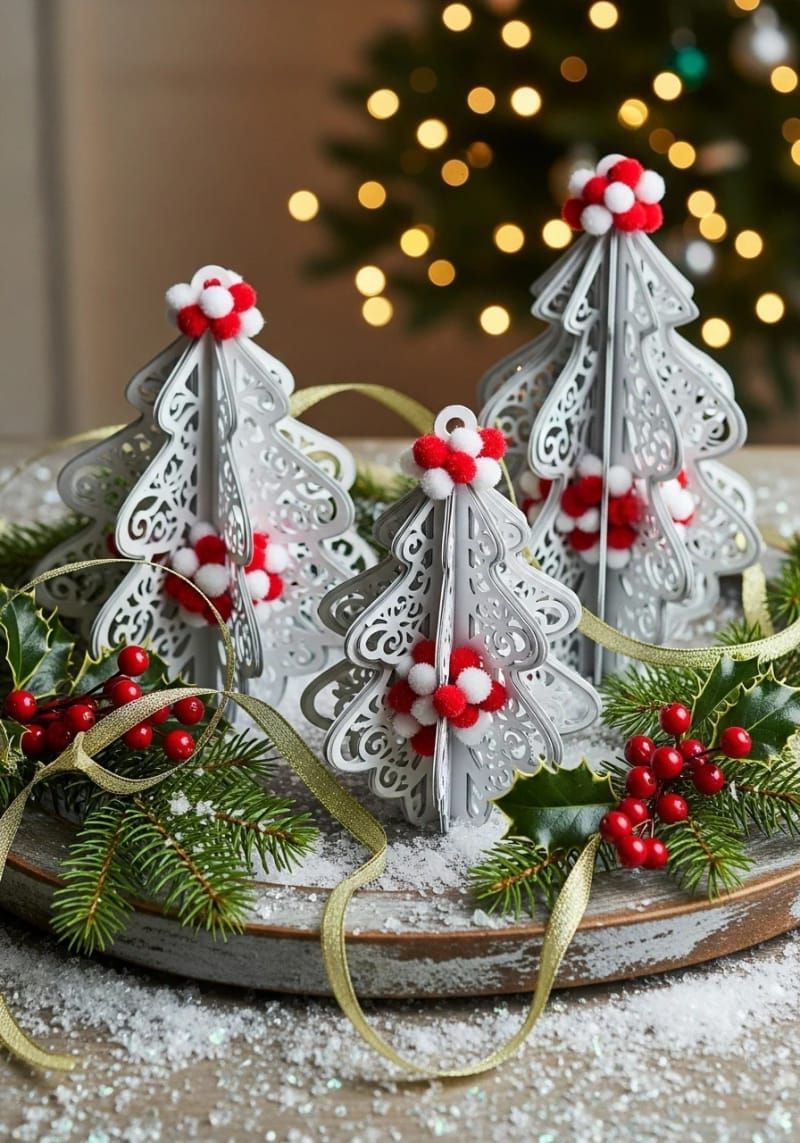
Layered 3D snowflakes paired with small pom-poms make ornaments with real texture, and a Cricut machine handles all the precise snowflake cuts for you.
Handmade ornaments give each tree branch something a boxed set can’t offer: a design you chose and built yourself, sized and colored exactly how you want it.
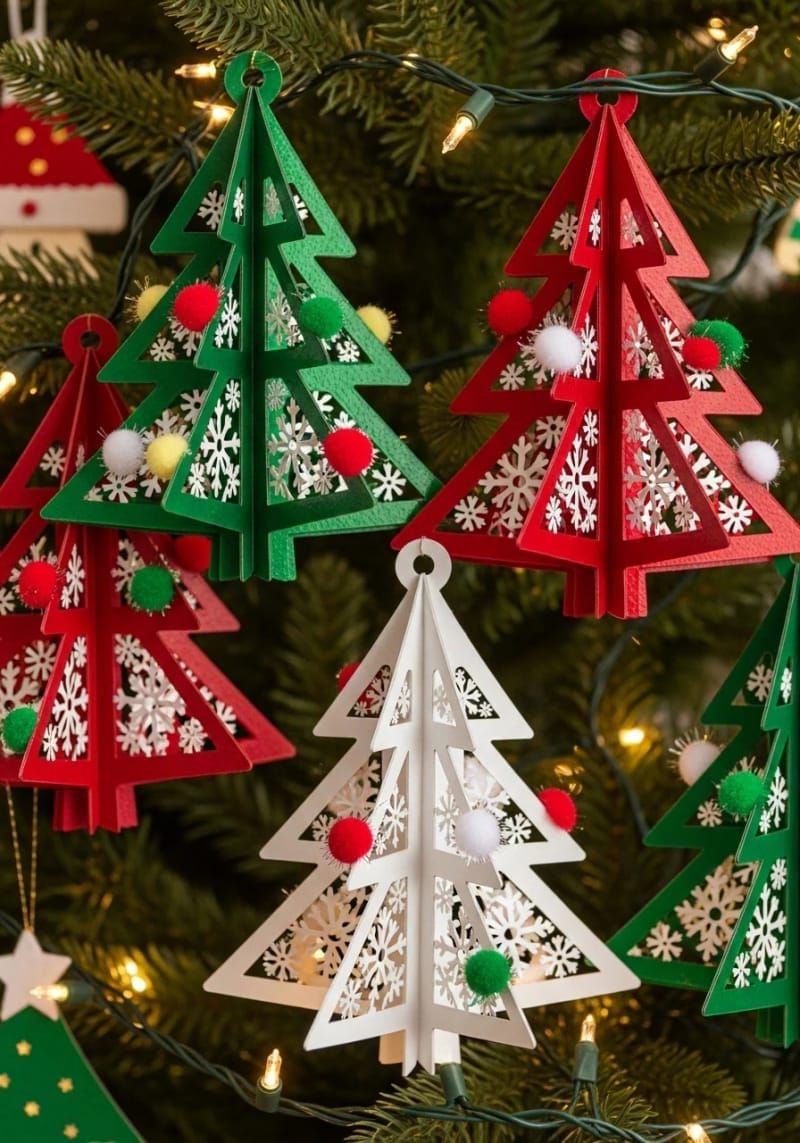
With some light cardstock, glue, and a few fluffy pom-poms, you can make these ornaments in no time. They look nice because they are 3D and the pom-poms add a fun touch.
The only problem is that pom-poms can lose their fluff. It’s a good idea to keep a lint roller nearby and a vacuum close by too.
8. Hand-lettered SVG wall art with classic holiday phrases
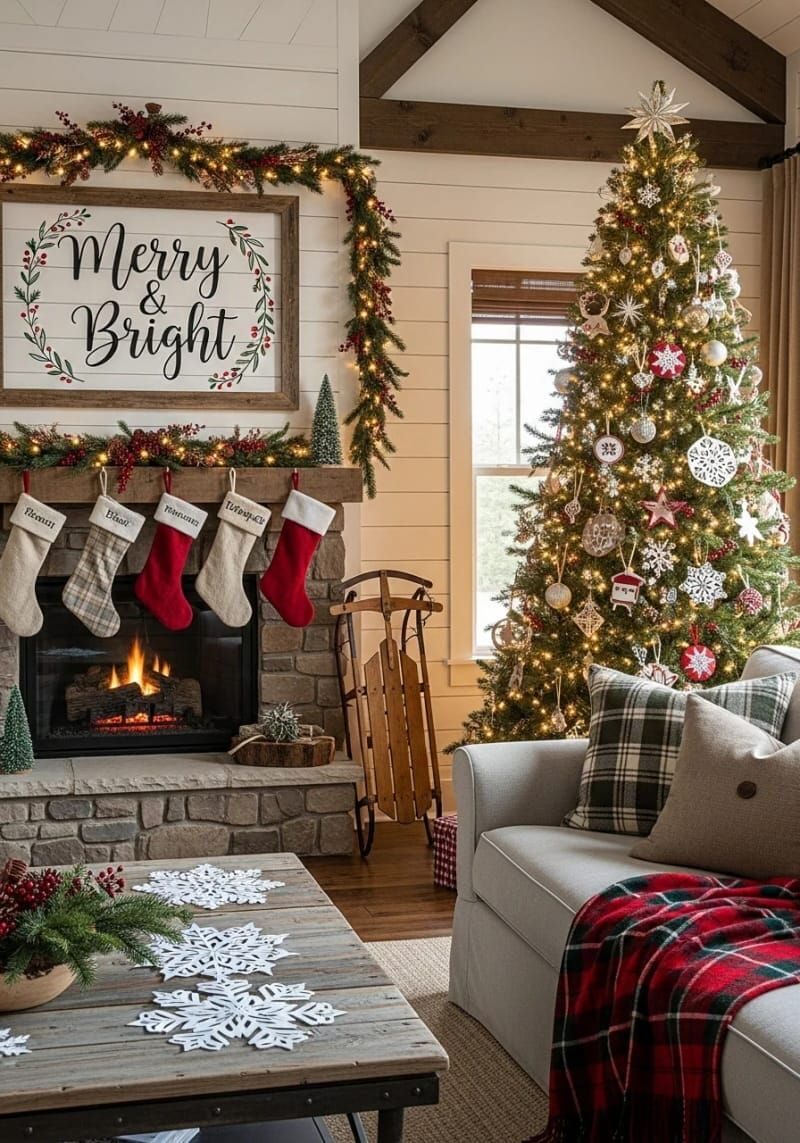
There’s something special about seeing “Merry & Bright” on your wall in big letters. If you have a Cricut, you can make these fun designs on wood, canvas, or glass.
You can make your decorations special by choosing fun colors or adding some sparkly glitter for a little extra joy.
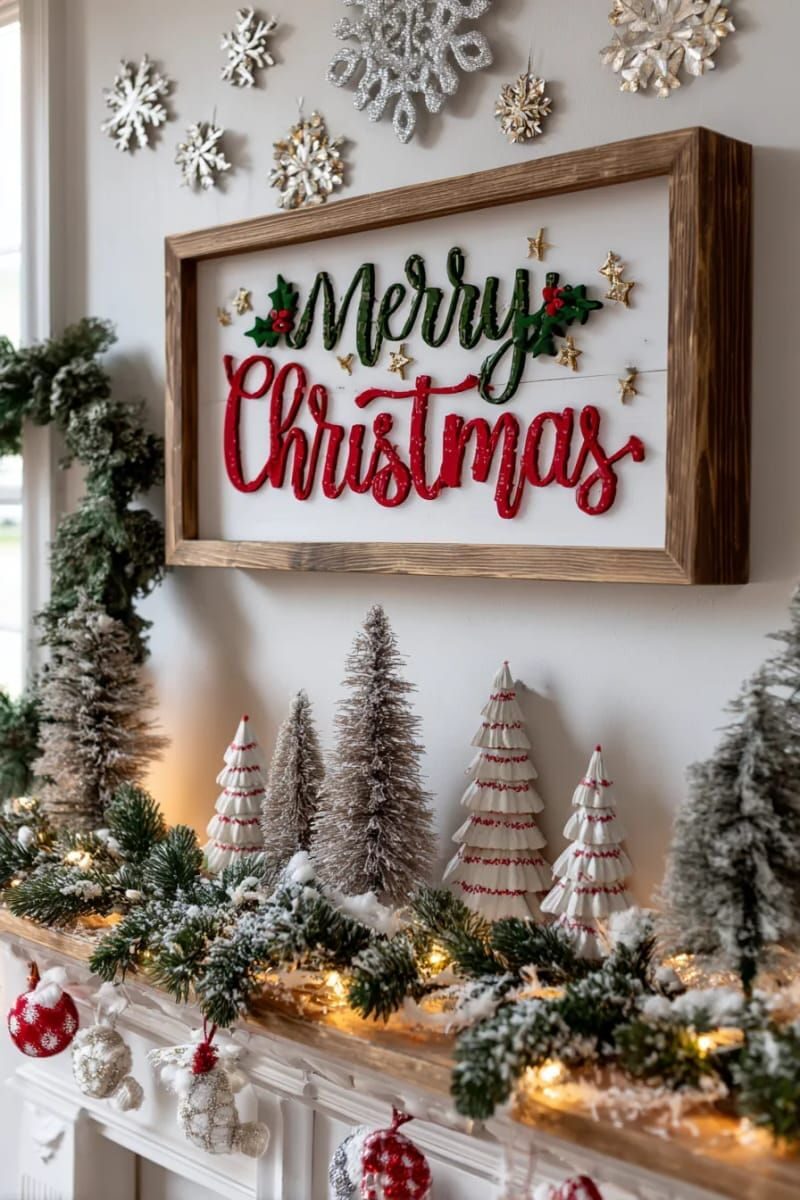
Making SVG wall art is a fun and easy way to decorate without spending too much money. Sometimes, fancy letters can be tricky to use on small spaces. It’s best to keep your designs simple and big so they’re easier to work with and look great.
Get the kids involved! Let them pick the words or colors, and turn decorating into something your family does together.
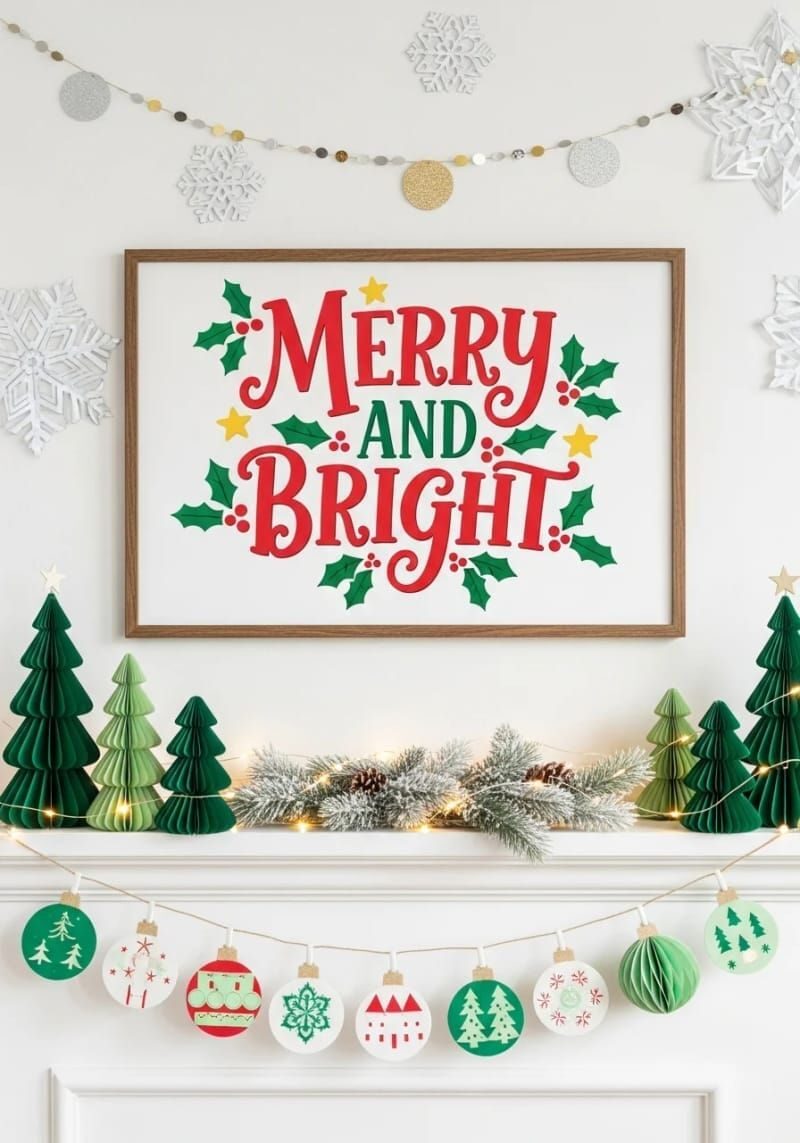
9. Forest animal decor set with layered pine trees and deer

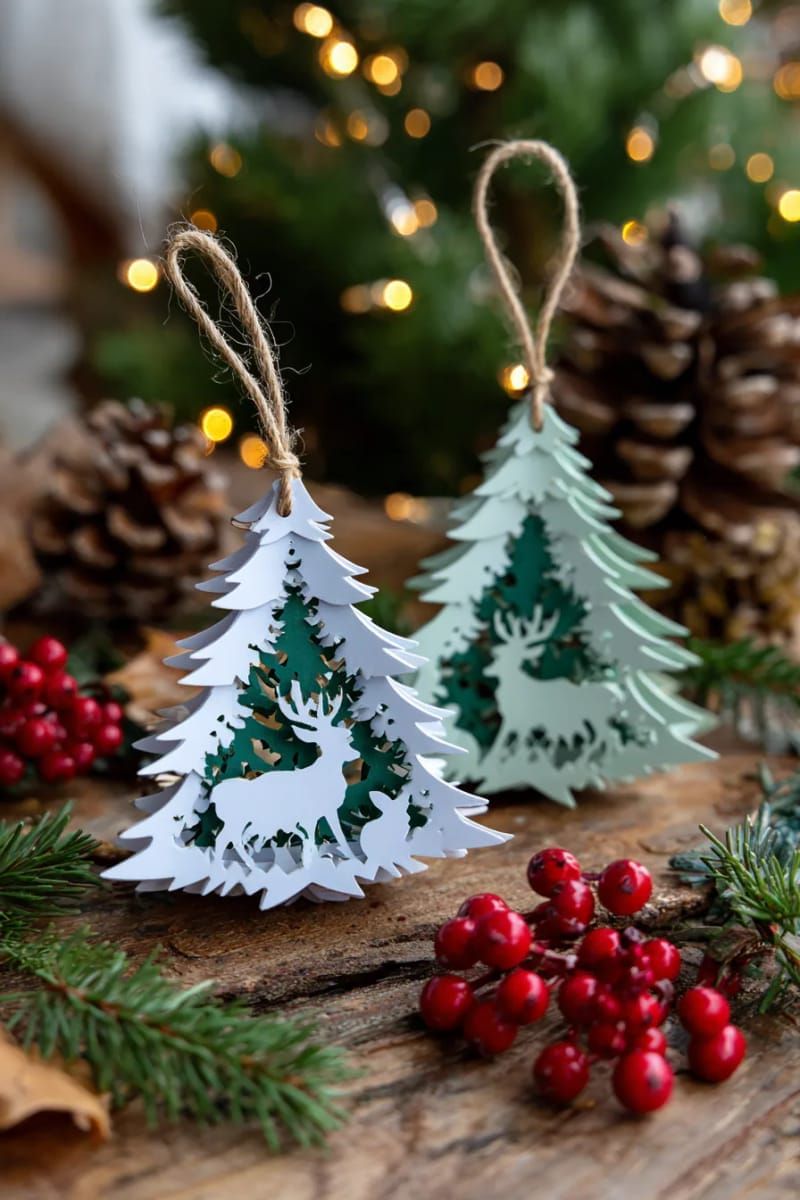
Picture decorating your tree with cute animal ornaments, each one surrounded by tall pine trees and a careful deer. These special decorations made with a Cricut bring a nice, peaceful feeling of the woods to your holiday home.
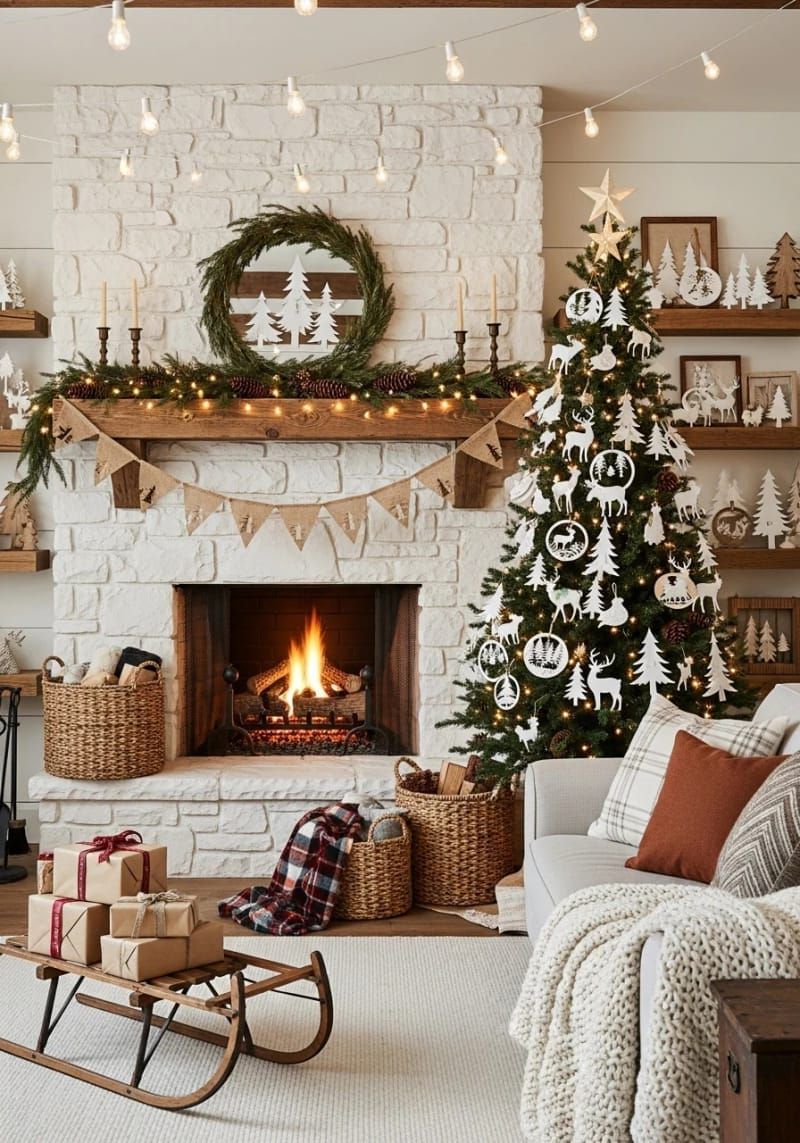
The blend of deep greens and browns looks beautiful next to the sparkling lights, bringing back happy memories while adding a fun, nature-filled feel to your home.
Creating this set is easy, but you need to be careful. Placing the pine trees behind the deer makes it look like a little forest, bringing the scene to life.
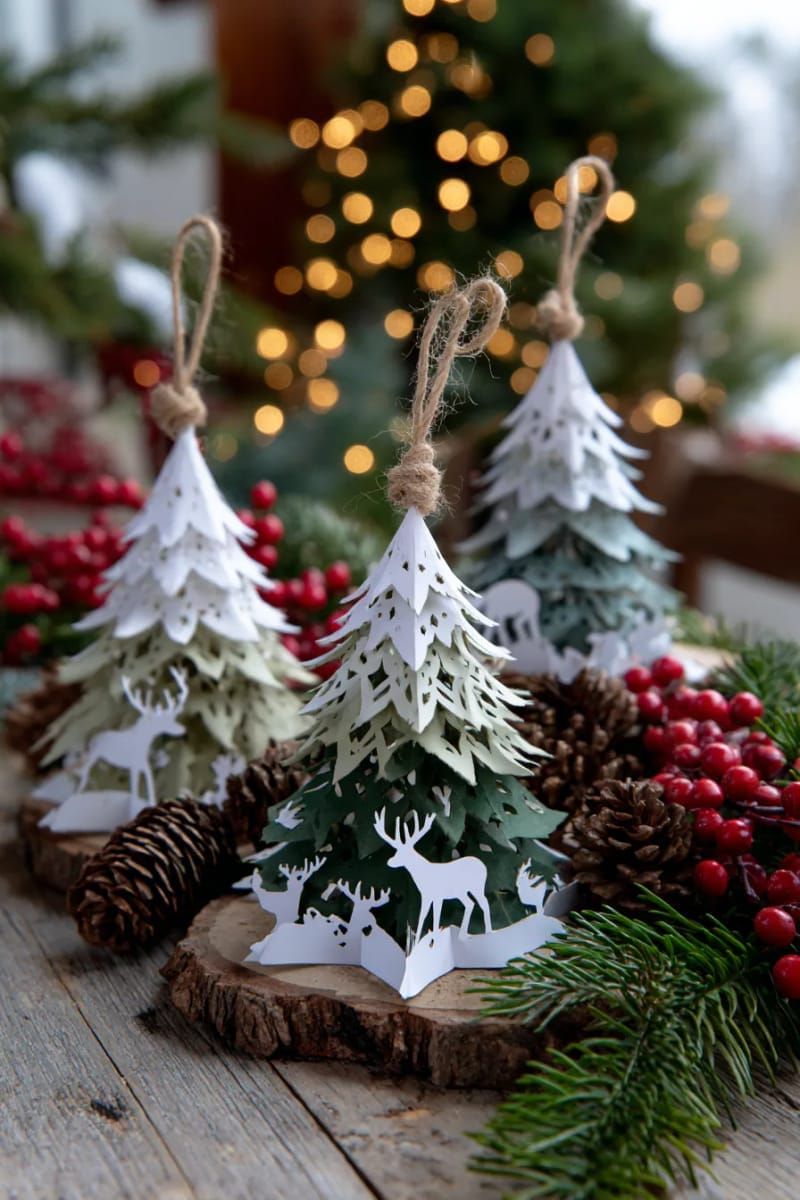
To make everything match nicely, pick just three colors to use. Your friends might even ask you where you found such pretty decorations.
10. Wood-style hoop sign reading Peace Love Believe

A simple wooden hoop art that says “Peace, Love, Believe” gives a cozy holiday feeling. Its easy design shines bright among the showy decorations.
Imagine putting one of these in your hallway or above the fireplace. When friends come over, they might stop and read the words, feeling happier for a moment before they go on.
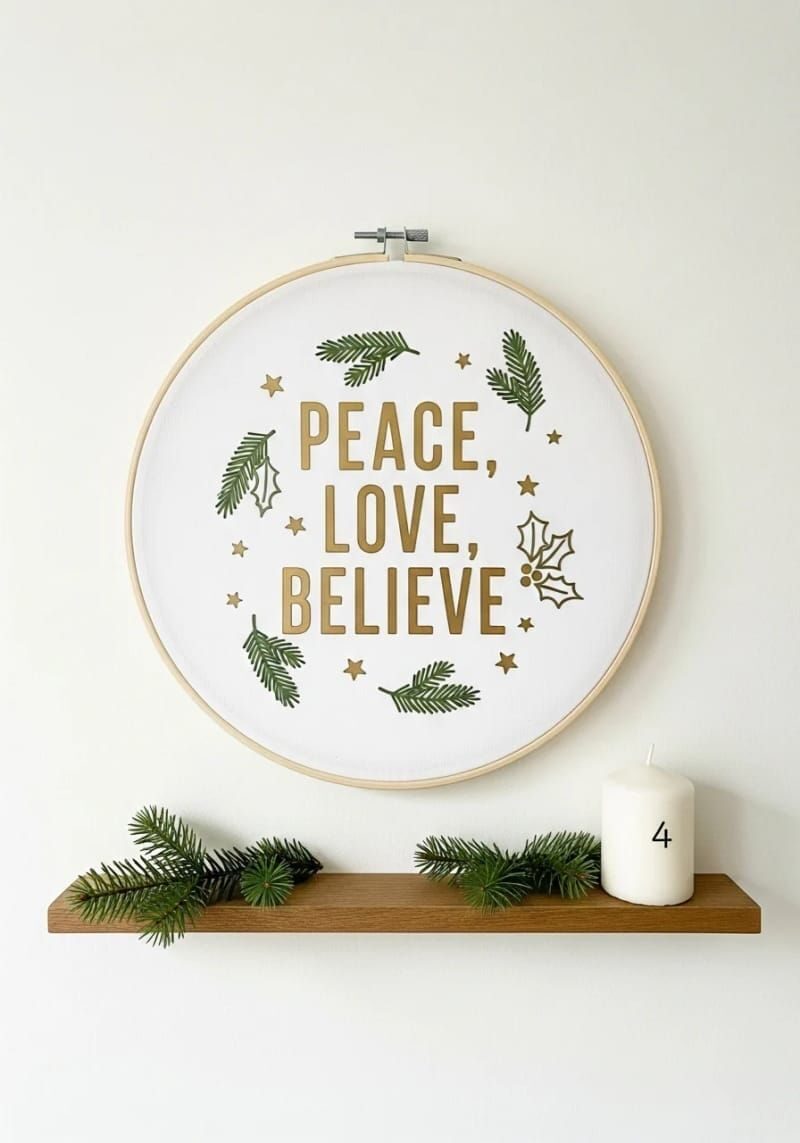
Making this art is really easy with a Cricut. You can use fake wood vinyl for a nice look and simple letters for a neat style.
The small problem? Dust might settle on it, so just wipe it clean every now and then. It’s easy to take care of, looks nice, and holds meaning—what’s not to love?

11. Pop-up advent calendar with Cricut-cut countdown numbers
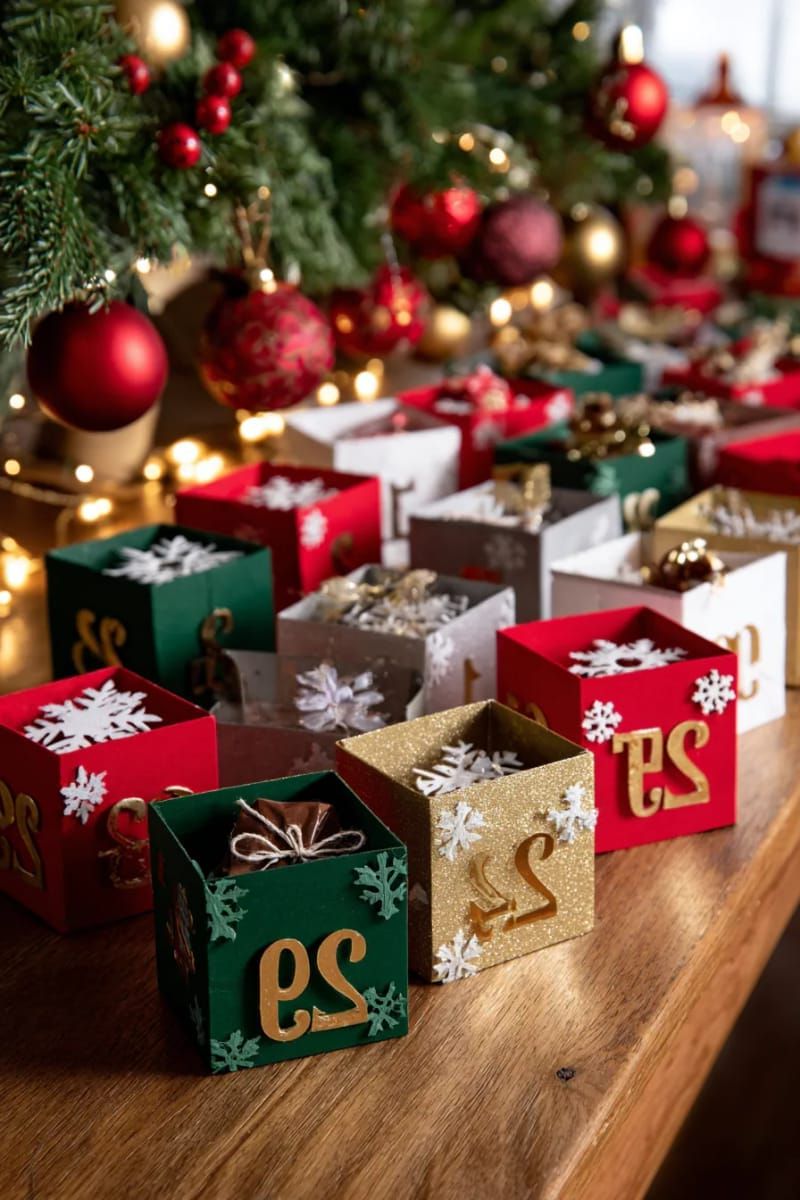
Counting down to Christmas isn’t just fun for kids; adults enjoy it, too. Making a DIY advent calendar with pop-up numbers from a Cricut brings a cheerful twist to your holiday season.
Picture opening each day to find neat, special numbers coming out just for you. It’s simple to do, but it looks amazing.
Grab some colorful cardstock for your project. Use your Cricut to cut out numbers, then stick them on using foam tape to make them pop out. You can place a little surprise or note in each pocket, too.
The only tricky part? You might want to make one for every room in your home.
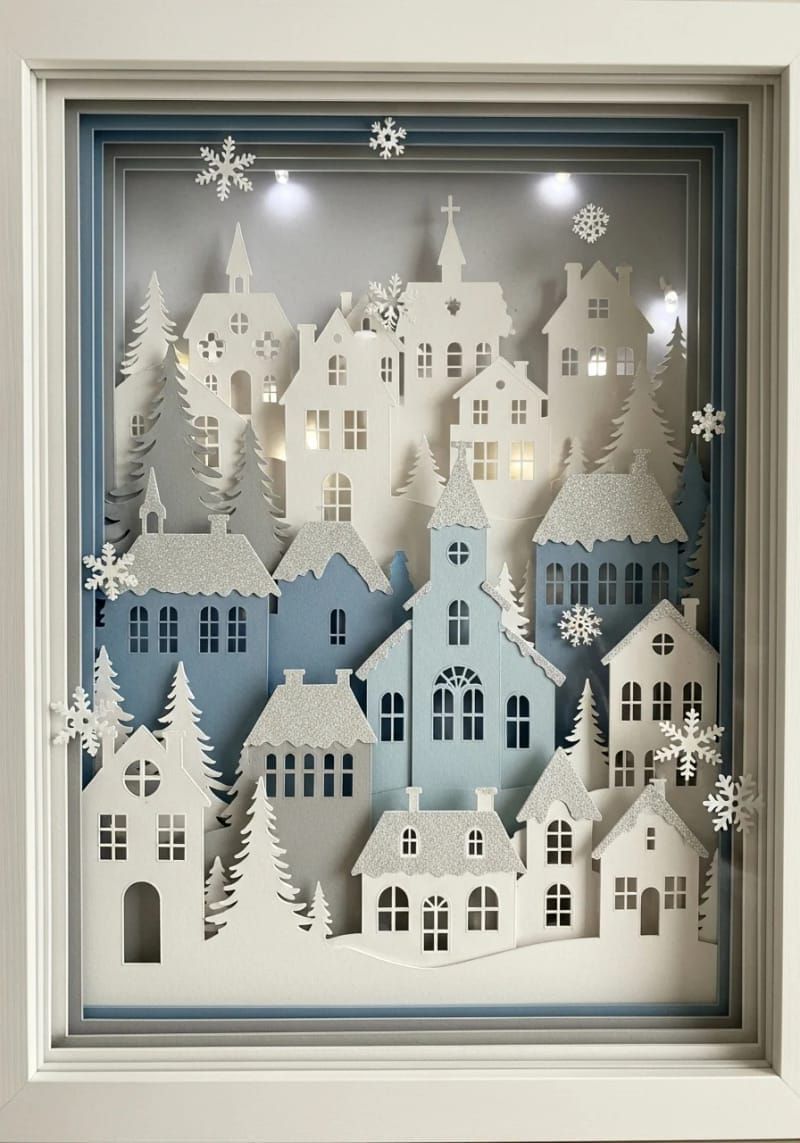
12. Layered cardstock winter village shadow box display
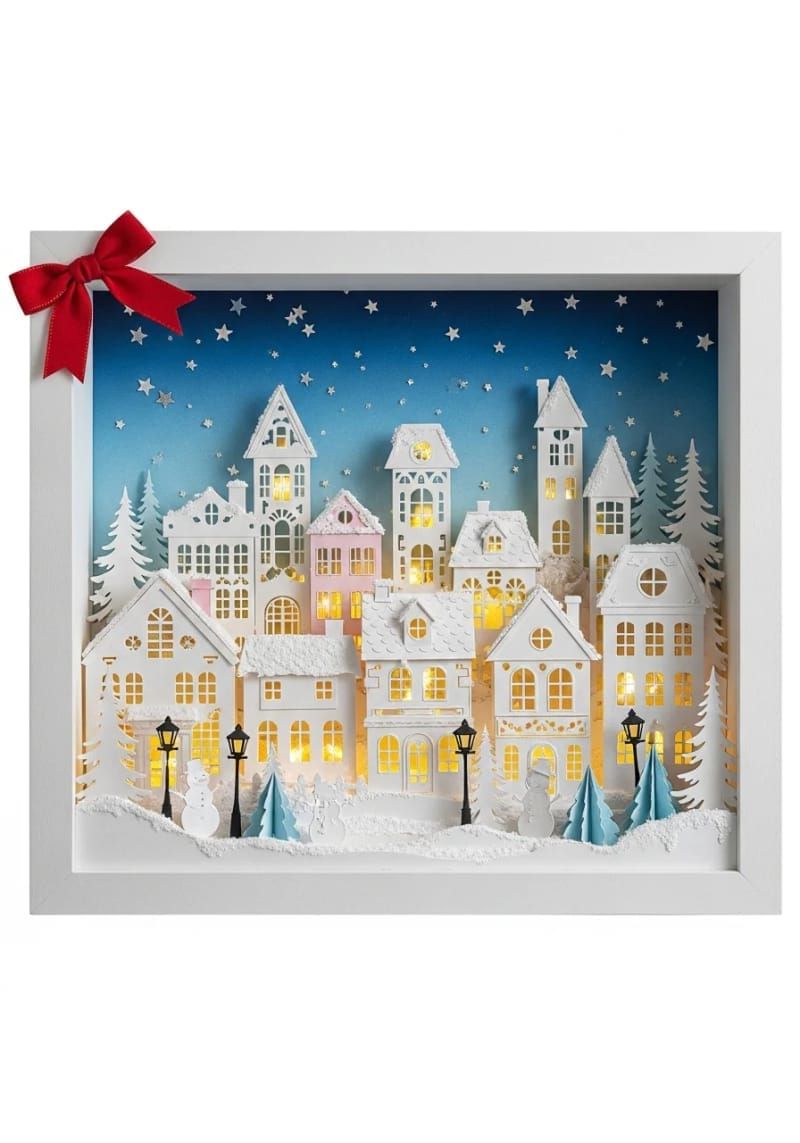
Make a shadowbox with snowy town scenes using colorful cardstock buildings. When you stack the layers, it looks like the village is really alive, bringing a special magic to your holiday decorations.
Want to make your shadowbox even better? Put some little fairy lights behind the layers. Then, the windows on your paper houses will shine, and your room will feel like a cozy snow globe.

Some people find cutting out fancy buildings hard, especially when using thin paper. If you’re having trouble, try making your machine go slower and make sure your blades are new for the best cuts.
Don’t forget to use foam spacers between the layers; they make everything look 3D. This project takes some time, but it creates a warm, magical winter scene that’s really worth it.
13. Playful Grinch door sign with layered cardstock details

Picture welcoming your friends with a Grinch door sign that’s just as playful as the Grinch.
Using layers of colored paper makes everything stand out and look fun. You don’t need special tools—just take your time and be careful. It’s a great activity for kids, and it helps bring some joyful holiday spirit.

On the other hand, detailed cuts can be tricky for beginners. You might need to try a few times to get the Grinch’s fluffy Santa hat and cheeky smile just right.
But even when things don’t come out perfect, they have their own charm. Those little mistakes make your sign feel special and cozy. Are you excited to let your inner Whoville artist shine?
14. Layered birch tree silhouette ornament for a woodland look

A winter woodland ornament can make your Christmas tree feel warm and cozy. With a Cricut, you can easily create pretty birch tree shapes from paper or thin wood.
When you stack these shapes, it makes them look more interesting and alive, like there’s a little bit of magic in them. Unlike factory-made ornaments, your creation will have a special spark.
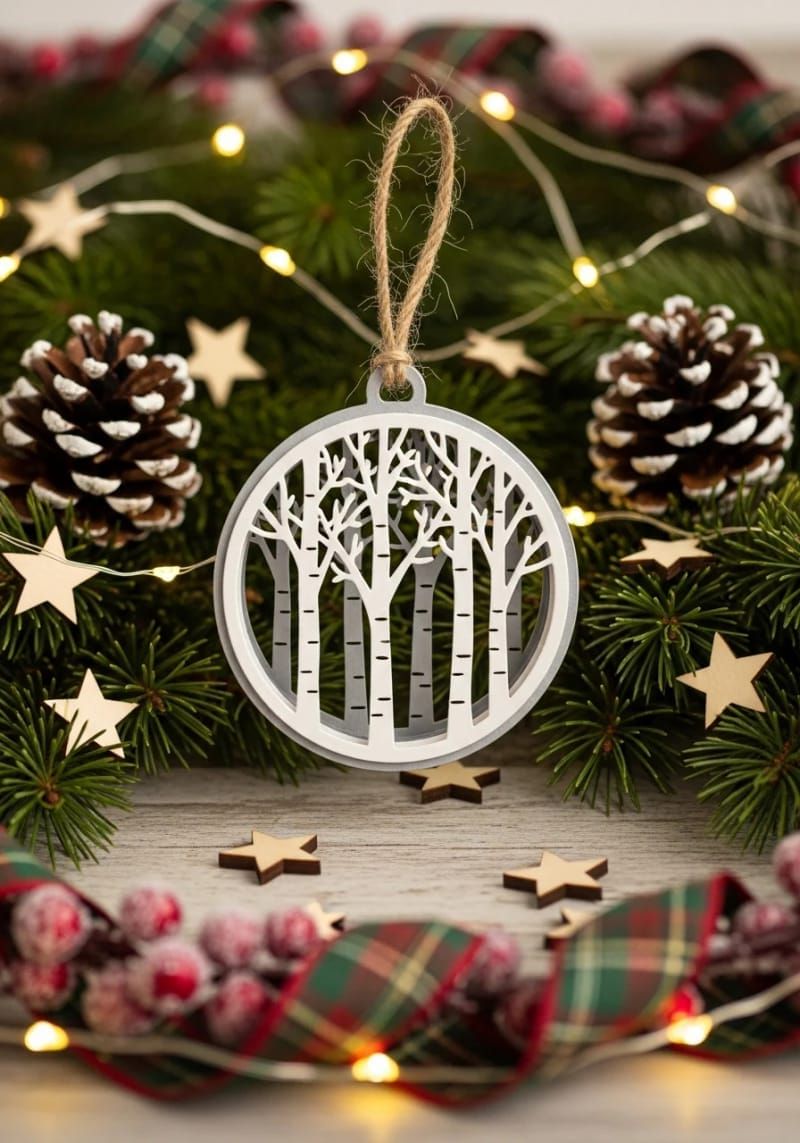
If you want your ornament to really shine, try using some glitter behind the birch shapes or pick a fun paper for the background. They are light, easy to make, and you can change them however you like.
The only tricky part is that some cuts can be a bit hard, so go slowly and use a sharp tool to get nice clean edges.
15. Vinyl snowflake window clings for a winter accent
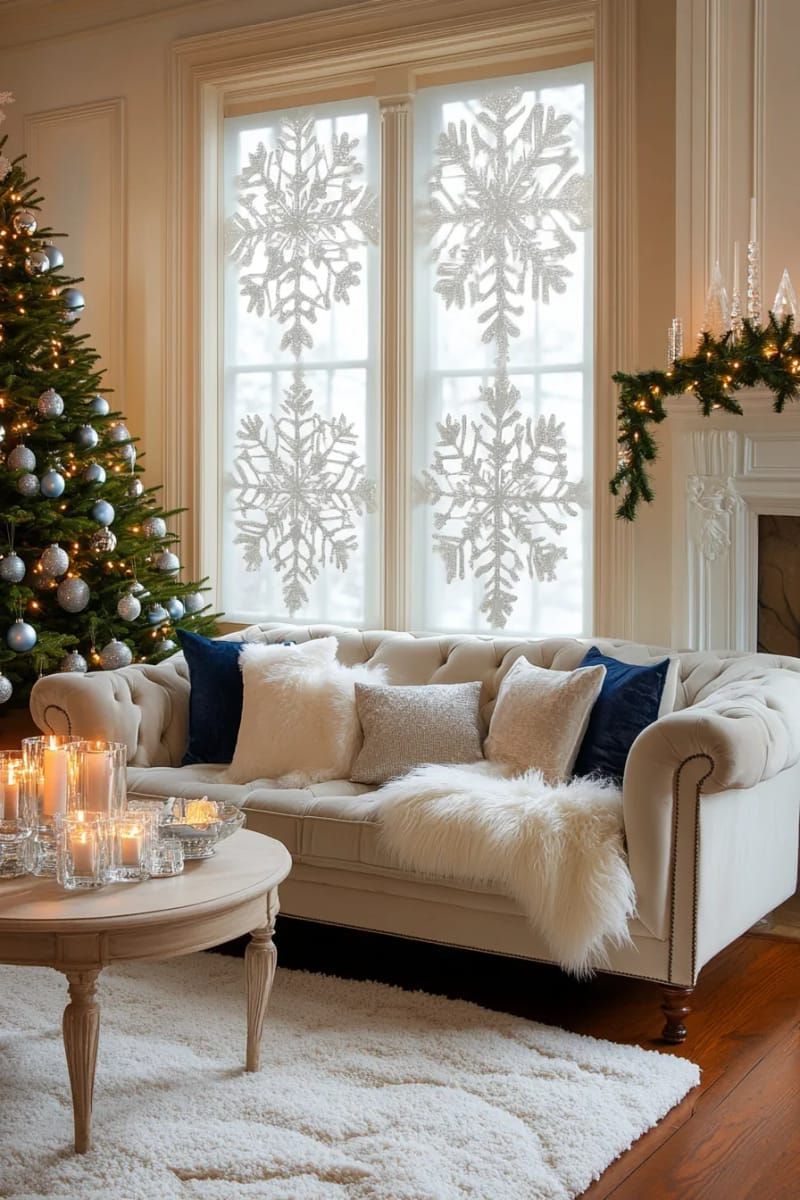
Vinyl snowflake window clings are a fun and easy way to make your home feel wintery without the cold. You can use them again, they stick on nicely, and when you take them off, they don’t leave any mess behind.
Want some winter magic right away? Use different sizes to create layers that will surprise even your family.
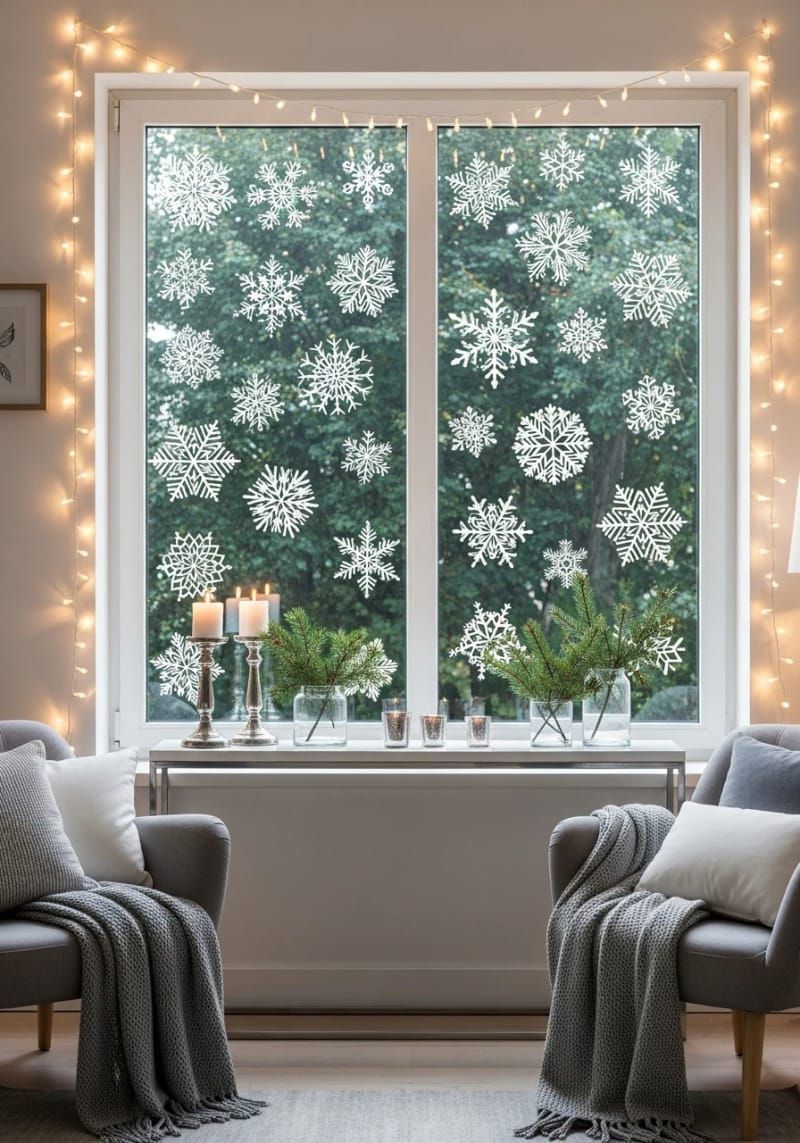
Vinyl clings look really nice on the window, but be careful of moisture because it can make them slide around. Make sure to clean the glass first so they stick well.
With a Cricut, you can make any design you want, from traditional snowflakes to fun shapes, and change them whenever you feel like it.
16. Candy cane and holly Christmas mug wrap designs
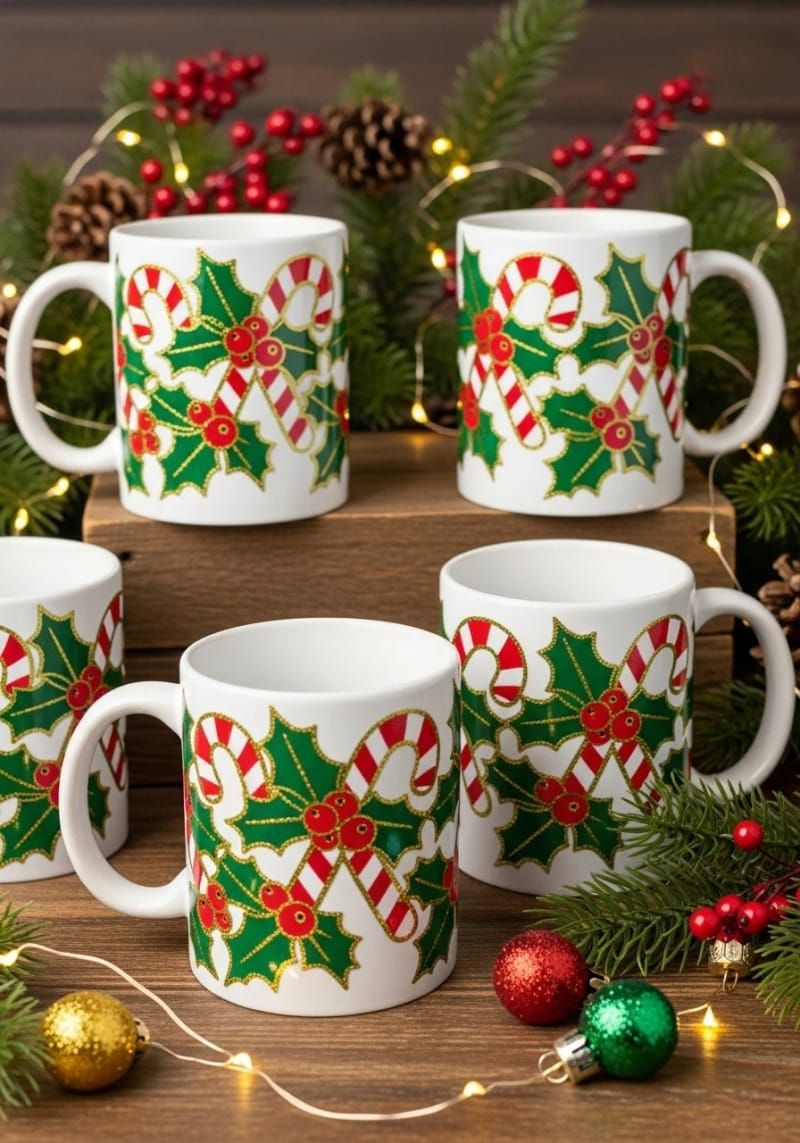
Holiday cheer doesn’t have to be hard to make. Christmas mug wraps with candy canes and holly bring happiness to your kitchen. They make your morning coffee feel a bit more special.
Also, you can use these wraps again and again; change them whenever you want for a fresh look or a new feeling.
Making these wraps with your Cricut machine is super easy. You can pick bright reds and greens for a classic look, or try shiny metallic colors for something new and fun.
Just keep in mind that not every design works for every mug, so it’s good to check your template first. These wraps can also be cool, personal gifts for your friends.
17. Plaid tree skirt with a Cricut iron-on monogram
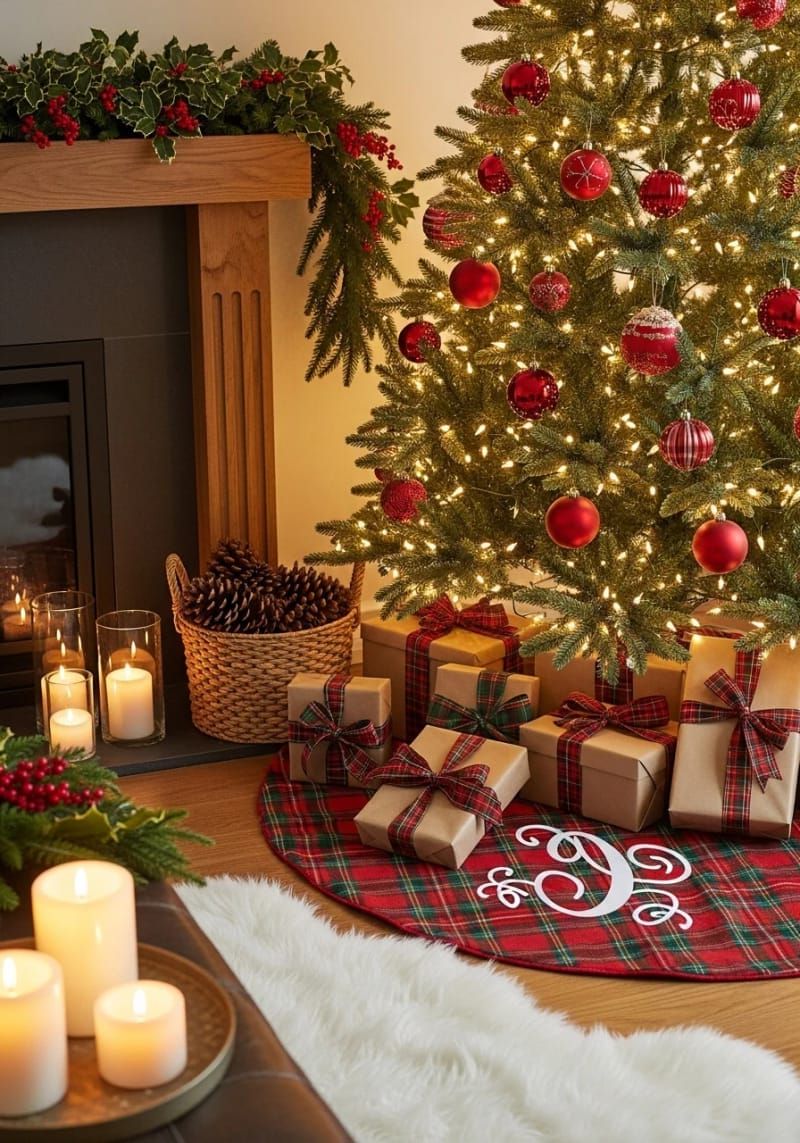
A plaid tree skirt makes your holiday decorations feel warm and classic. With a Cricut iron-on monogram, you can add your name to it in just a few minutes, and you don’t even need to sew!
Choose a fun font in Design Space, cut out the vinyl, and press it on. Now, your family’s initials shine brightly underneath the Christmas tree.

This project is easy, but make sure to look carefully at where you place the vinyl before you press it. Once it’s stuck, you can’t change it. But when it’s done, it looks special and made just for you.
People will probably think you got it from a fancy store. You might even want to make another one to give to someone special.

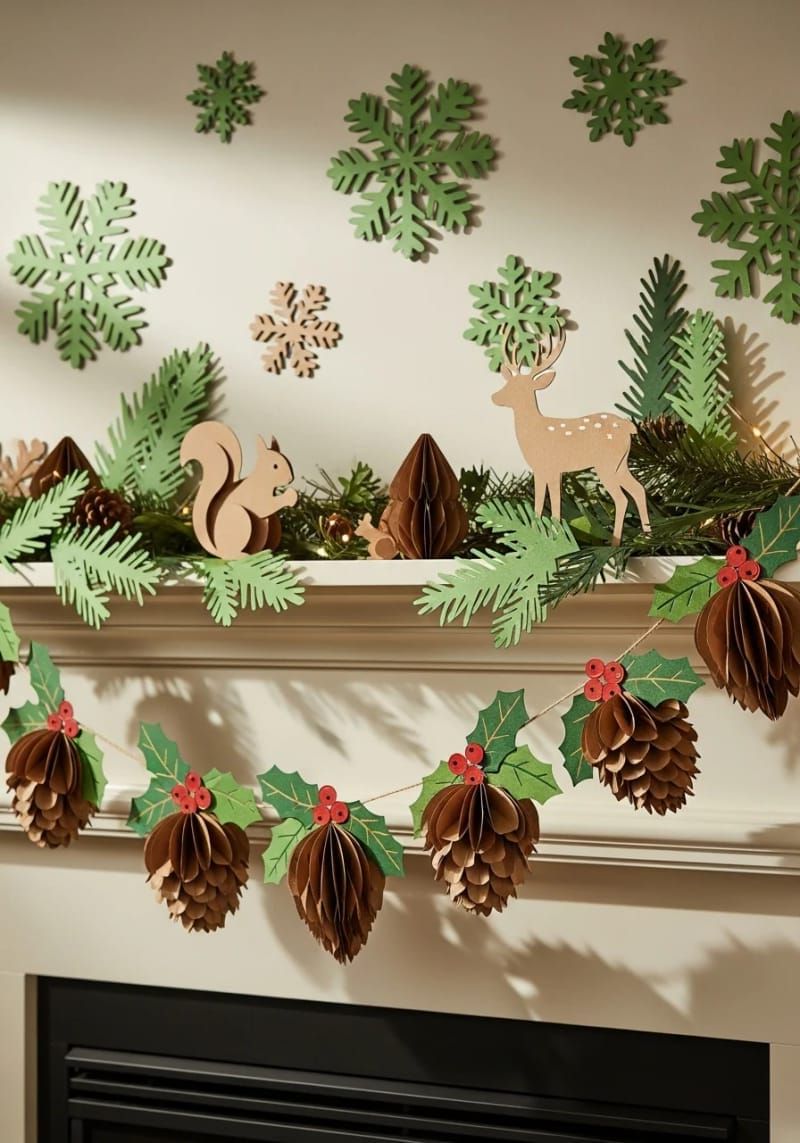
18. Nature-inspired pinecone and holly garland with 3D texture

Picture making a necklace with pinecones and holly leaves, but here’s the fun part: each piece is made from colorful cardstock using your special Cricut machine.
This idea brings a touch of the forest inside without needing to clean up real pine needles. And using paper lets you have fun with colors and sparkles that you won’t find in nature.

Making it is easy: you cut out the holly leaves and pinecones from colored paper, then you glue them and string them onto a piece of twine. If you want it to look even cooler, you can add some white ink to make it look like it’s covered in frost.
One thing to remember is that paper garlands don’t last as long as the plastic ones. But that’s okay because making new ones every year can be a fun part of the holiday tradition.

A Merry Christmas banner with bright red, green, and shiny gold letters looks so cheerful. If you have a Cricut machine, it can help you cut out perfect letters from colorful paper.
You can hang the banner above your fireplace or front door to make everything feel bright. It’s easy to do, and even if you’re just starting, you won’t have any trouble.

It might take a little time to get the letters lined up just right, but it’s worth it. You can use double-sided tape or tiny clothespins to keep them spaced well. And remember to add a touch of shine; the gold letters look lovely when the lights shine on them.
Get the kids to help with this fun craft. It will make your home feel like a cozy holiday card.
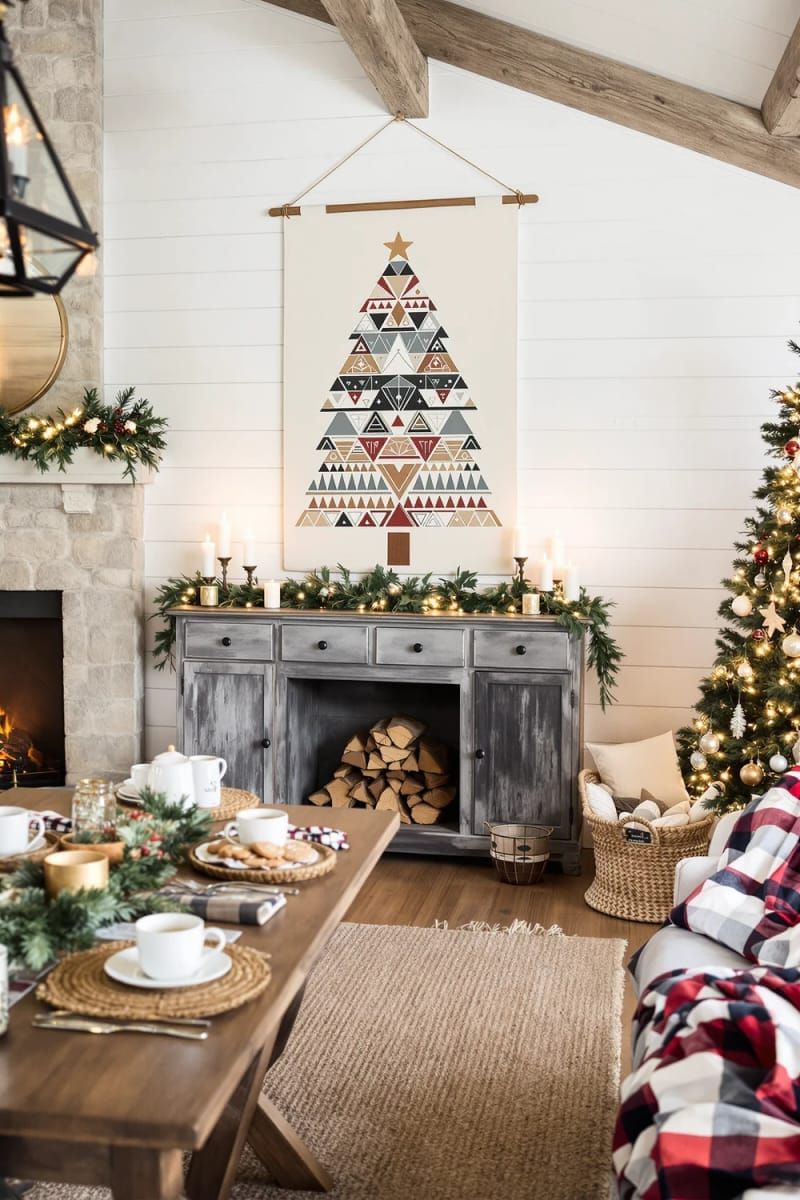
20. Nordic-style geometric Christmas tree wall art

Nordic-style Christmas tree wall hangings are a fun way to decorate for the holidays. They have simple shapes and patterns that look nice and tidy, making your home feel special this season.
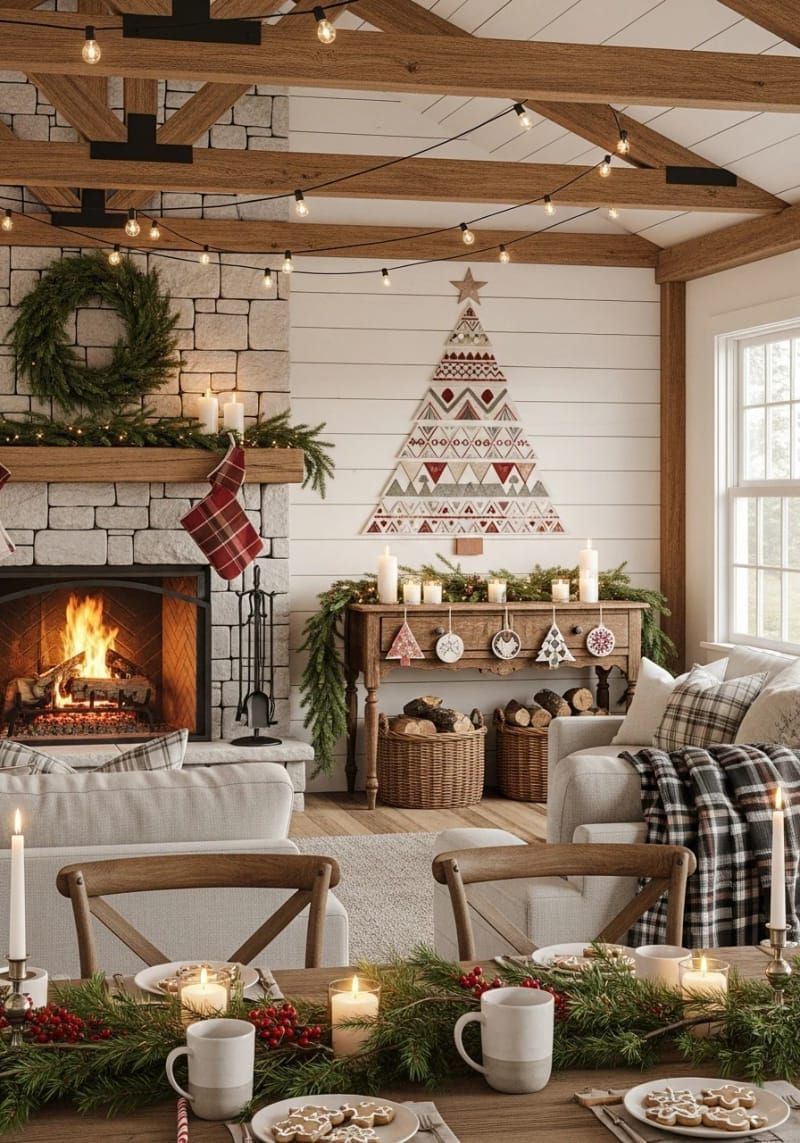
These wall hangings stay flat against the wall, which is great because they don’t take up much space. This makes them perfect for small homes or for families with playful pets.

Making your own is really easy. Pick some colorful paper or fabric, and let the Cricut do the cutting for you. Stack triangles and diamonds to create that special Scandinavian style.
If you want to change the colors next year, you can just cut out new shapes and keep the base. There’s no need to throw everything away.
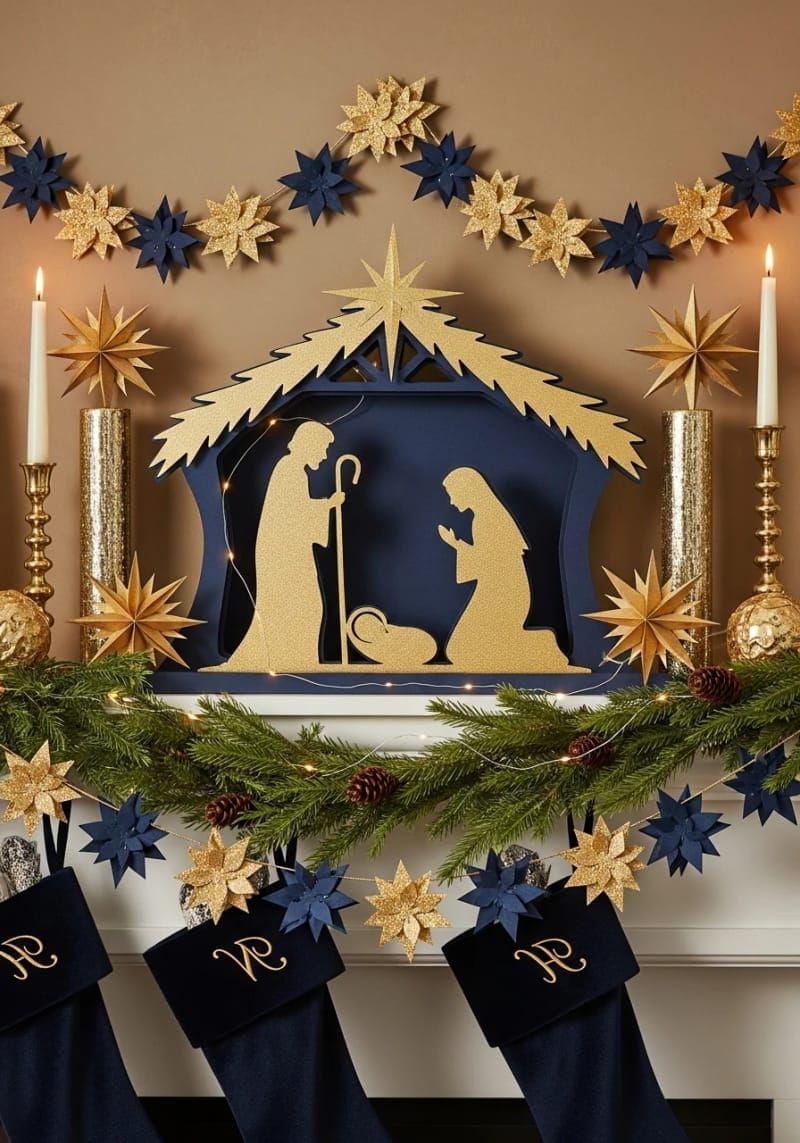
A beautiful nativity scene made from shiny gold and deep blue paper will make your mantel look nice. The gold makes the figures glow, and the blue helps everything feel quiet and peaceful.
It’s easy: just cut, layer, and stick. Even if you’re new to crafting, you can make something really nice with a Cricut and some glue.

Here’s a simple idea: put little foam pieces between the layers of paper to make it pop out. If cutting out fancy shapes feels tricky, begin with solid outlines. It still looks really great.
But there’s a little problem: if the pretty paper gets too close to the fire, it might bend and not look nice anymore. So, keep your art away from the flames.
22. Woodland cabin snow globe ornament with layered snow

Picture a snow globe ornament that brings the forest inside, with a cute cabin, tall pine trees, and dancing snowflakes. Each layer makes it more magical, like stepping into a wonderful winter scene.
Want to amaze your friends? This project sparks fun talks and looks great on the tree or in the window.

Cutting little snowflakes can be hard. You need to be careful and use sharp scissors. If you use glitter paper, the snow will shine bright when the lights hit it.
Hang your completed globe with a soft ribbon and see the kids lean in close to the glass, imagining chilly adventures.
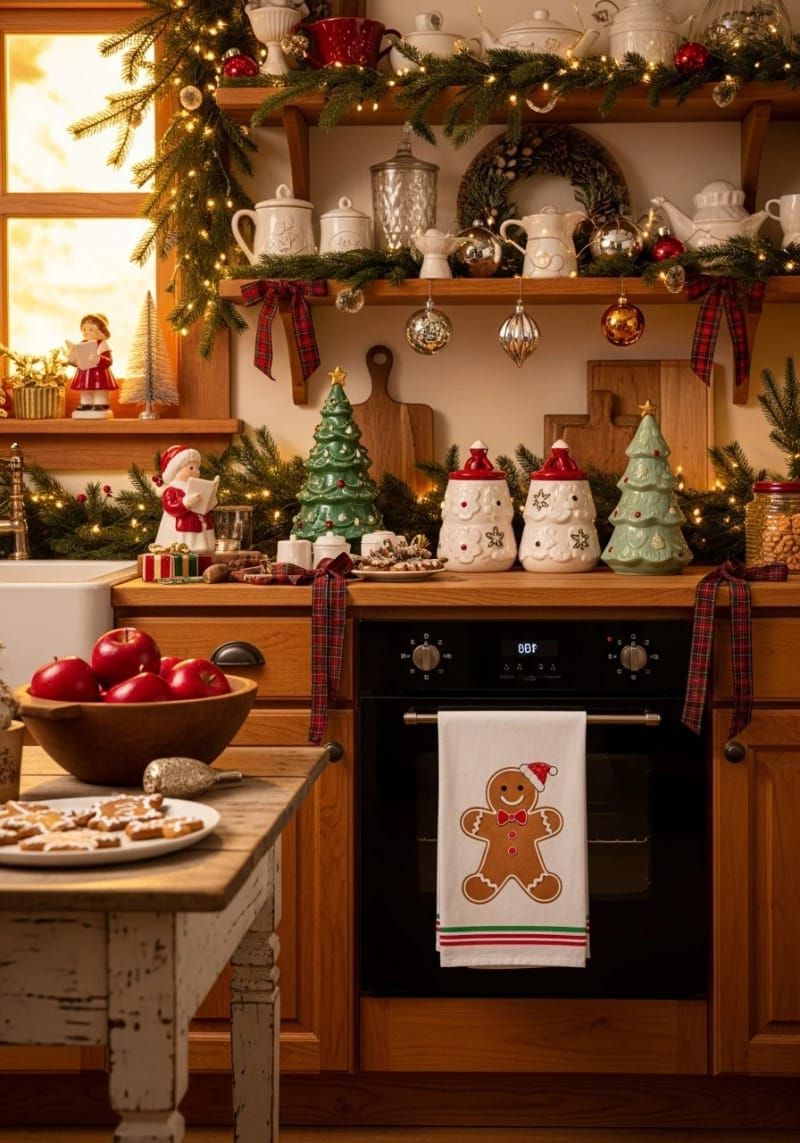
23. Gingerbread man iron-on kitchen tea towel design
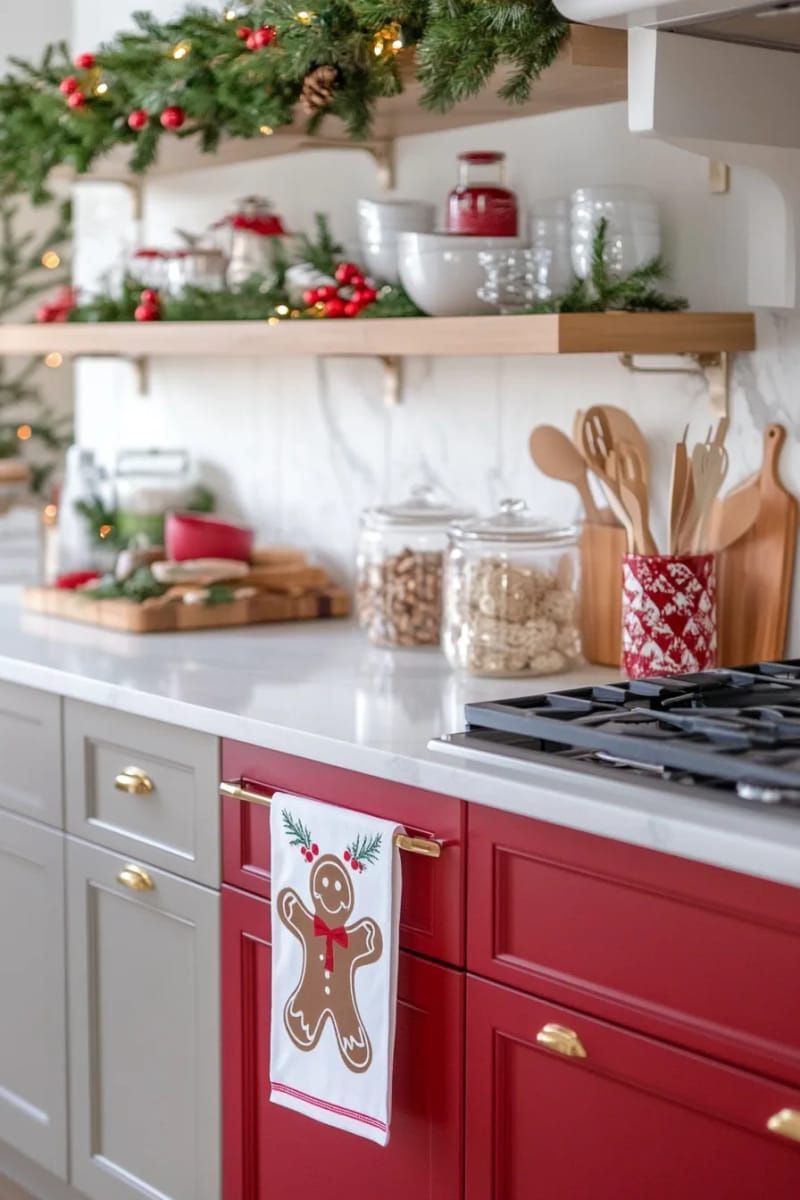
Nothing brings holiday joy like a gingerbread man grinning from your kitchen towel. With some help from Cricut iron-on vinyl, you can easily make it feel festive.
Choose a fun gingerbread shape, cut it out, and press it onto your towel. Even if you’ve never done it before, you can be done in just half an hour.
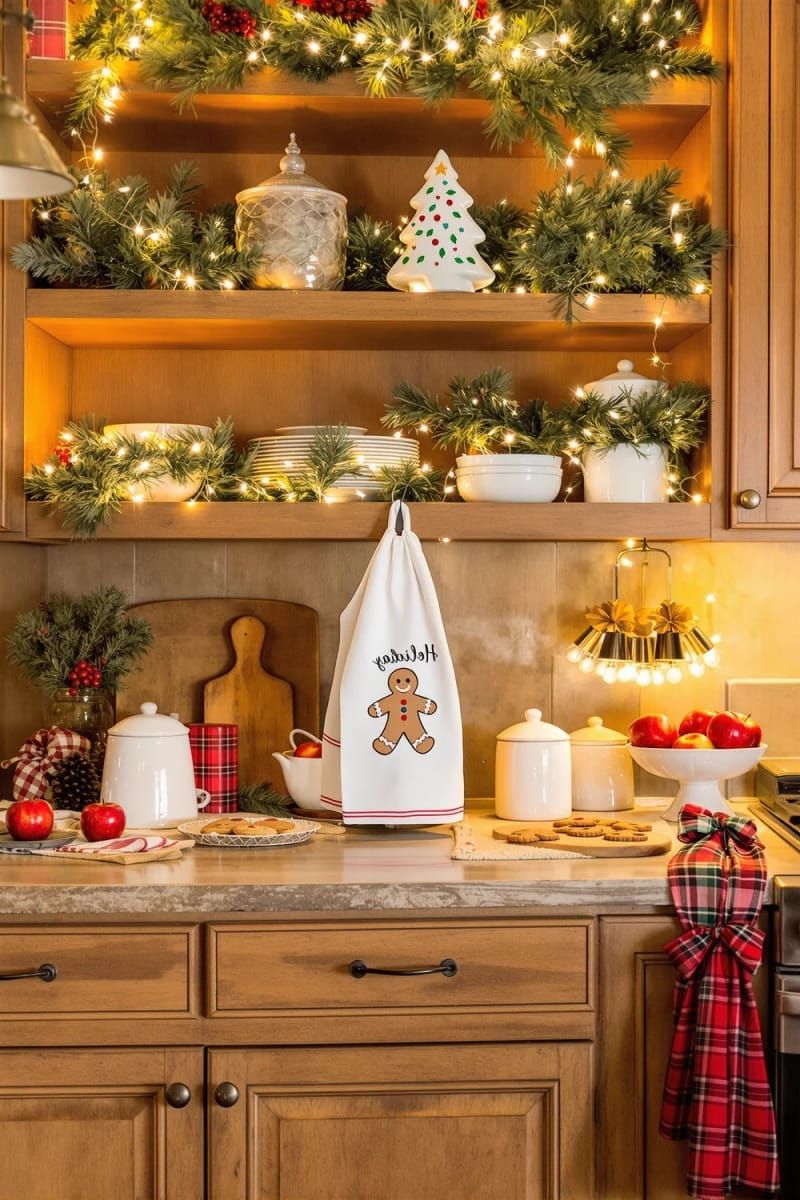
While the towel brings holiday cheer, remember that detailed designs can come off after many washes. It’s best to choose simple shapes for lasting fun.
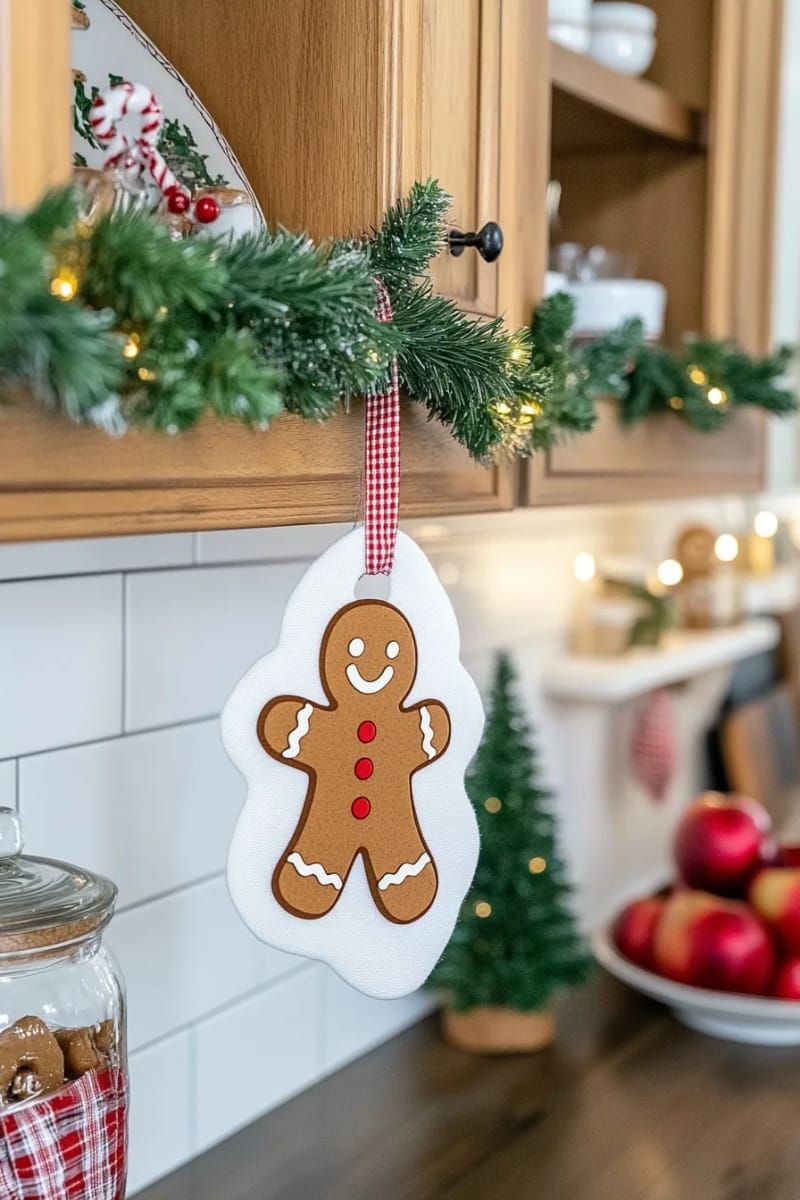
Picture your friends seeing the towel you made and smiling because it looks nice. It’s a nice feeling when you use your imagination a bit.
Final Thoughts
With Christmas Cricut decorations, your home can show your special style and fun ideas. You can pick from traditional nutcrackers or silly Grinch signs—there’s something for everyone to enjoy.
Why settle for regular decorations when you can make something special that shows who you are?
Want to make your own special decorations? Grab your Cricut, some colorful paper, and leftover stickers, and let your creativity shine. You might just create something that everyone in your family loves.
Go ahead and add some magic to your home this season with decorations you make yourself.