Landscaping on a tight budget gets easier with these 20 cheap DIY walkway ideas. From crushed stone to mosaic tiles, you’ll find plenty of materials and techniques to give your yard a fresh new path.
Each option here is practical, affordable, and easy to match to your home’s existing style, so you can build a path that looks like it belongs.
Crushed Stone Walkways

A crushed stone walkway gives you a natural look without a big price tag. Installation is straightforward, and upkeep stays minimal once it’s laid.
Start by digging out the walkway area and leveling the ground, then spread the crushed stone in an even layer across the path.
A tamper or compactor packs the stone down into a smooth, stable surface that won’t shift underfoot. This material works well in gardens, along patios, or even as a driveway topper.
Beyond function, crushed stone brings texture and visual contrast to flower beds, lawns, and other landscape features nearby.
Gravel Paths with Edging
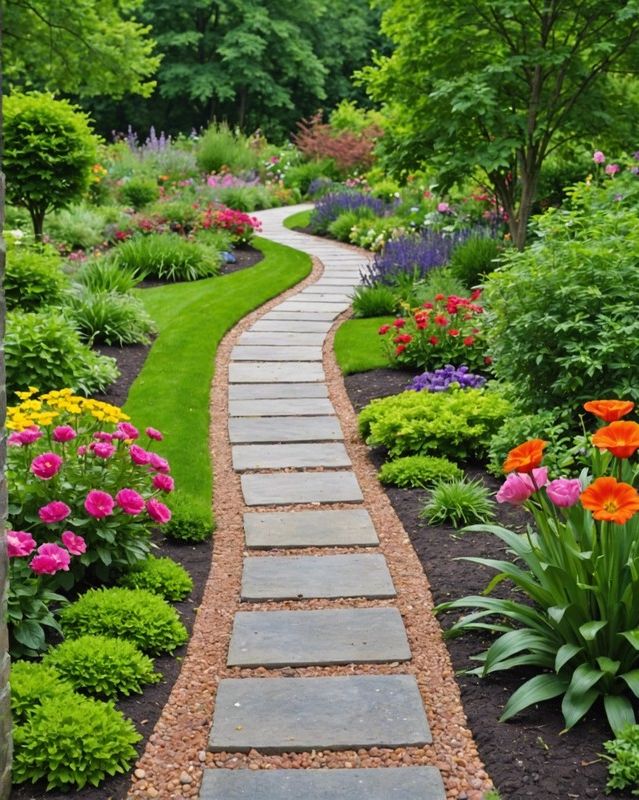
A gravel path brings texture and character to a yard, and building one yourself takes less effort than most homeowners expect.
Mark out the path’s shape, smooth out the ground beneath it, then pour and spread the gravel across the marked area.
Bricks, natural stone, or reclaimed wood along the edges give the path a more finished, sophisticated appearance.
Edging also does practical work: it keeps loose gravel from scattering into the lawn and defines a sharp, clean border along the path.
A weekend of digging and leveling is usually enough to turn a plain side yard into a gravel path that holds up season after season.
Flagstone Stepping Stone Paths
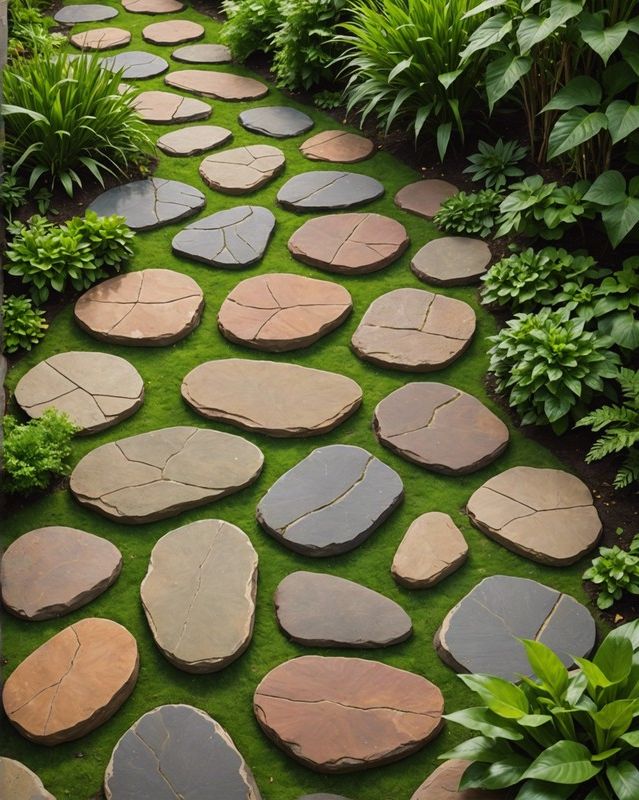
Flagstone stepping stones bring an earthy, natural feel to a walkway that poured concrete simply can’t match.
Their irregular shapes and warm, earthy colors give a path a rustic character that suits cottage gardens and wooded yards alike.
Flagstone holds up well against rain, frost, and heavy foot traffic, and it’s simple enough to install without hiring a contractor.
Laying the stones in a staggered or curved pattern adds visual interest and lets the path curve naturally around trees or garden beds.
Stepping Pavers Set in Sand
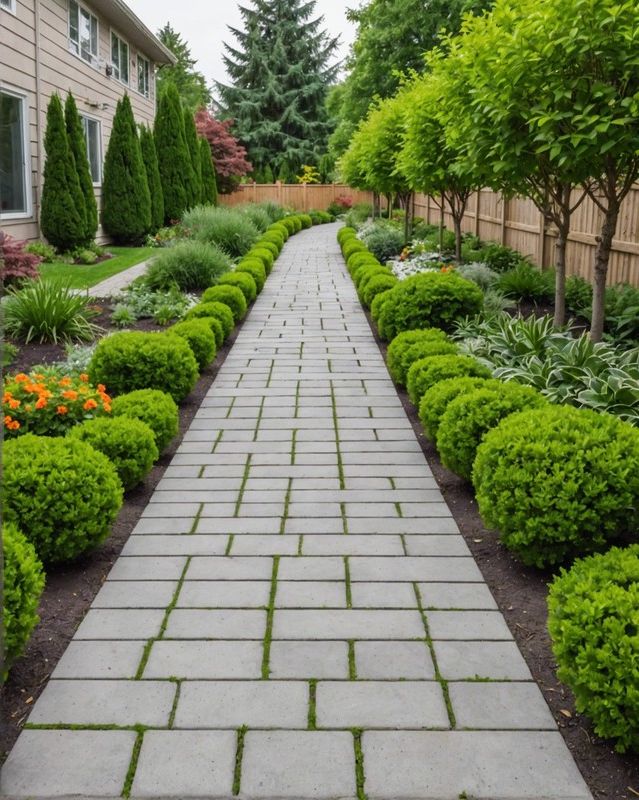
Setting stepping pavers into a bed of sand is one of the more affordable ways to add a walkway to a garden or backyard, and it’s a solid weekend project for a first-time DIYer.
Level the ground first, then spread a layer of sand roughly 2 inches deep across the path area.
Compact the sand firmly and check that the surface stays level from end to end.
Set each paver into the sand bed, spacing them evenly, and press down firmly so they lock into place.
Sweep extra sand into the gaps between pavers, brushing it in until the joints are fully packed.
A light watering settles the sand and locks the pavers into a firm, stable base.
This method typically works best for light foot traffic areas like garden paths, and the result holds up for years with almost no upkeep.
Brick Paver Walkways

A brick paver walkway brings a classic, structured look to a front yard and adds real curb appeal the moment it’s installed.
Brick also holds up under heavy foot traffic and asks for very little maintenance once it’s set in place.
Laying bricks in a herringbone or basketweave pattern ties the path into the rest of the yard and gives it a custom, cohesive feel.
Concrete Paver Pathways
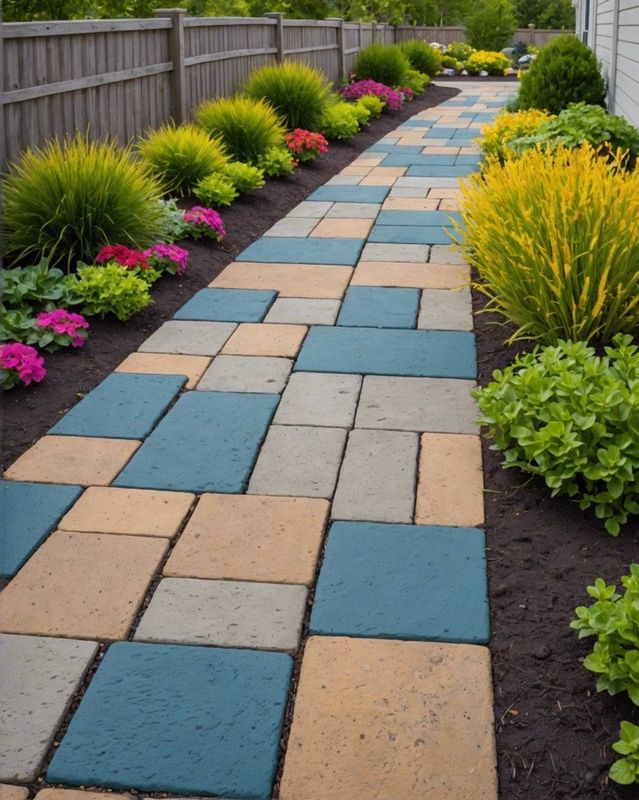
Concrete pavers hold up well underfoot and give a pathway a clean, finished appearance without much upkeep.
They come in a wide range of colors, textures, and shapes, so matching a pathway to an existing patio or garden theme is easy.
Installing concrete pavers is straightforward enough for a first-time DIYer, since most designs interlock or sit on a simple sand base.
The gaps between pavers allow rainwater to drain through instead of pooling, which helps keep the path free of standing puddles after a storm.
DIY Stamped Concrete Walkways
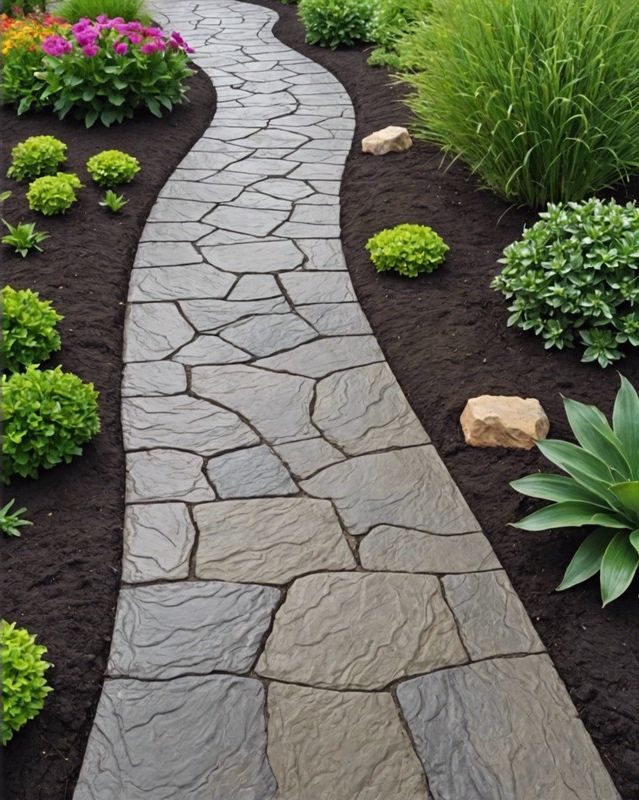
Stamped concrete gives a walkway the appearance of cut natural stone or slate at a fraction of the cost, and the surface holds up for years against weather and foot traffic.
With a bit of planning and some basic tools, you can create a custom walkway that complements your home’s architecture and landscape.
Simply pour the concrete, apply a release agent, and stamp the desired pattern using pre-made concrete stamps. A few days of curing, and you’ll have a unique and eye-catching walkway that will last for years to come.
Wood Chip Walkways
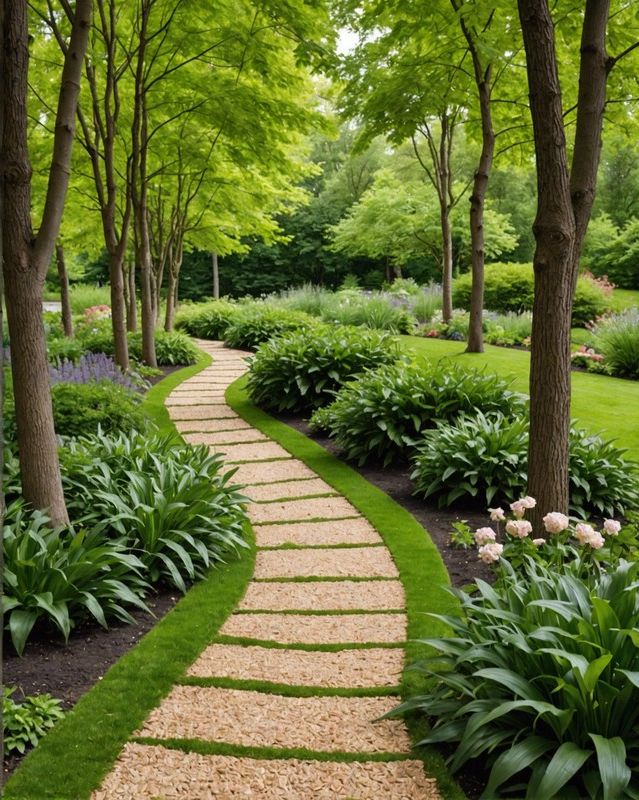
Picture yourself walking down a nice little path surrounded by cushy wood chips.
It’s a great way to add a touch of nature to your yard without breaking the bank, plus it’s perfect for those rainy days when you need good drainage.
You know, a wood chip pathway is always a great choice because it doesn’t require much upkeep, but it still looks so charming no matter the season.
Plus, the chips decompose over time, replenishing the soil with organic matter.
Stone Slab Stepping Stone Paths
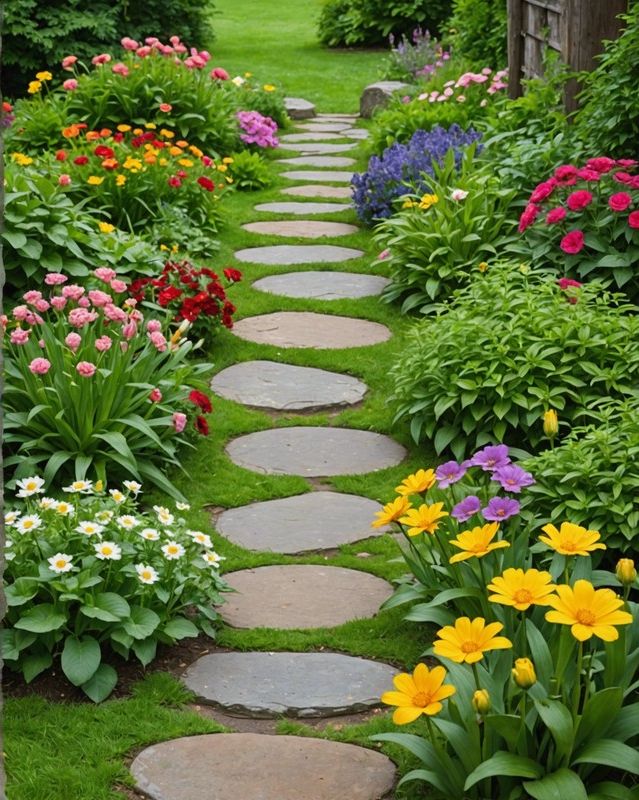
If you’re looking to spruce up your backyard, stone slab stepping stones are a fantastic choice! They have a classic and classy look that can really elevate the overall aesthetic of your outdoor space.
Plus, they’re super practical for creating a nice path to walk on. Give them a try and see the difference they can make!
Hey there! We’ve got these awesome stones in all different shapes and sizes for you to choose from. That way, you can create a walkway that’s totally tailored to your style and needs. How cool is that?
Stone slabs are awesome because they’re super durable, meaning they’ll stick around for a long time to come.
So, you wanna make a cool stone slab walkway? Easy peasy! Just lay those stones down in a nice path and fill in the gaps with some gravel or sand. Looks great and super simple to do!
You can also add edging to the walkway to give it a more finished look.
Stone slab walkways are relatively easy to install, and they can be a great way to add value to your home.
Concrete Walkways with Custom Borders
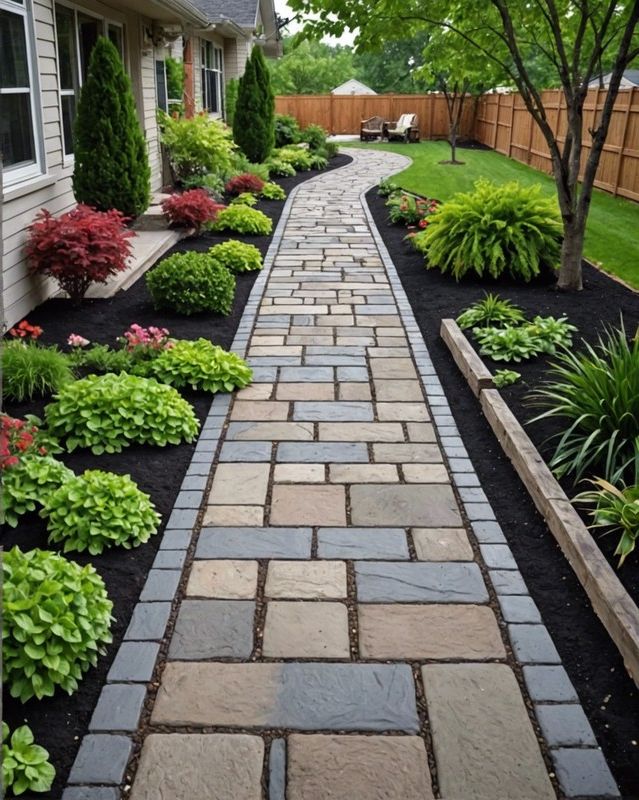
A budget-conscious yet stylish walkway is achievable with a concrete walkway bordered by DIY materials.
Transform leftover bricks, cobblestones, or pavers into decorative accents along the walkway’s edges.
Simply lay them out as a border, ensuring they remain level and secure.
You can also use repurposed wooden planks, logs, or even large stones to create a rustic or modern look.
With a little bit of thought and some imagination, you can come up with a really cool walkway that fits in perfectly with your outdoor area.
Pallet Wood Walkways

Pallet wood makes for a sturdy, earthy walkway that is also easy on your pocket.
Gather old pallets, disassemble them, and align the planks along your path, leaving a small gap between each.
Let’s make sure those planks are nice and level by using a spirit level. And don’t forget to hammer in some stakes for extra support in any areas that need it.
Fill the gaps with dirt or gravel, and finish with polyurethane for weather resistance.
You can paint or stain the pathway to complement your outdoor decor, creating a truly unique and budget-friendly walkway.
Recycled Brick Walkways
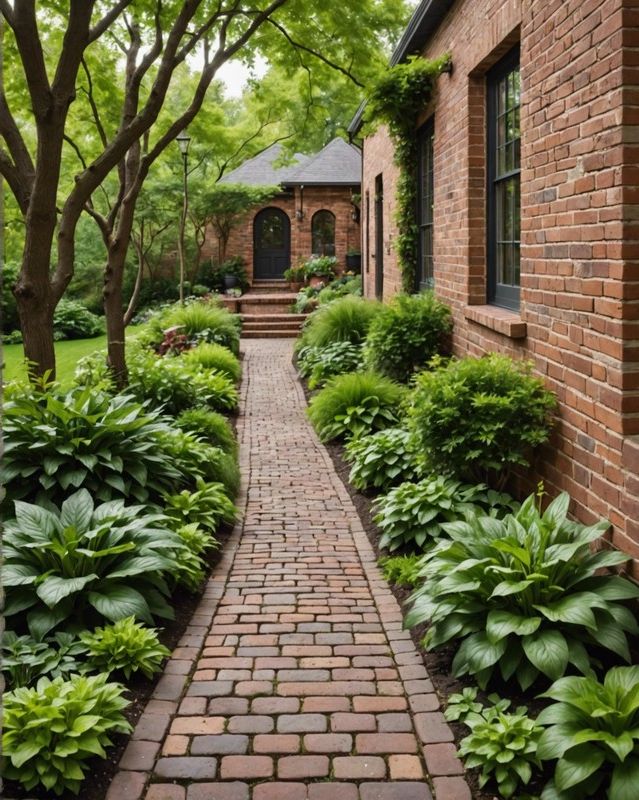
Want to spruce up your backyard? Why not create a lovely walkway using old bricks? It’s a great way to add some charm and sustainability to your outdoor space!
These sturdy, timeworn materials add character and durability to your outdoor space.
Arrange them in intricate patterns or create a classic herringbone design.
Using recycled bricks for your walkways does more than just give you a way to get around – it also adds a nice touch to your yard! They fit right in with all the greenery and natural vibes, making everything look even more beautiful.
Plus, reusing bricks gives new life to salvaged materials and reduces waste, making it an eco-conscious choice.
Mosaic Tile Walkways
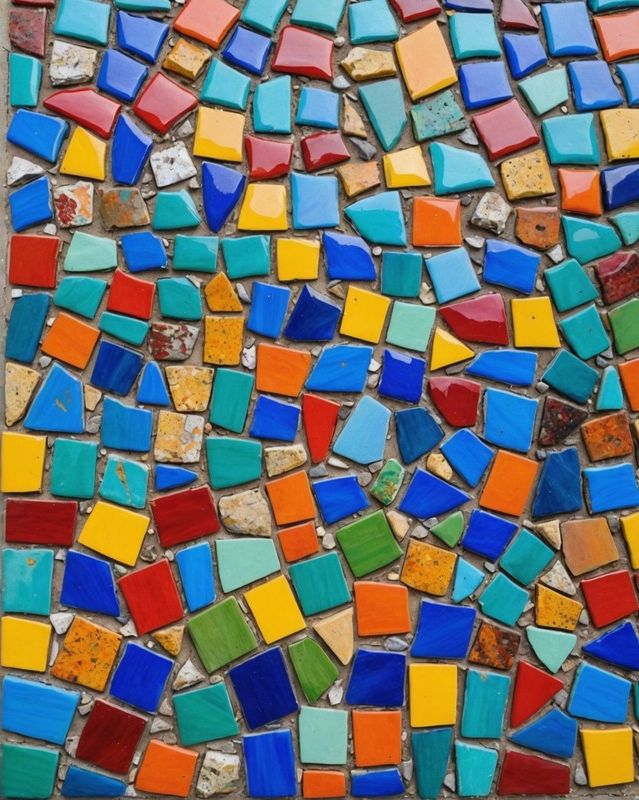
Turn your boring old walkway into something truly stunning with our easy and affordable mosaic makeover!
Hey there! Why not gather up some broken tiles, shards, or even recycled glass and have fun arranging them in a creative way to make a one-of-a-kind and colorful design? It’s a great way to get creative and add some unique flair to your space!
Use thin-set mortar to secure the tiles, and grout the spaces for a polished finish.
This DIY project adds an artistic touch to your outdoor space without breaking the bank.
Cobblestone Walkways
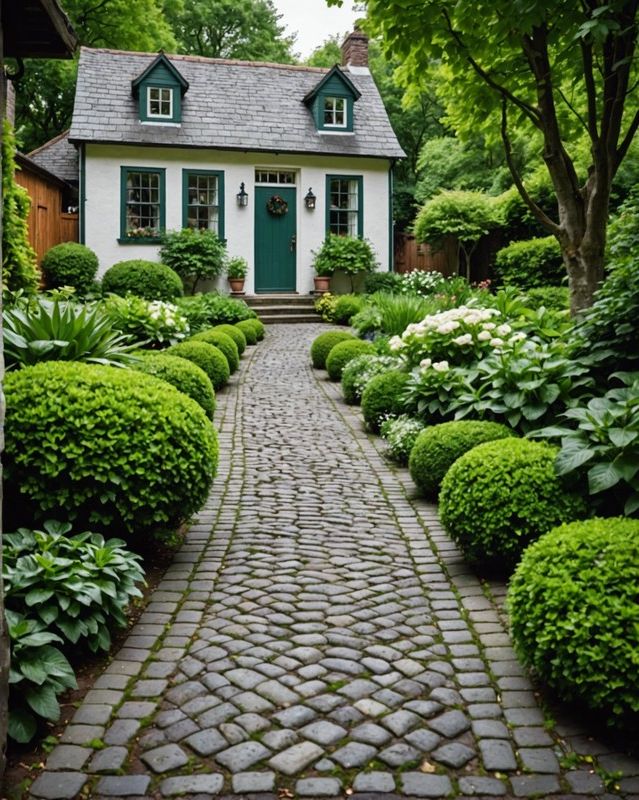
Want to add a touch of charm and history to your outdoor space? Consider installing a cobblestone walkway! This timeless paving material not only brings character to your landscape, but it also lasts for a long time.
Simply gather natural cobblestones or reuse old ones, and lay them in a herringbone or other geometric pattern.
Fill the gaps with sand or mortar for added stability. With a little patience and attention to detail, you can easily create a stunning cobblestone walkway that will enhance the beauty of your home for years to come.
DIY Poured Concrete Walkways

Poured concrete is a durable and relatively simple option for a DIY walkway.
You can choose from a variety of colors, textures, and finishes to make sure it perfectly blends in with your home and garden.
Pour a concrete walkway, you’ll need to excavate the area, build a form, and pour the concrete.
Once the concrete has cured, you can remove the form and enjoy your new walkway.
Turf Paver Walkways
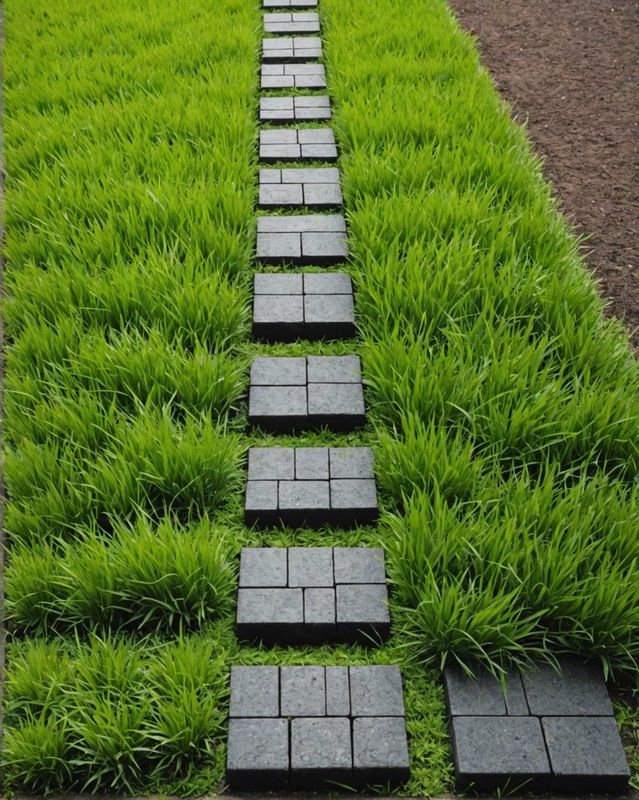
Turf pavers are a great way to create a walkway that is both functional and attractive.
They are made of recycled plastic and are designed to allow grass to grow up through them, creating a natural-looking path.
Turf pavers are relatively easy to install and can be used in a variety of applications, from driveways to patios.
They are also a good choice for areas that are prone to erosion.
DIY Pebble Walkways
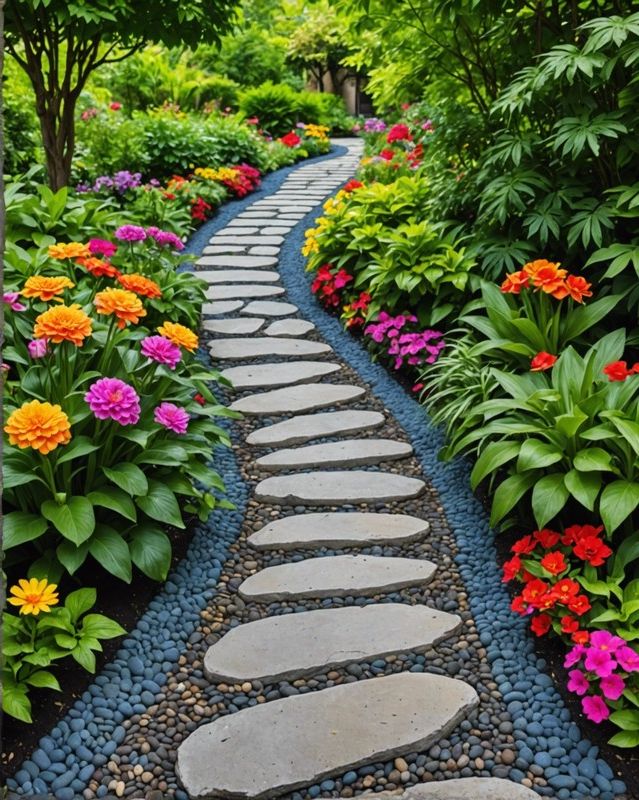
How about creating a lovely walkway using pebbles in a DIY project? It could turn out really nice and blend in with nature.
Start by marking the path’s outline.
Then, excavate the area, create a base using sand or gravel, lay down landscaping fabric, and pour a concrete mix.
After the concrete has dried, go ahead and place the pebbles on top.
So, what you wanna do is fill in those empty spots with some pea gravel or sand, pack it all down nice and tight, and then finish it off with a sealant to keep everything in place and protected.
If you take your time and get a little creative, you can create a beautiful walkway that really gives your outdoor area a special touch!
Wooden Plank Walkways
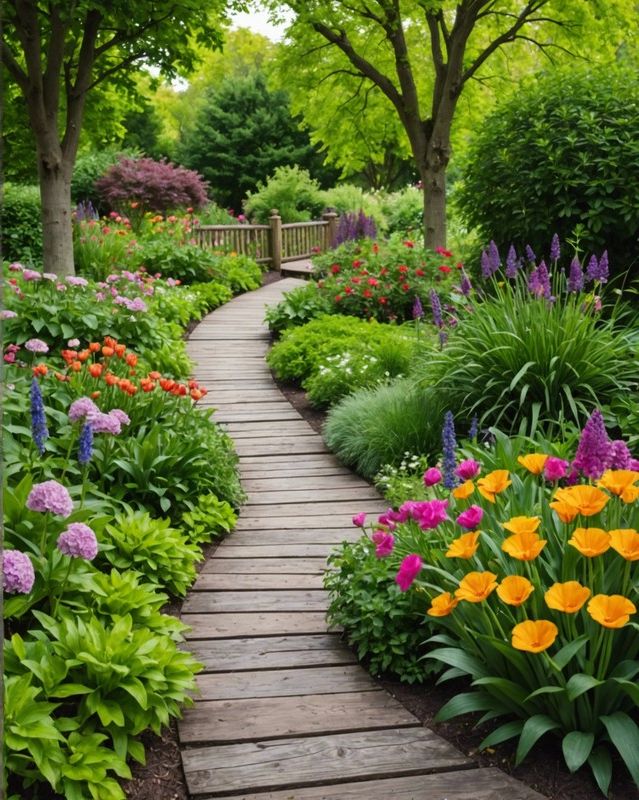
Wooden plank walkways are a great way to add a touch of rustic charm to your yard or garden.
These shelves are super easy to put together and you can make them fit perfectly in any room!
You can use different types of wood, such as cedar or redwood, to create a walkway that will last for years.
To build a wooden plank walkway, you will need to first lay out the area where you want it to go.
So, the next step is to dig a trench for the planks.
The trench should be about 6 inches deep and wide enough to accommodate the planks.
Once you have dug the trench, you will need to place the planks in it.
Just double-check to make sure the planks are nice and level and evenly spaced out.
You can secure the planks in place with nails or screws.
After you’ve got the planks where you want them, just grab some dirt or gravel and fill in the trench.
You can also add a layer of mulch to help keep the walkway looking its best.
Railroad Tie Walkways
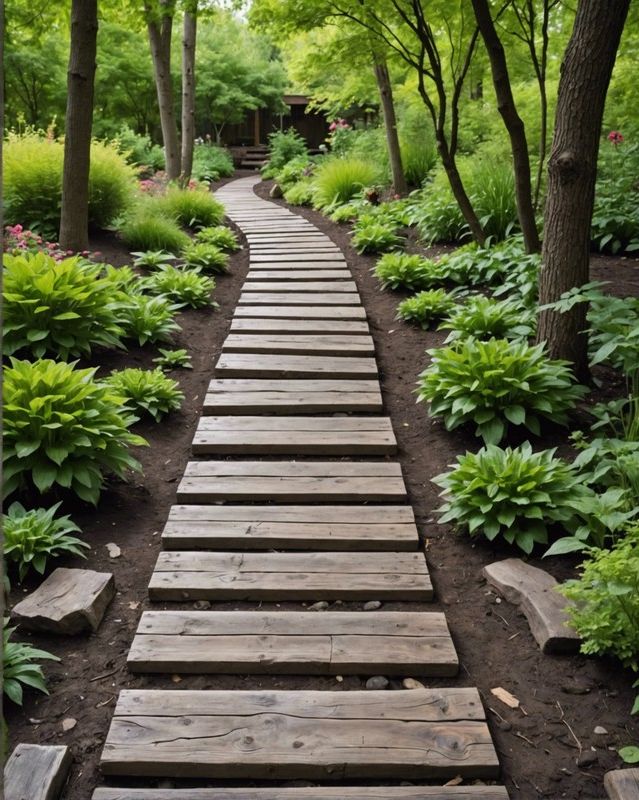
Railroad tie walkways add rustic charm to any outdoor space.
Have you seen these long wooden blocks before? They’re super sturdy and can handle a lot of wear and tear without rotting or decaying.
They’re perfect for paths or walkways that get a lot of people walking on them.
To create a walkway, simply lay the ties side by side in the desired pattern and fill the gaps with landscaping fabric or gravel.
The result is a sturdy and attractive walkway that will last for years to come.
Decomposed Granite Walkways
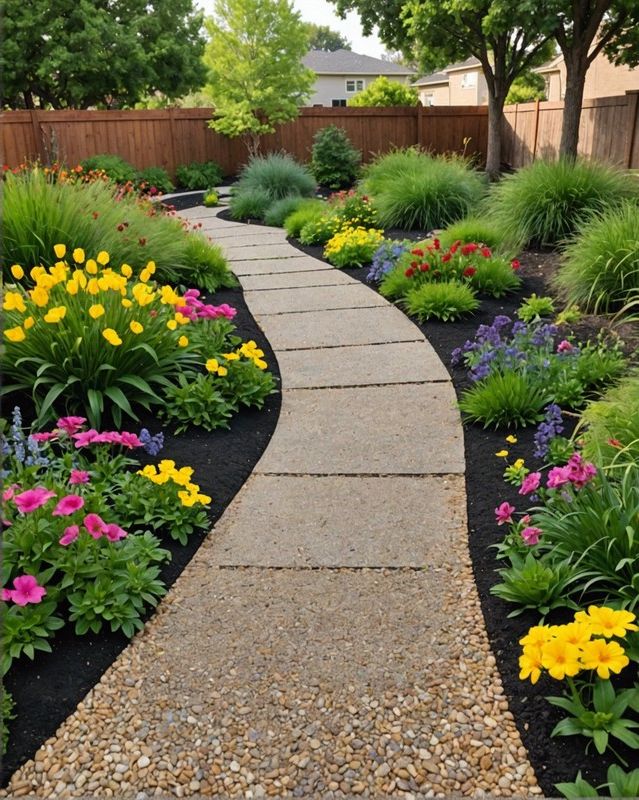
Have you ever considered using decomposed granite for a walkway? It’s a great choice because it’s cost-effective, simple to install, and doesn’t need much upkeep.
It’s also a natural material that blends in well with any landscape.
To install a decomposed granite walkway, simply remove the existing vegetation and level the ground. Then, spread the decomposed granite over the area and compact it with a roller or tamper.
Be sure to slope the walkway away from your house to prevent water from pooling.