
Want to turn plain flower pots into small pieces of art? This roundup gathers 20 DIY flower pot painting ideas built to spark fresh ideas for your next project.
You’ll find everything from intricate mandalas and bold stripes to nature-inspired scenes and playful animal prints. Each idea suits a different skill level, so beginners and experienced painters both have options.
Grab your brushes and get ready to add real personality to your garden or patio with these easy, high-impact painting projects.
Boho Mandala Pot Design
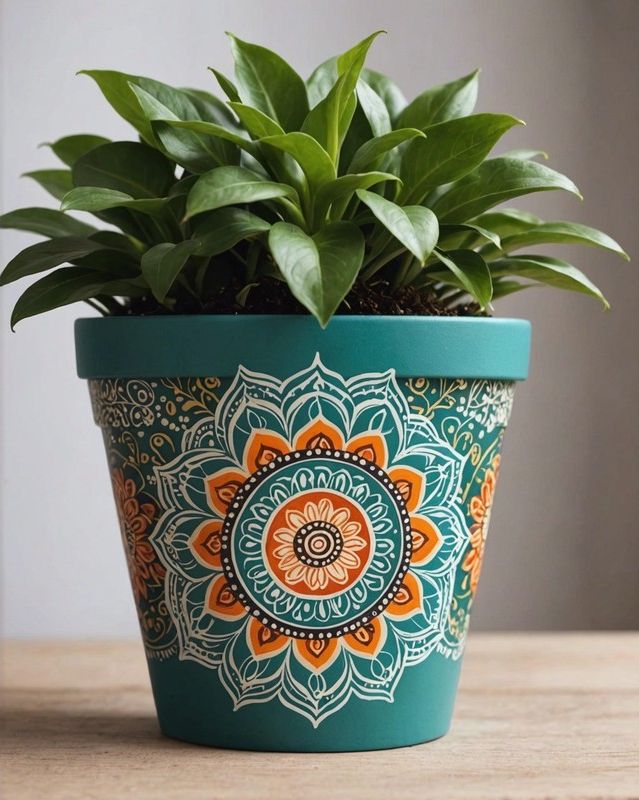
Mandala patterns have surged in popularity over the last few years as a go-to way to bring boho style into a home. Painting one onto a flower pot gives your plants a striking, one-of-a-kind display.
Pick any color palette or pattern that speaks to you, from soft pastels to bold jewel tones. Plenty of free online tutorials walk you through the basic steps for beginners.
Once the paint dries, you’ll have a genuinely unique piece for your home, whether it sits on a porch railing or a sunny windowsill.
Nature-Themed Pot Designs
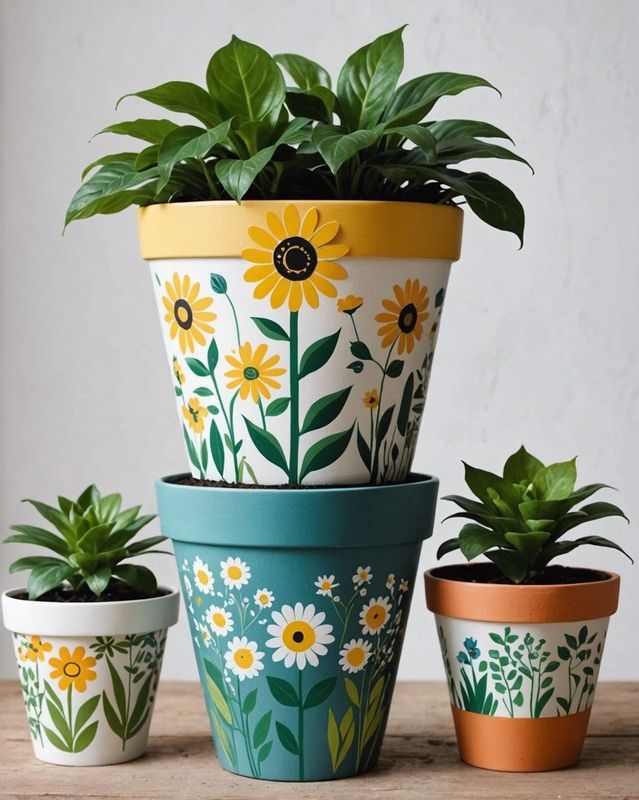
Bring the outdoors in by painting terracotta or ceramic pots with earthy browns, greens, and bright floral accents. This works especially well in spring and summer when plants are in full bloom.
Try painting a small forest scene, a meadow in bloom, or a quiet garden path directly onto the surface of the pot.
Look to real leaves, petals, and bark textures for color and pattern ideas. The finished pot holds your plants while adding a slice of the outdoors to any indoor room.
Bold Geometric Pattern Pots

Geometric patterns turn a plain flower pot into a striking accent piece. Start by sketching the design in pencil first so your lines stay crisp before you touch a brush to the surface.
Painter’s tape is your best friend here. Use it to mask off sections before painting, and you’ll get sharp, clean edges every time.
Apply bold, contrasting paint colors one layer at a time, letting each coat dry fully before adding the next.
Once the paint has cured, peel back the tape slowly to reveal crisp, sharp-edged shapes underneath.
The angular lines add real depth to your plant display, turning a simple pot into a bold focal point on a shelf or patio table.
Playful Polka Dot Pots

Polka dot pots are a fast, low-effort way to bring personality to your plant collection, indoors or out on the patio.
These whimsical designs take very little time to make, and you can adjust dot size and spacing to match any existing decor style.
Paint dots directly onto a plain pot in any color or size you like. Small dots in a single hue read as classic, while mixed sizes and colors give a more playful look.
Classic Striped Flower Pots
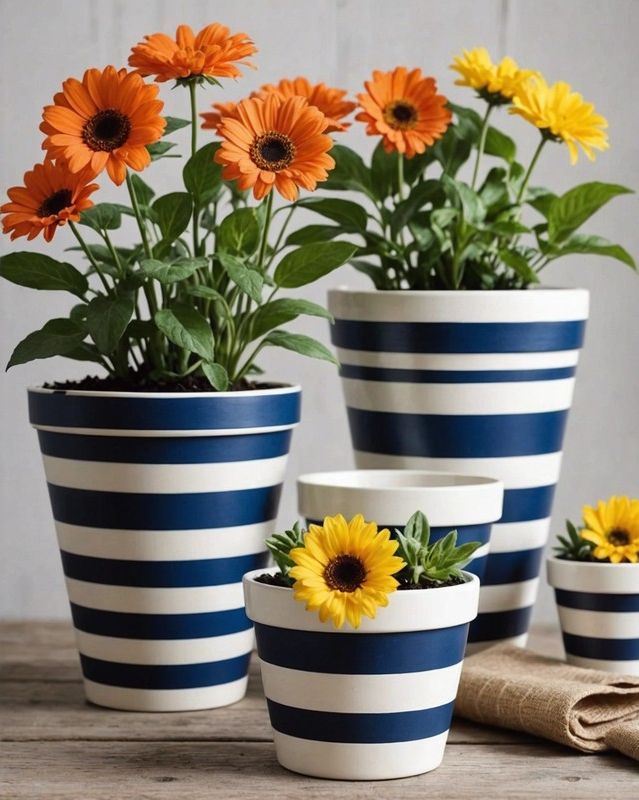
A striped pot is an easy way to make a bold statement on a porch or patio. Painter’s tape lets you map out stripes in different widths, angles, and color combinations.
Alternating thin and wide stripes gives the pot a clean, classic look.
Diagonal or wavy stripes bring a more playful, unexpected feel to the same basic technique. Mix stripe widths and directions until you land on a pattern you like.
Smooth Ombre Pot Effect
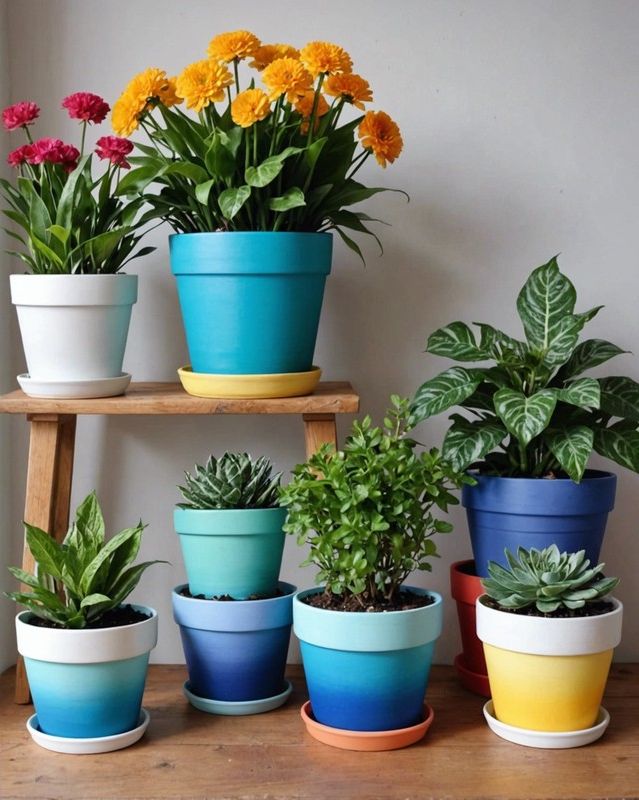
An ombre paint technique turns a plain pot into a polished, gallery-worthy accent with very little extra effort.
Start by choosing three or four acrylic paint colors that sit close together on the color wheel, so the transition between them looks natural.
Paint the lightest shade near the rim and work your way down the pot, shifting to darker tones as you go.
A sponge or a soft brush works best for blending. Overlap each color slightly where it meets the next to keep the gradient smooth and free of hard lines.
Finish with a coat of clear varnish once the paint is fully dry. This step protects the color from chipping and gives the surface a slight sheen, whether the pot lives indoors or outside.
Cosmic Galaxy Pot Design
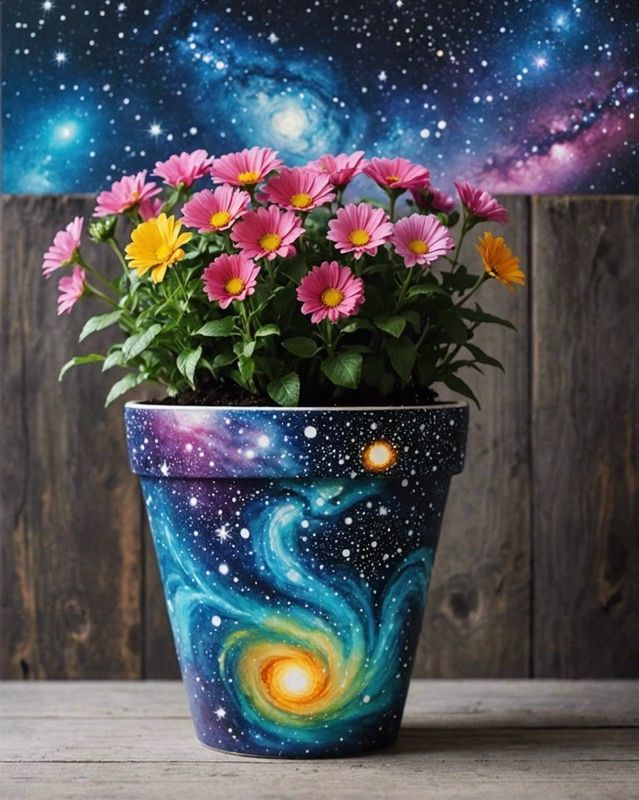
A galaxy-themed pot makes a striking centerpiece for any plant display. Start with a solid black base coat and let it dry completely before adding any other color.
Sponge on acrylic paint in purple, blue, and pink to build up the swirling, cloud-like layers of a night sky.
Dot on white paint for scattered stars, then use a metallic marker to sketch in a few constellation lines. A clear glaze on top locks in the design and keeps your plants looking right at home in their cosmic pot.
Freeform Abstract Pot Art
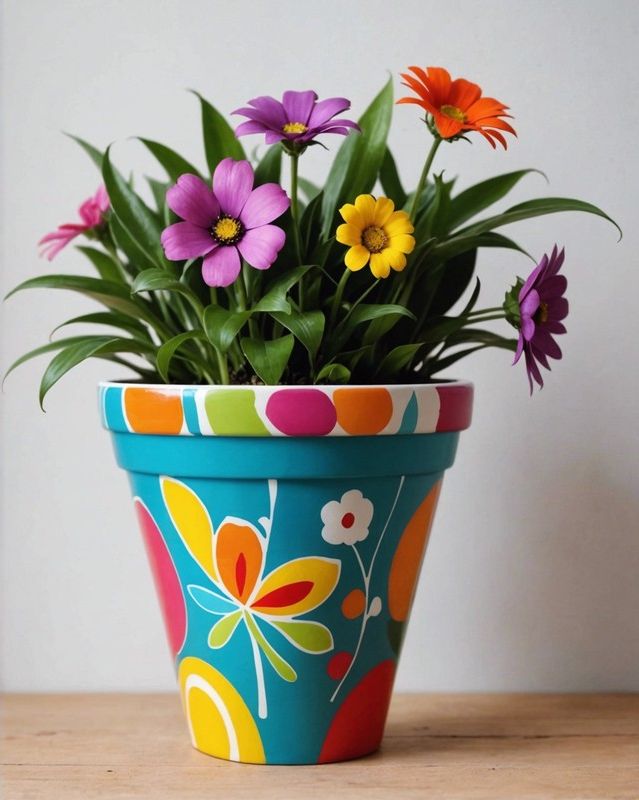
An abstract pot design comes together fast once you stop overthinking it. Splash, drip, and blend a few acrylic colors directly on the surface and see what patterns emerge.
Each pot turns out different, since the paint moves on its own. That randomness is what gives abstract designs their standout, eye-catching look.
Abstract art offers endless possibilities to express your personal style, so don’t be afraid to experiment and let your imagination guide you.
From bold geometric shapes to ethereal swaths of color, the possibilities are boundless for creating an abstract flower pot that reflects your artistic vision and personality.
Wild Animal Print Pots
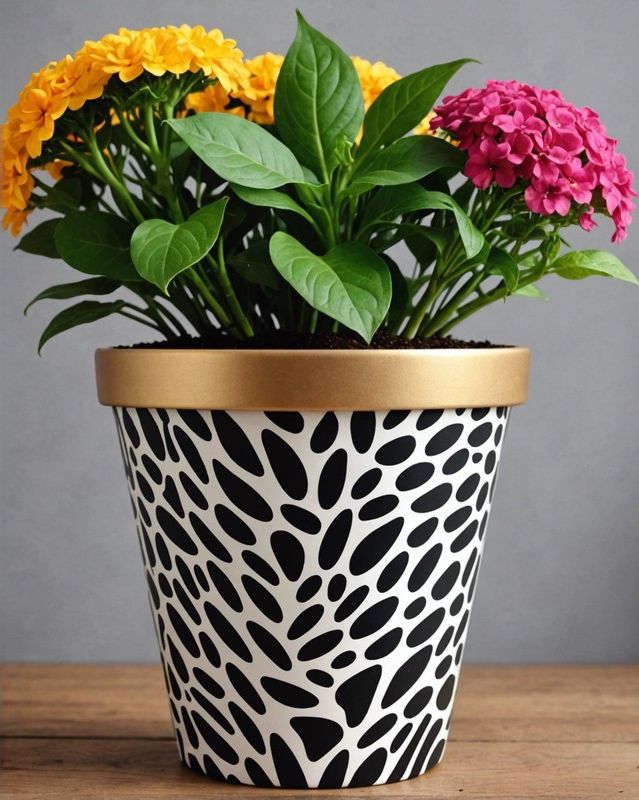
Why not have some fun and give your flower pots a wild makeover with some cool animal prints? You can let your imagination run wild and pick from leopard spots, zebra stripes, or even a fierce tiger design. Let your creativity take the lead!
These eye-catching designs will instantly add a touch of sophistication to your indoor or outdoor space.
Delicate Lace Pattern Pots
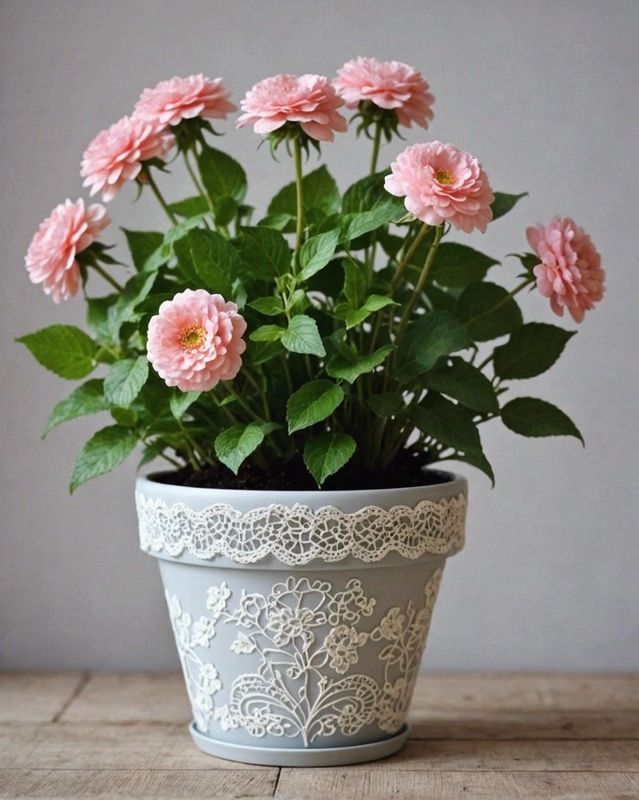
Lace flower pots are a beautiful way to add a touch of elegance to your home décor.
So, basically, you just take some lace and wrap it around a basic ol’ flower pot. Then, you can use glue or decoupage stuff to make sure it stays in place. Easy peasy!
Have you ever thought about using lace flower pots to add a personal touch to your home décor? They’re a really neat way to make your space feel more unique and stylish!
You can choose lace that matches your existing décor or opt for a more whimsical look.
These lace scraps are perfect for getting creative with leftovers from your other projects.
To make a lace flower pot, you will need the following materials: A plain flower pot Lace Glue or decoupage medium Scissors Paintbrush (optional) Instructions:
- Wash and dry the flower pot.
- Wrap the lace around the flower pot, starting at the bottom.
- Secure the lace with glue or decoupage medium.
- Trim any excess lace.
- Allow the glue or decoupage medium to dry completely.
- Paint the flower pot (optional.
Easy Stenciled Pot Designs
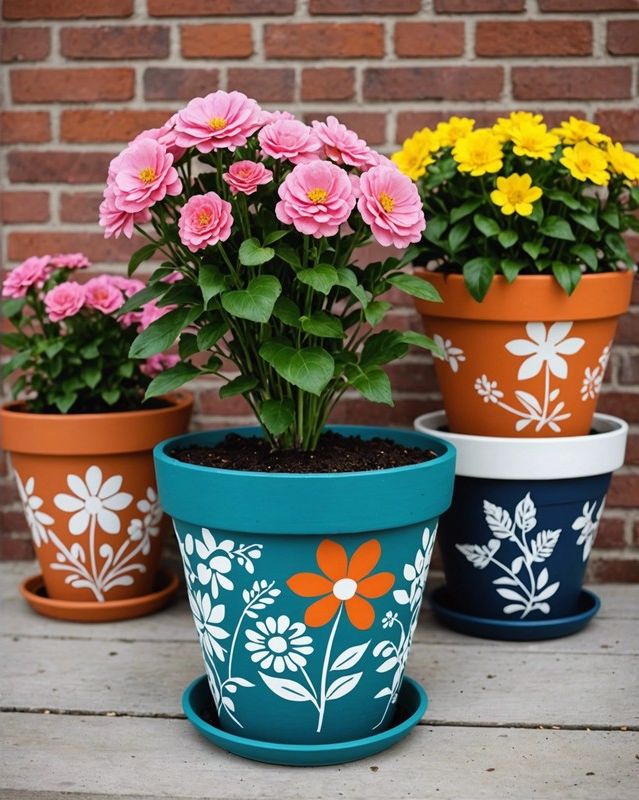
Did you know you can turn plain old flower pots into stunning pieces of art using stencils? It’s like magic!
From intricate floral designs to playful geometric patterns, stenciled flower pots add a touch of elegance and whimsy to your indoor or outdoor spaces.
Choose stencils that complement the shape and size of your pots, and select paint colors that enhance the overall design.
Sure thing! Just take your time and use a gentle hand to carefully place the stencil on the pot. Then, you can start painting with either a brush or a sponge. It’s all about being patient and enjoying the process!
Remove the stencil gently to reveal the crisp and stunning design.
Finish your masterpiece by applying a protective sealant to preserve its beauty for years to come.
Swirled Marbled Pot Effect
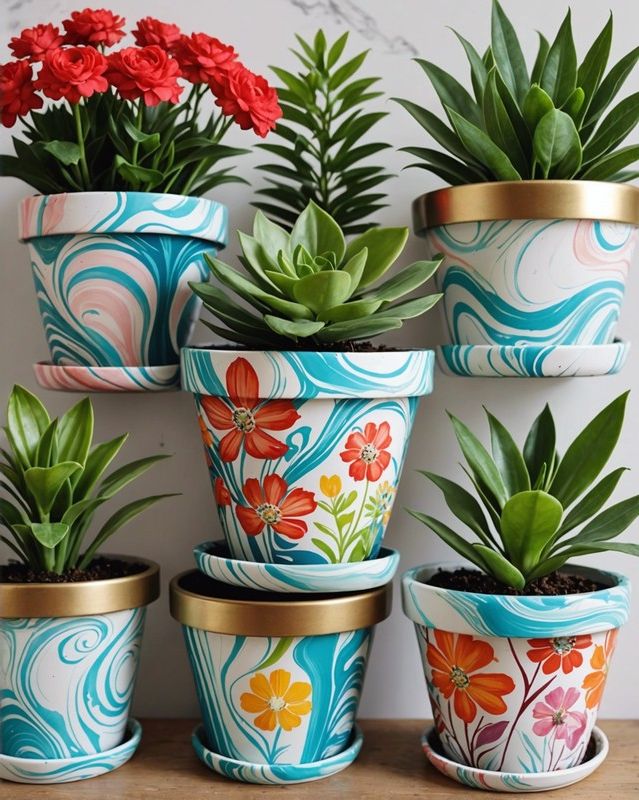
Wouldn’t it be cool to make a flower pot with a marbled design? It’s a great way to add a fancy and one-of-a-kind touch to any room or garden!
To achieve this effect, start by painting the pot with a base color.
Next, why not dip it into a bowl of paint that’s a totally different color? How cool would that look?
Swirl the pot around to create a marbled effect.
You can add multiple colors for a more vibrant look.
Allow the paint to dry completely before sealing it with a clear coat to protect the design.
Chalkboard-Style Flower Pots
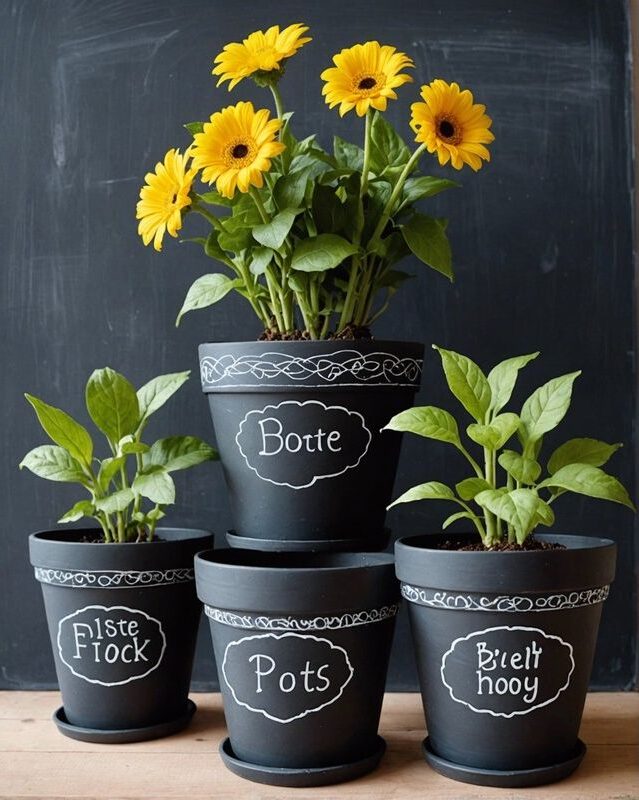
Chalkboard Flower Pot Chalkboard flower pots are a fun and unique way to add personality to your home decor.
They’re also a great way to use up leftover chalkboard paint.
It’s super easy to make a chalkboard flower pot! Just grab a pot and paint it with chalkboard paint. Then, let it dry completely. That’s it! Now you have a fun and creative way to label your plants. So simple, right?
Once the paint is dry, you can use chalk to write or draw on the pot.
You know what’s really fun? You can totally jazz up your pot with some chalkboard paint and get creative with designs like stripes, polka dots, or even flowers. How cool is that?
Chalkboard flower pots are a great way to add a touch of whimsy to your home.
They’re also a great way to personalize your pots and make them match your décor.
Colorful Mosaic Pot Designs
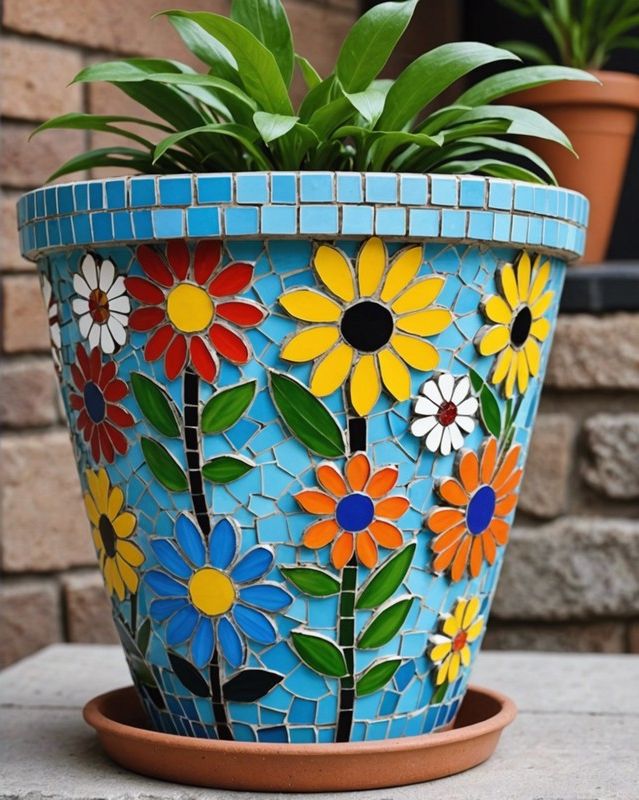
Add a pop of color and personality to your space with a beautiful mosaic flower pot! You can easily turn a plain old pot into a work of art by decorating it with all sorts of vibrant glass, ceramic, or stone tiles.
Let your creativity run wild and create a one-of-a-kind masterpiece for your home or garden.
Engage in the therapeutic pastime of mosaic art, letting your imagination run wild as you create intricate patterns and designs.
Not only will your mosaic flower pot add charm to your home décor, but it will also provide a delightful home for your blooming companions.
Paper Decoupage Pot Ideas
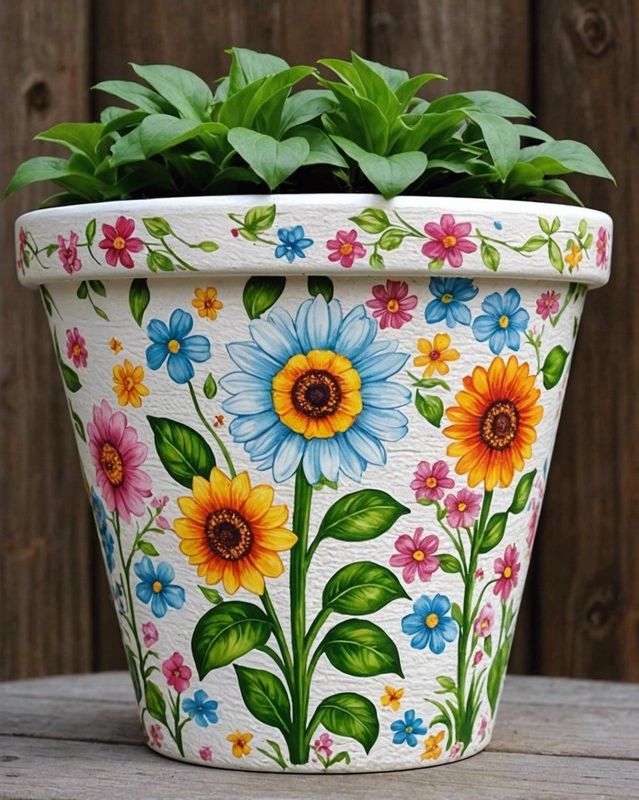
Want to make your plant pots stand out and look super cool? Try decoupage! It’s all about sticking beautiful paper or fabric onto your pots to give them a unique and artsy feel. Give it a go and see how awesome your plants will look in their new fancy homes!
There are so many different options to choose from, like vintage prints and vibrant patterns. The possibilities are endless!
Cut out your desired design, apply a layer of decoupage medium, and carefully place it on the pot. Seal the creation with additional layers of the medium to protect and enhance the design, resulting in a unique and personalized flower pot that adds a touch of artistic flair to any space.
Woven Macrame Pot Hangers
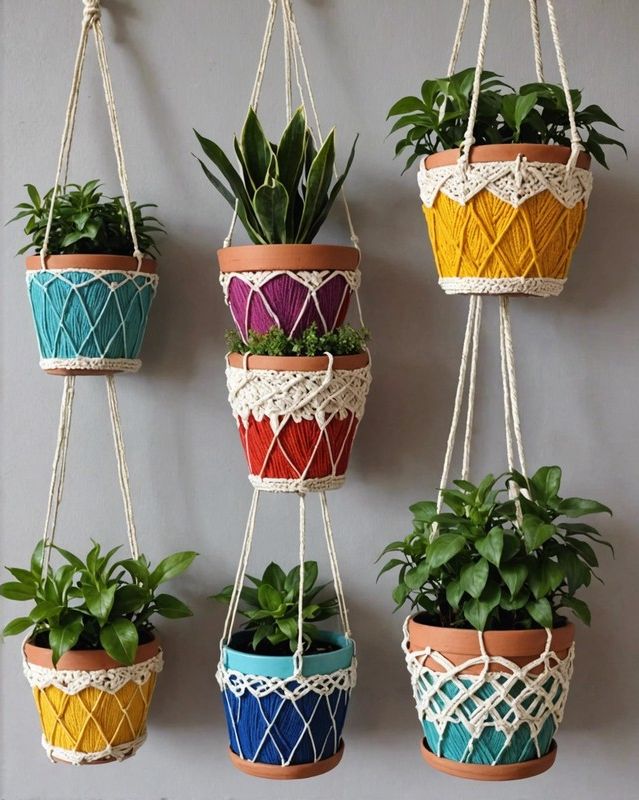
If you love boho chic decor, you’ll adore these macrame flower pots. They’re the perfect way to add a touch of bohemian flair to your home.
And the best part is, they’re really simple to whip up!
You can customize them to match your style by using different colors of macrame cord and beads. Plus, they’re a great way to show off your favorite plants.
Yarn-Wrapped Pot Accents
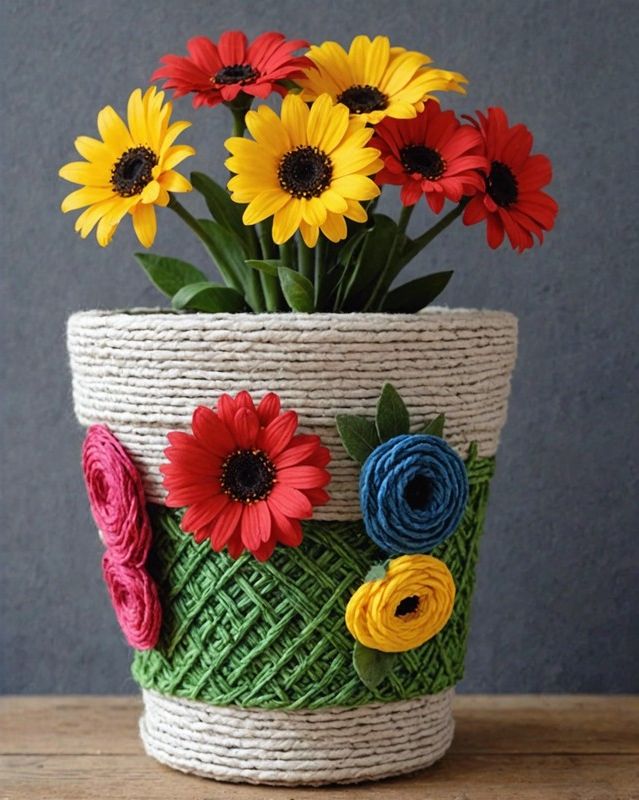
Create a charming ambiance by adorning your flower pots with a touch of yarn.
Simply wrap colorful yarn around the pots, securing it with glue for a whimsical and textured effect.
This simple yet impactful technique adds a pop of personality to your plants, transforming them into delightful decorative accents.
Go ahead and have fun with this idea! Try out different yarn colors and patterns to see what goes best with your home decor.
Painted Rock Pot Accents
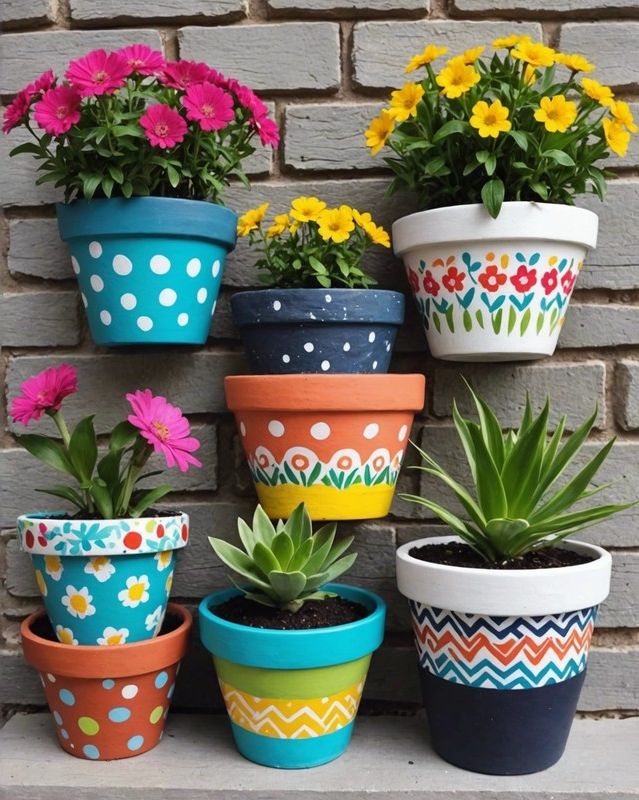
Transform ordinary flower pots into a whimsical wonderland with painted rocks! Gather colorful smooth rocks and unleash your creativity. Paint them with intricate patterns, whimsical designs, or inspirational quotes.
Let’s go ahead and place the painted rocks around the bottom of the pot, letting them overlap just a bit.
Try mixing and matching different sizes and colors to make a cool and attention-grabbing setup. Once it’s all done, you’ll have a super cute artwork that’ll bring a lovely artistic touch to any room.
Bead-Embellished Pot Designs

Give your ordinary flower pots a touch of glam with bead embellishments. Transform them into eye-catching decor pieces by using colorful beads and simple techniques.
Why not try playing around with different sizes and patterns of beads to come up with your own one-of-a-kind designs? Give it a go and see what you can come up with!
You can either glue or string the beads onto the pot’s surface, allowing you to customize it to your liking. This easy and affordable DIY project adds a touch of handmade charm to your plant corner.
Sparkling Glitter Pot Finish
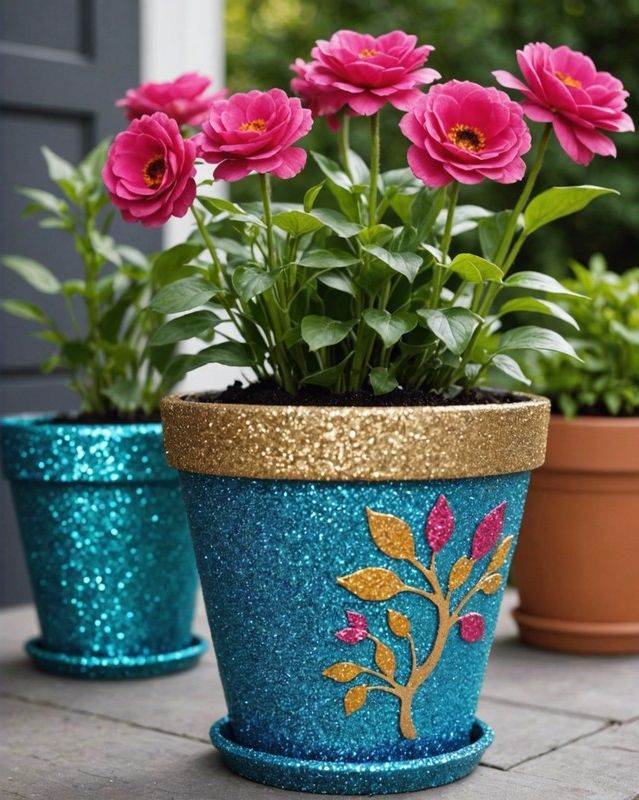
Picture this beautiful flower pot with glitter that shines in the sunlight like a sky full of stars. You can easily add this magical touch to your garden or home decor with a fun DIY project. So, go ahead and get creative!
Using a brush, gently spread a coat of glue over the pot’s surface.
Then, grab a generous handful of colorful glitter and sprinkle it evenly over the glue. Once dry, your flower pot will transform into a sparkling masterpiece, adding a touch of enchantment to any space.